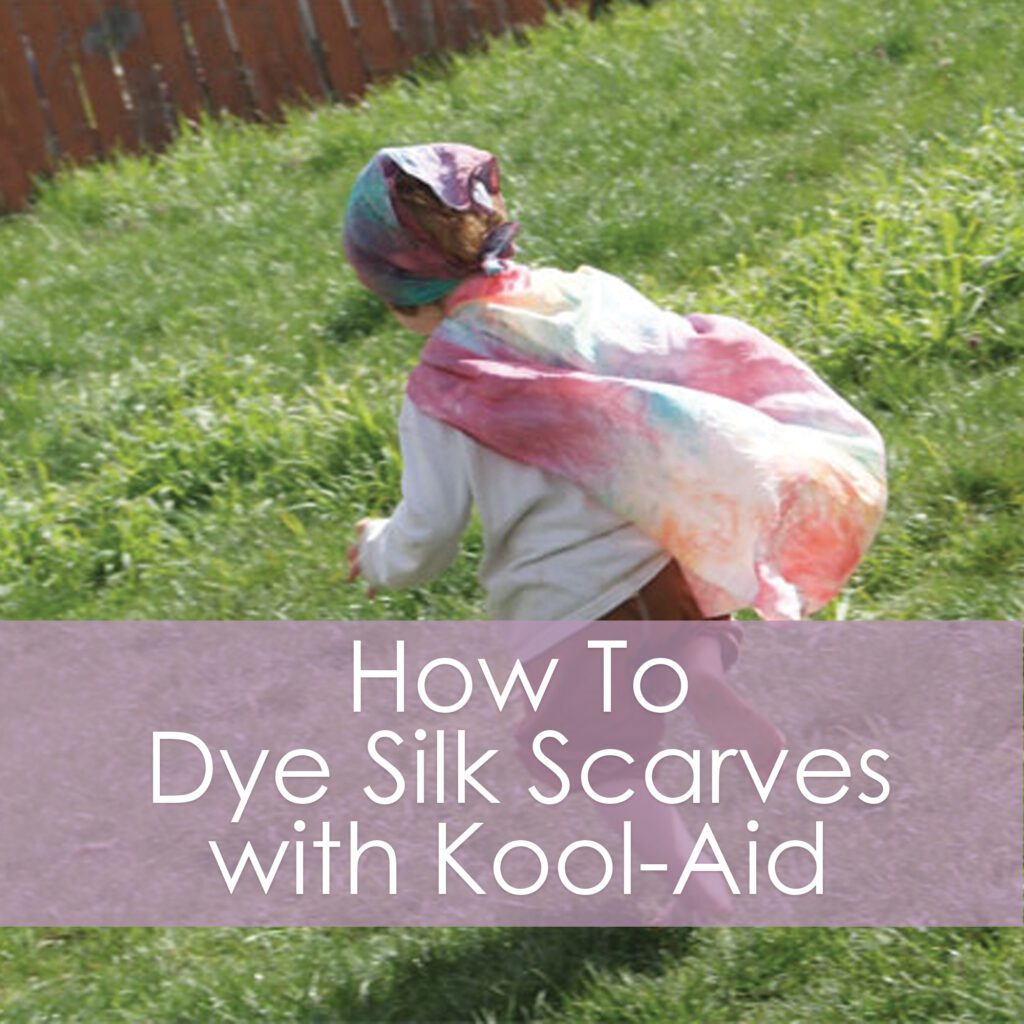
First, I’m going to wax on about silk scarves. I love them. They make great capes and head scarves and baby blankets and tents and banners for waving. They are perfect for shawls and dress-up aprons and dress up skirts. My favorite size is 35×35. You can buy them at Dharma Trading (NOT an affiliate link).
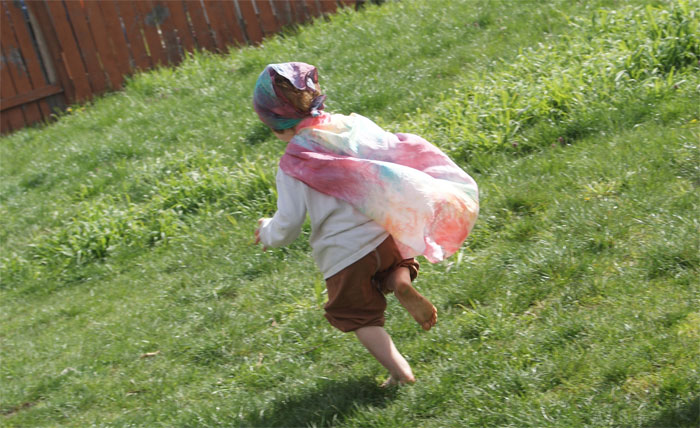
Silk scarves, like other protein, or animal fibers are really easy to dye. This method is also called silk painting and will give a sort of tie dye look. It’s done with Kool-Aid, so this is a great activity to do with kids!
Here are the supplies you’ll need:
* silk scarves
* white vinegar
* condiment bottles OR you could use some recycled yogurt containers or small mason jars
* kool-aid packets – 4-6 per color/container (more info below)
* saran wrap or glad wrap – you want brand name cling wrap because it’s thicker. I don’t want you to get plastic all melted to your scarves!
* a plastic table cloth to cover your work space
* vinyl gloves
First, wash your silk scarves with dishsoap. Don’t worry, it won’t ruin your washing machine or flood over, like a dishwasher would (just fyi, never ever put dishsoap in your dishwasher. It’s bad, don’t ask how I know).
Fill a pot with enough water to cover the scarves and add a glug (it equals about 1/4c- it’s a technical term) of vinegar for every 2 or 3 scarves. It doesn’t have to be exact. Make sure the scarves are all opened up and mixed around so the vinegar water gets in all the folds and crevices.
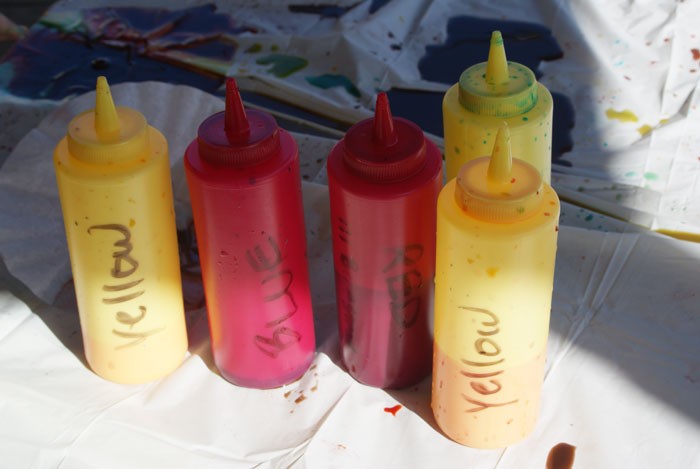
While the scarves are soaking, get your dyes ready.
First, pour about a splash (about 2tbsp – another technical term) of vinegar into each container.
I do red, blue and yellow dyes in separate containers. Choose colors that will mix well together, because they will mix. You don’t have to use just a single color though! To get some really awesome colors, check out this chart to choose a formula. You’ll want to use a total of 4-6 packets per container so choose accordingly.
(Also I don’t think that they make Berry Blue anymore. You can use Mixed Berry instead, but it is darker. Add some Ice Blue Raspberry Lemonade or Lemonade to lighten it or use fewer packets or just try it out. It’s a pretty color.)
Put the powder into the container, then add warm water to fill it and shake shake shake until it’s all well dissolved.
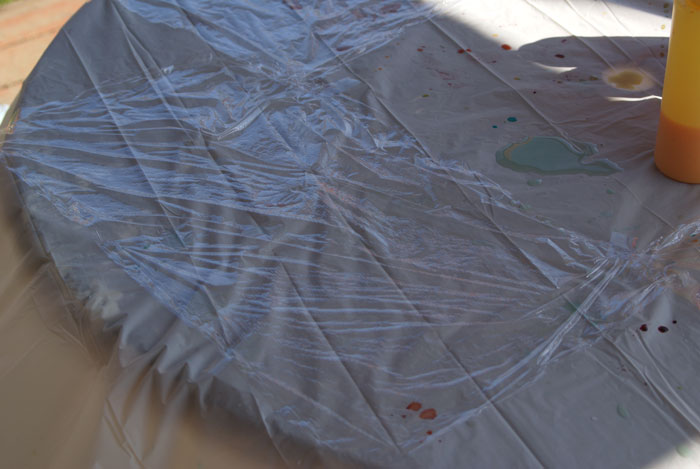
Now, ready your workspace.
Set out a plastic tablecloth if you like. Put out a length of saran wrap that is about 12 inches long. You might want longer if you’re going to spread your scarf out differently or if its a longer scarf. Tape down the corners with a little scotch tape.
Also, preheat the oven to 250 degrees.
Ok, now comes the fun part- are you ready??
Remove one scarf and wring it out. Fold the scarf as you like. Try just folding half and then in half again. Or try that, but fold diagonally. Don’t let it get more than about 4 layers or the color will have a hard time going through. Make sure the scarf fits within about 2 inches of the saran wrap on each side. The scarf going to stick together because it’s wet, so it’s kind of a fun exercise in frustration. But don’t worry, your scarf will turn out fabulous!
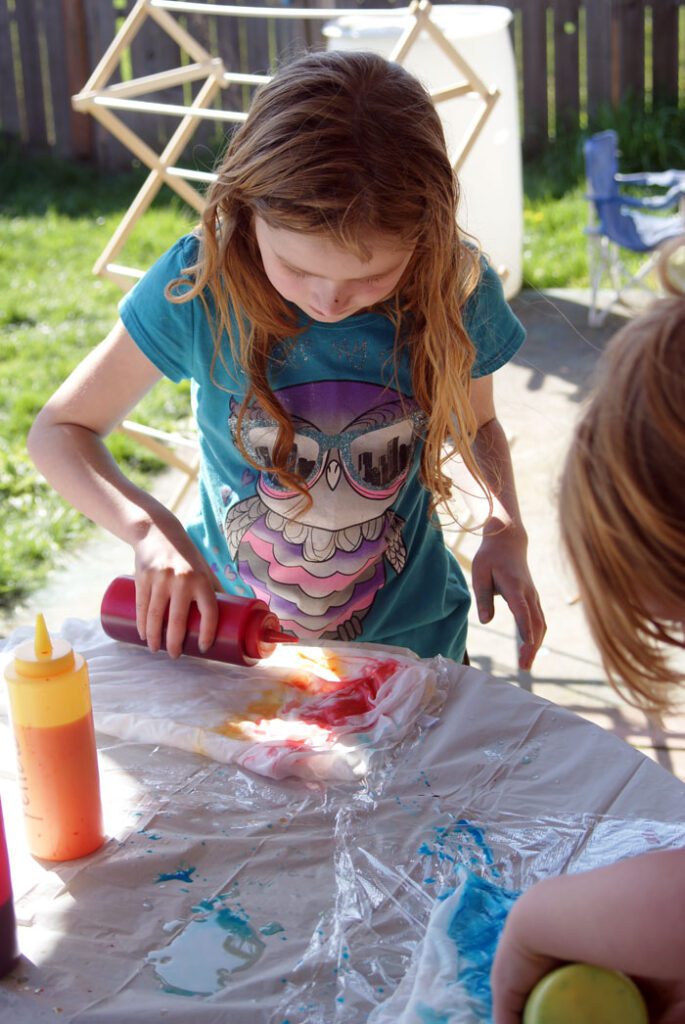
Squirt (or pour) the dyes onto the scarf. Use your hands to press the colors into the scarf. If the colors aren’t going through really easily, flip it over and squirt colors on the other side too.
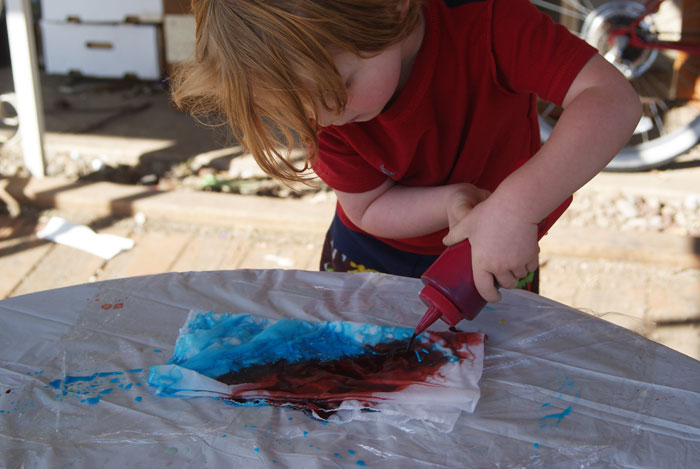
Look at that concentration!
Keep painting until there isn’t any white space left.
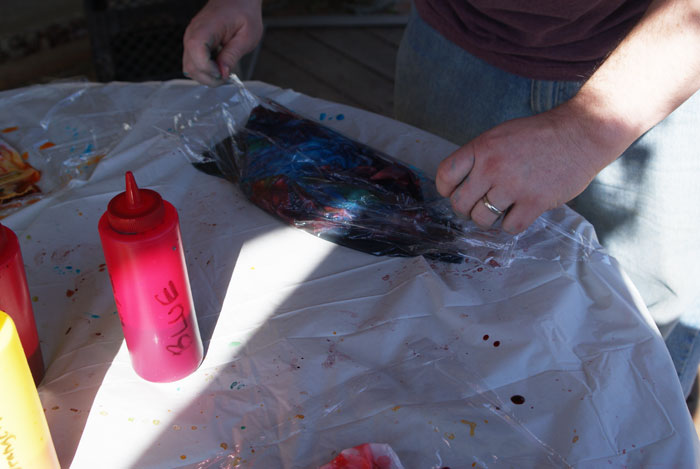
Fold the long edges over the scarf. It’s not going to meet in the middle, so don’t worry about that.
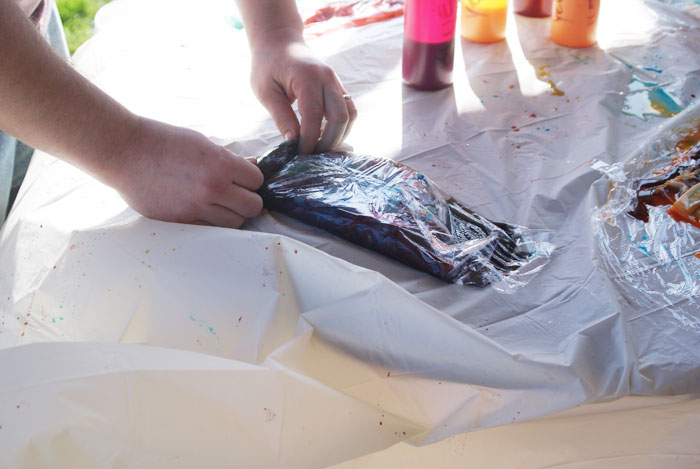
Starting at one end, roll up the scarf and plastic wrap, until you make a little scarf cinnamon roll. Don’t worry if some of the dye leaks out.
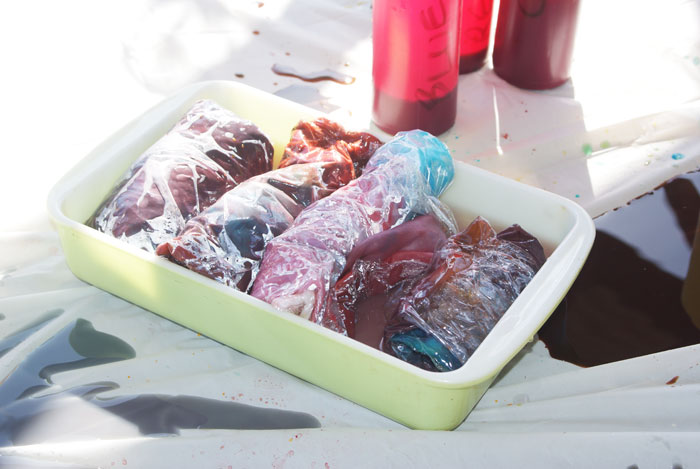
Set the rolled up scarf in a baking pan with about an inch of water. Bake in the oven at 250 degrees for 20 minutes. This sets the color. This is why you don’t want to use cheap-o plastic wrap. The brand name stuff is thicker and won’t melt.
When they’re done, let them cool and then rinse.
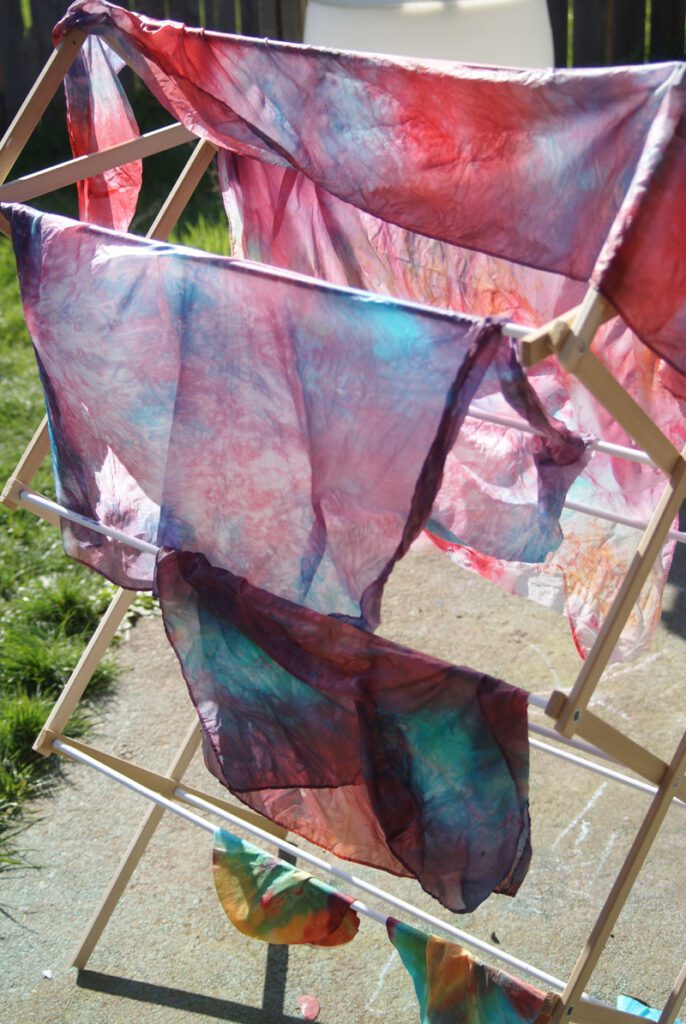
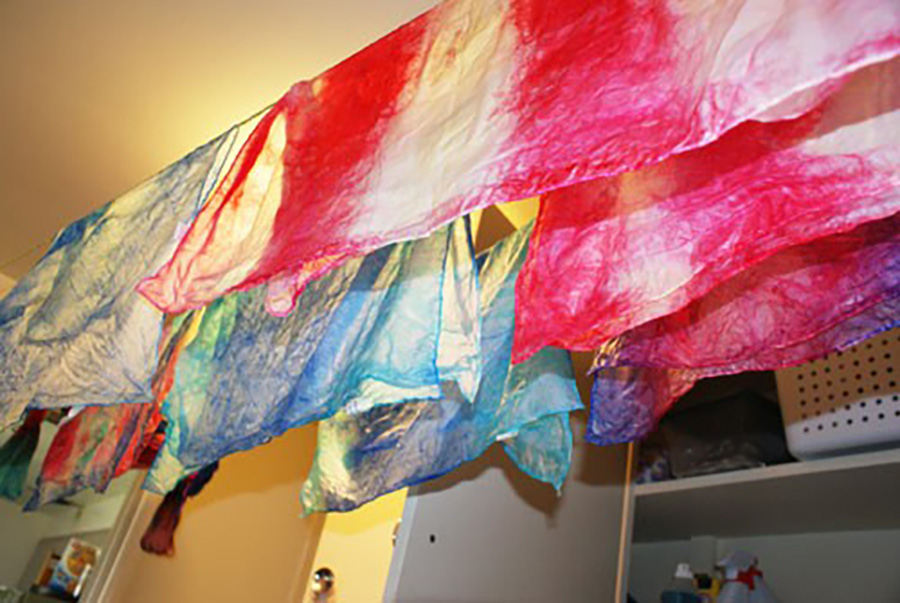
Hang them to dry. The silk is so thin, they won’t take long to dry. If you like, iron them on the silk setting to get all the wrinkles out.
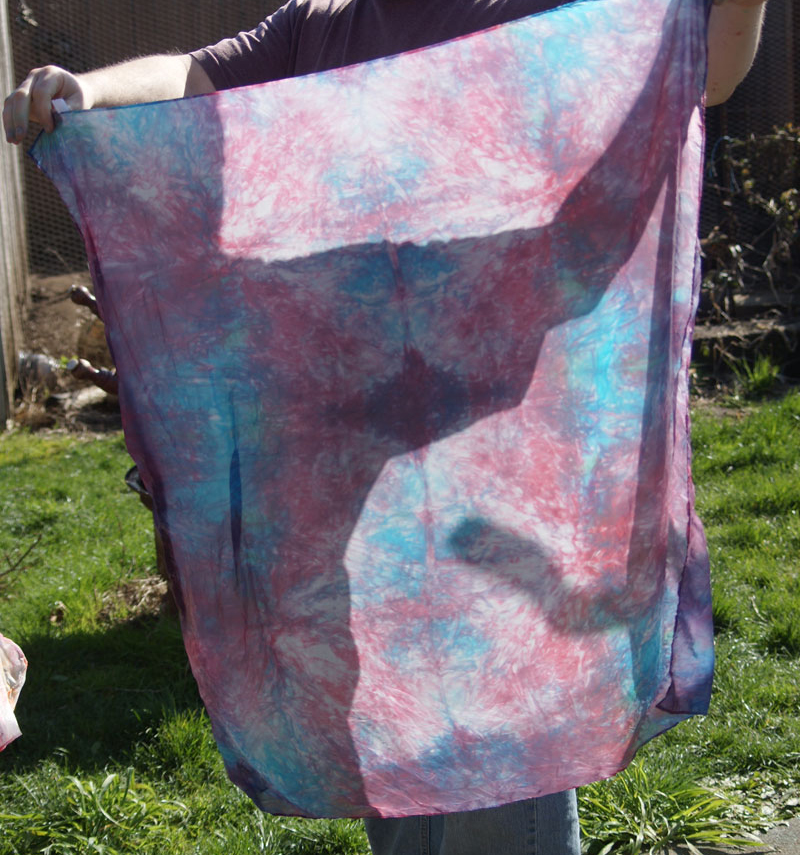
And now the scarf is done!
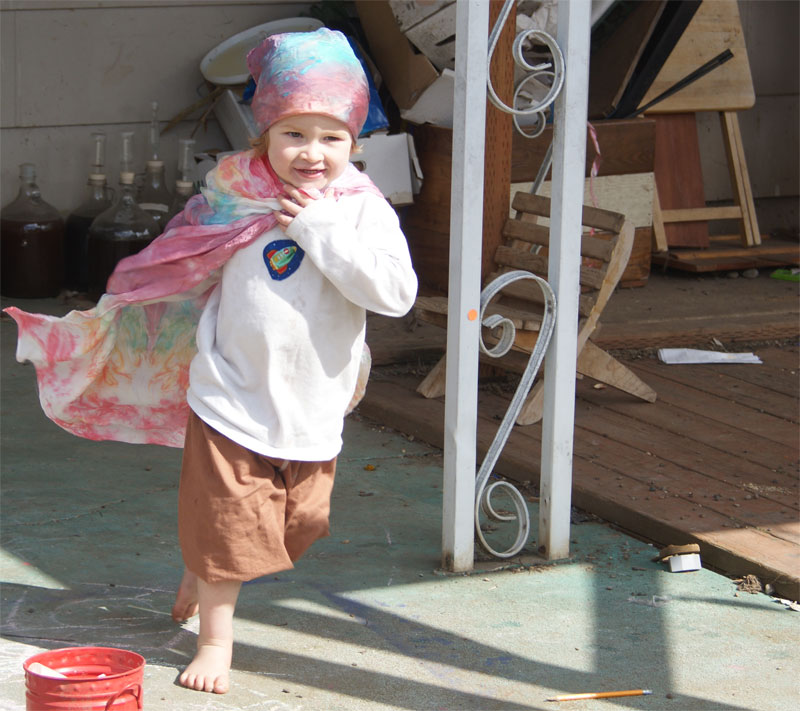
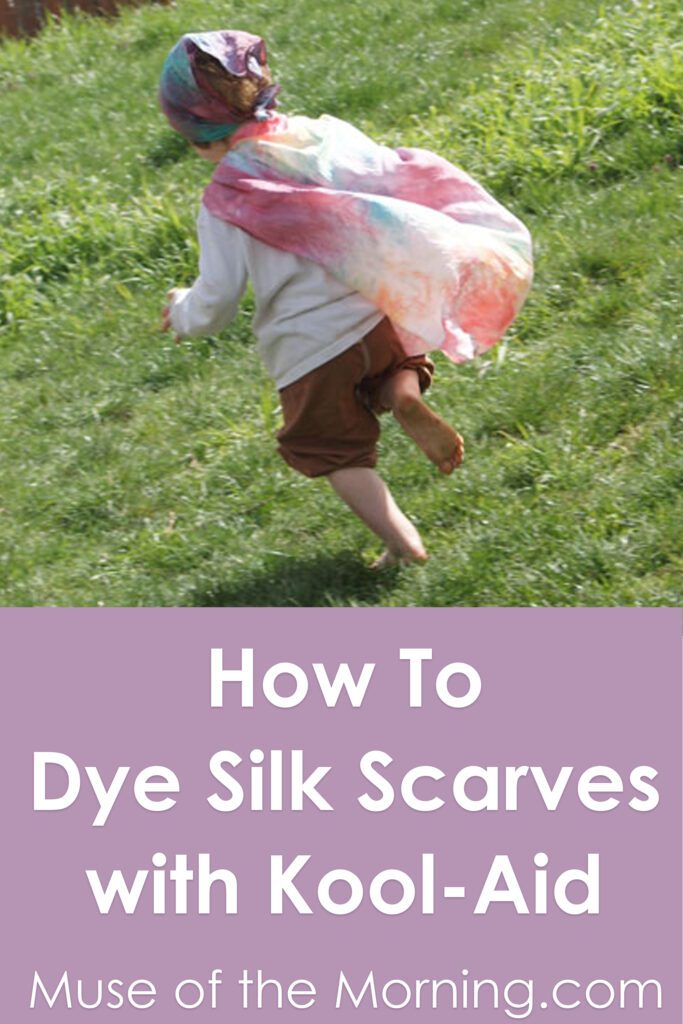
And ready to be played with! Doesn’t that look like fun!?!
What are you going to do with your scarf?
