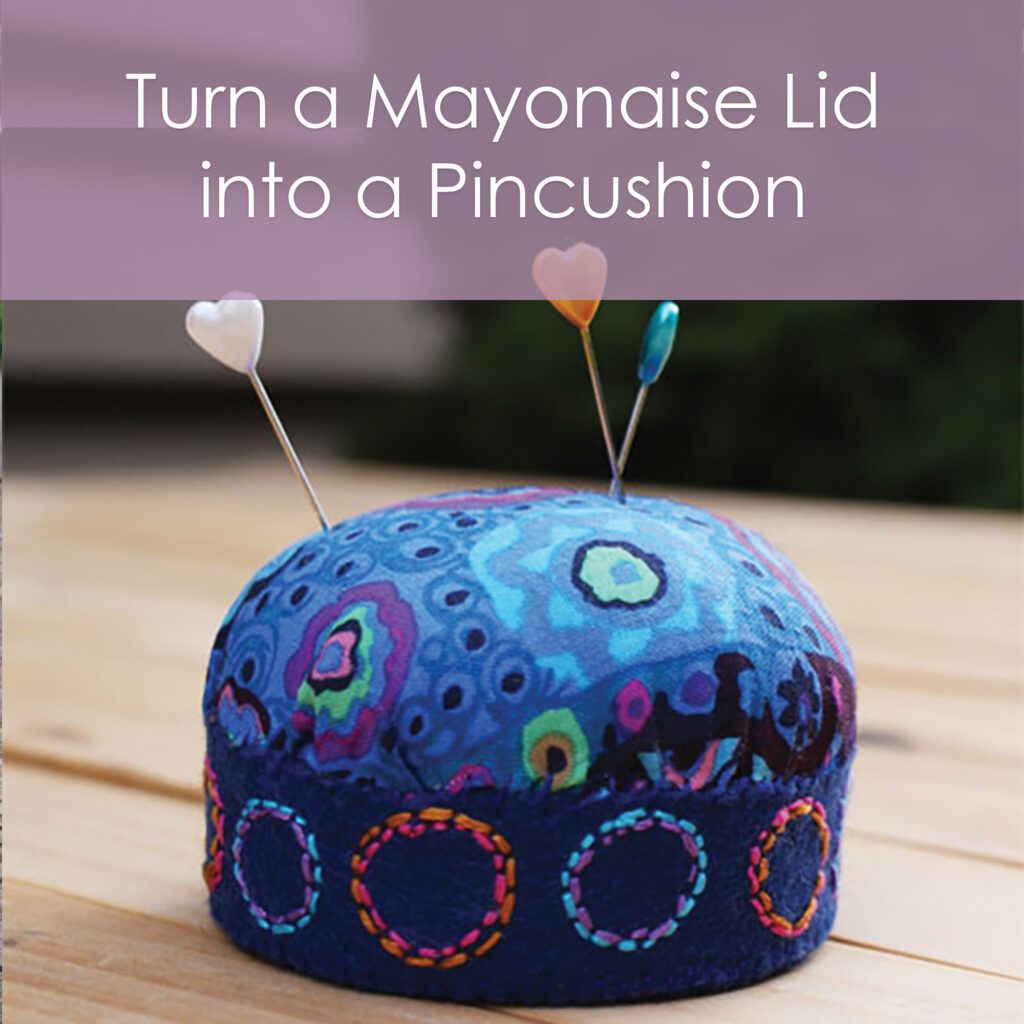
I am so in love with these pincushions! They are very simple- I like to cut out a bunch of the circles and strips at one time and put them together and then do the embroidery part while watching Lil’ Miss play in the park. They are really a lot of fun. And coordinating the embroidery to the fabric is fun too.
Of course, its lovely to recycle the lid and you can also do this with a 2 liter bottle- or really any size bottle cap. Just measure the top part out accordingly- the diameter of the circle should be about 3 times the diameter of the bottle cap. For 2 liter bottles, you can also use wool felt for the top part too.
Supplies:
embroidery floss for sewing the whole thing- use a color that matches your wool felt.
fabric for the pincushion top
wool felt for the sides and bottom-
– the strip should be: 9.5 inches long x 3/4 inch tall
– trace the lid to get the felt for the bottom.
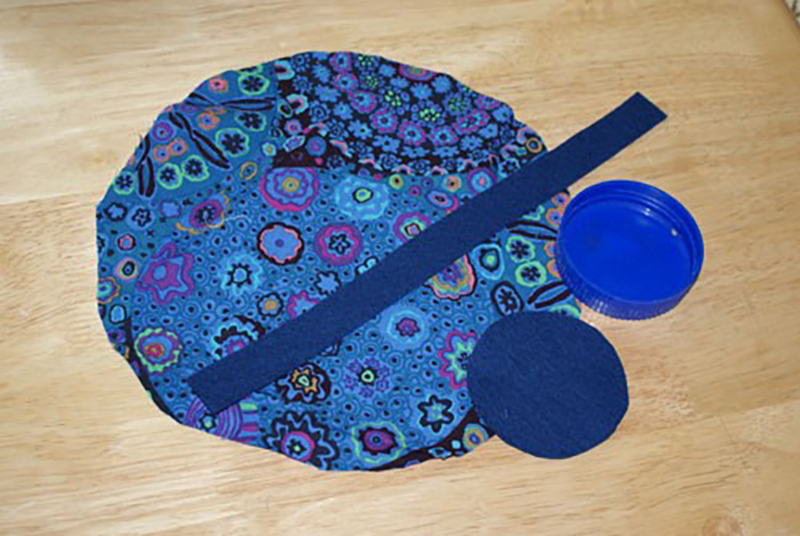
Preparation:
Cut out a circle for the top of the pincushion. The diameter of the circle should be about 3 times the diameter of the lid you’re using. This picture gives an idea of how big it should be for the mayonaise lid.
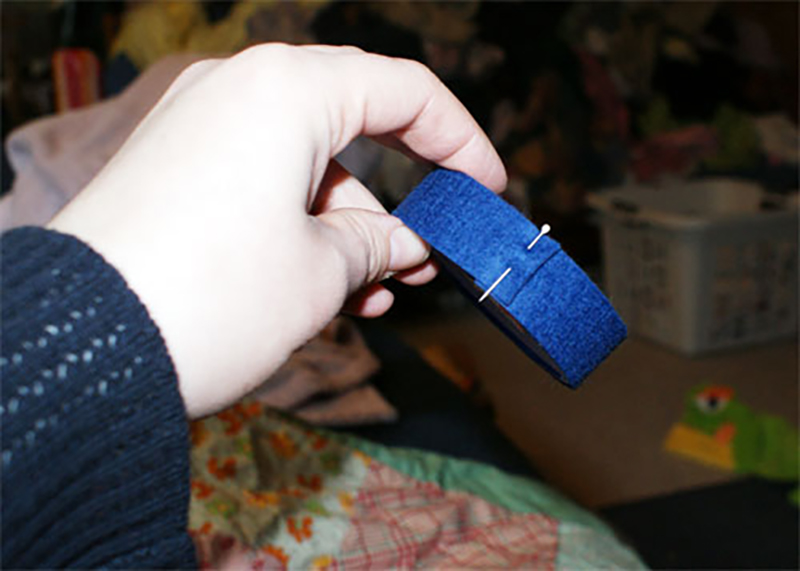
Step 1:
Take the strip of wool felt and wrap it around the lid. It should overlap about 1/4 of an inch. Pin it so it stays on.
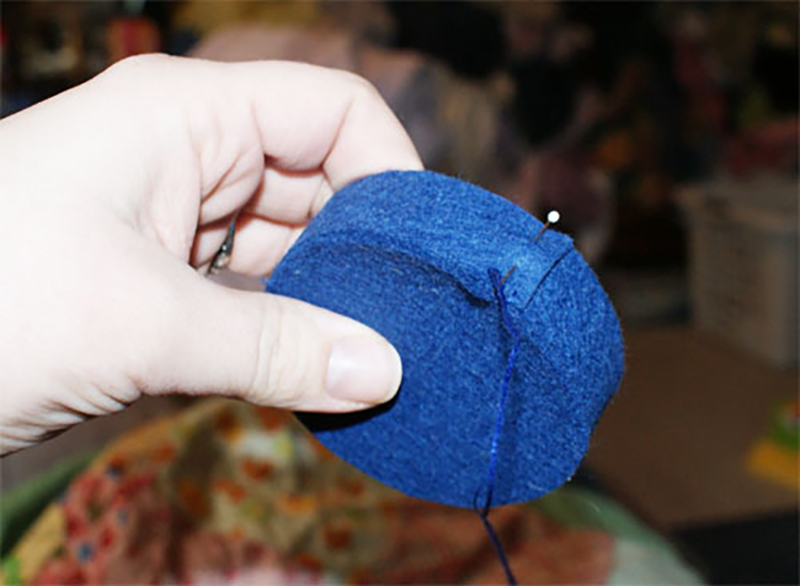
Step 2:
Hold the bottom circle against the solid part of the lid and stitch around the edge, catching the strip with a blanket stitch all the way around. Start at where the strip overlaps, so you end there also.
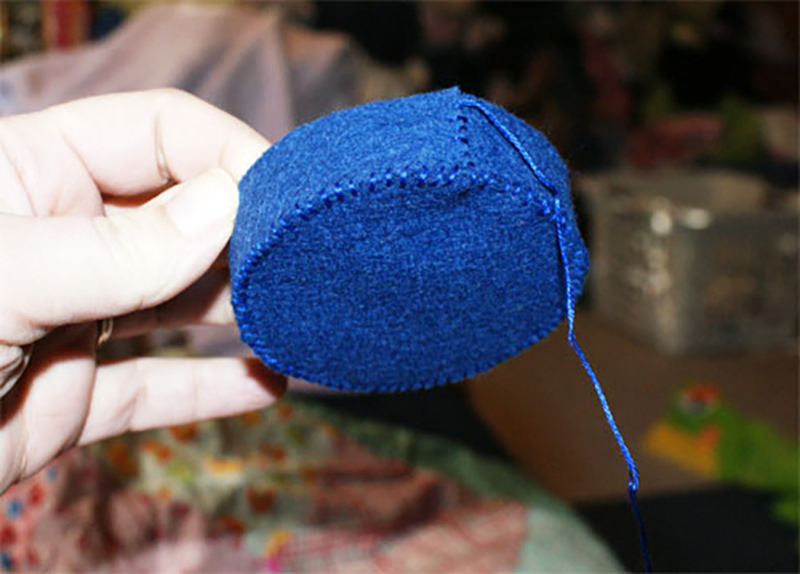
Step 3:
When you get back to the beginning, sew up the strip, closing the overlap. Set aside.
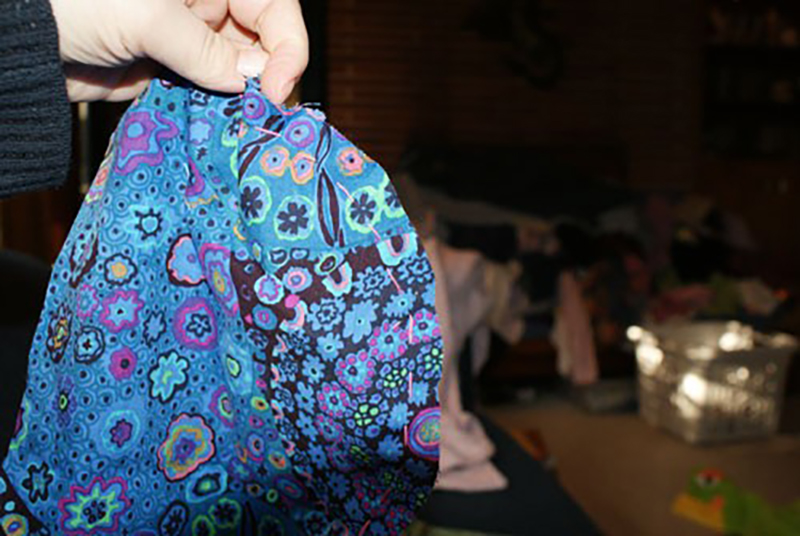
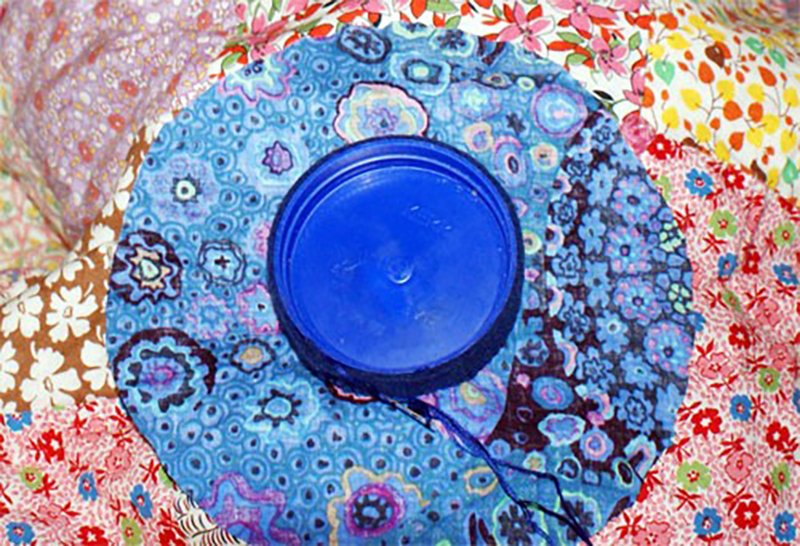
Step 4:
Sew a very wide straight stitch all along the edge of the circle, about 1/2 inch in from the edge. When you get to the end, cut off the needle, leaving a tail on each end. Pull the ends of the thread to gather the circle until there is about a 1 inch hole left open.
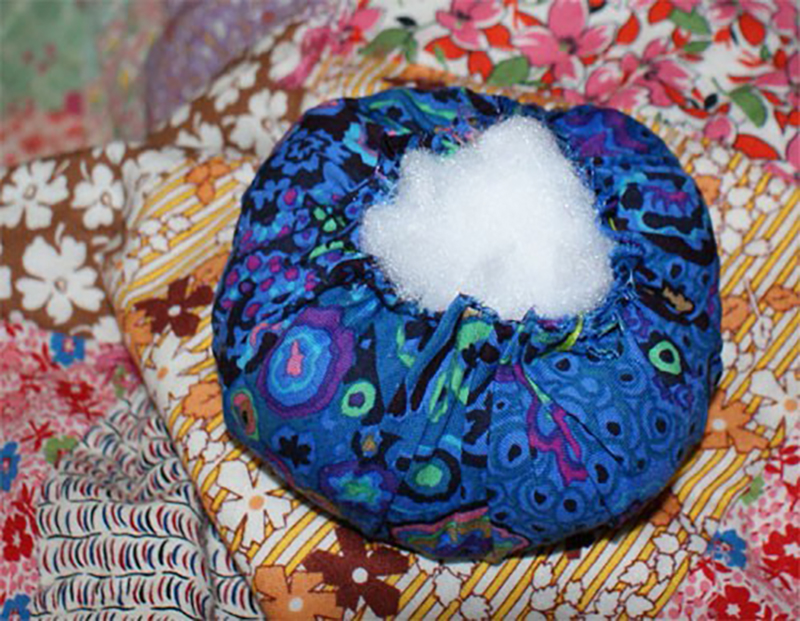
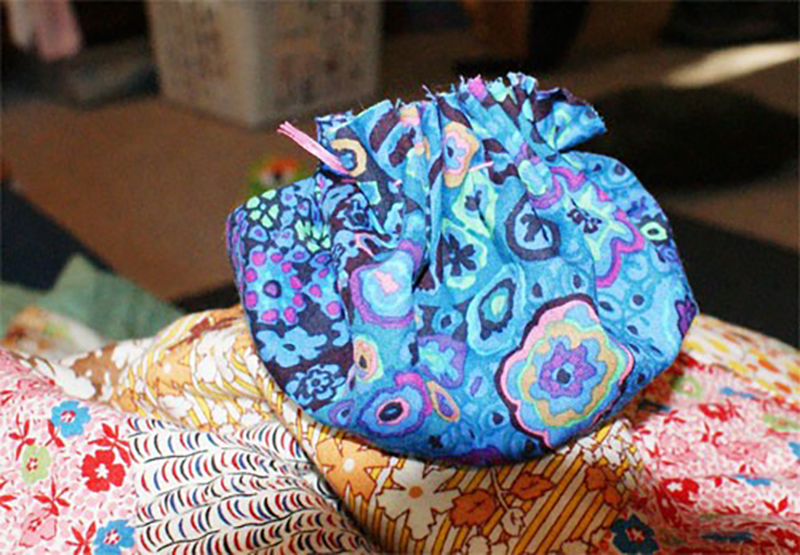
Step 5:
Stuff the circle as full as you can with polyfil or wool stuffing. Then stuff it even more. Then add even more stuffing. This sucker should be stiff, that’s how full it should be.
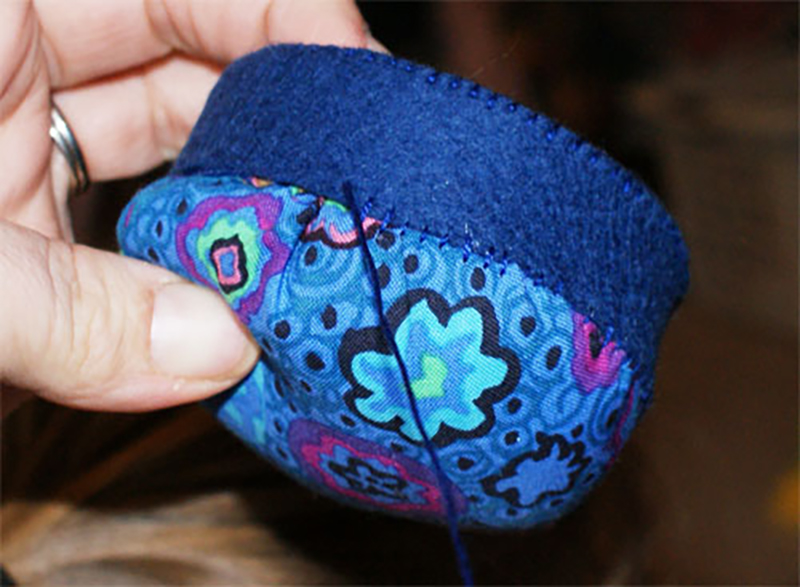
Step 6:
Now put the stuffed circle into the lid and using the leftover thread from attaching the bottom piece, start sewing the stuffed circle on. Push the circle down into the lid so there is only about 3/4 of an inch or so sticking up above, this will help it stay firm.
Step 7:
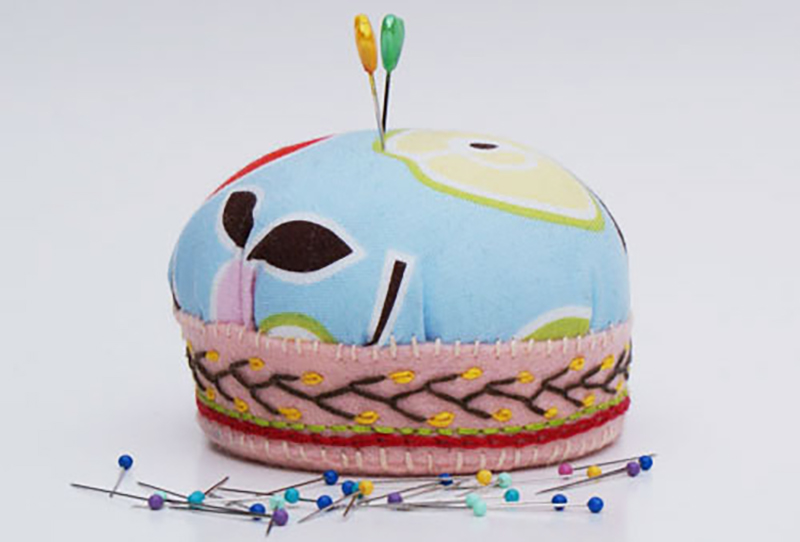
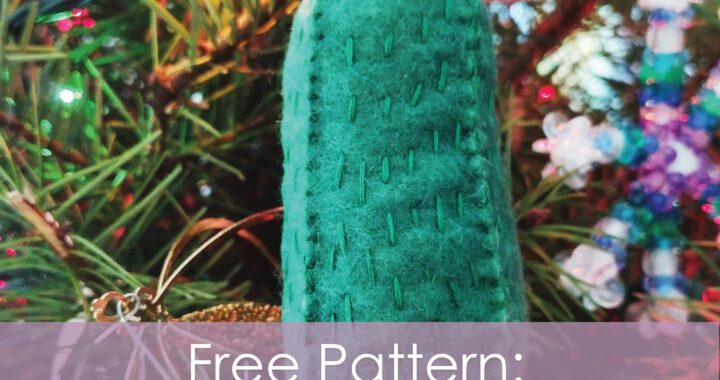
Now add any embroidery that you want to the sides of the pin cushion. But basically, you’re done! Here are some more that I’ve made- I really love this style of pin cushion- easy to make and really fun to embellish!
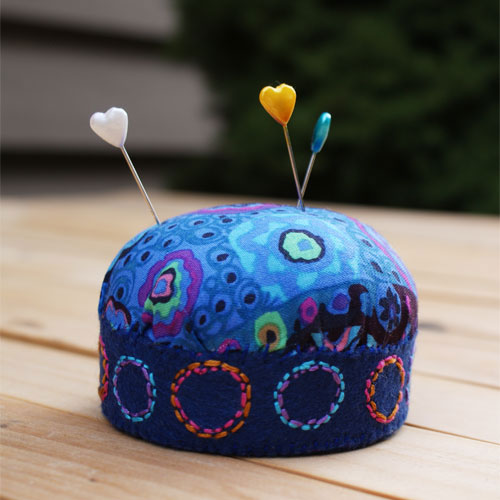
I love the mixture of embroidery stitches on this one. There’s a feather stitch in brown with a “bud” made from an isolated chain stitch in yellow.
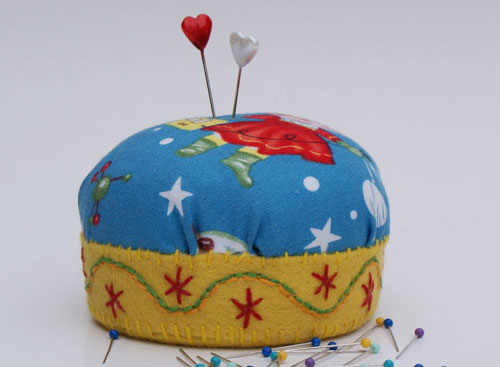
Retro Rockets fabric seemed to call for atomic stars on the side!
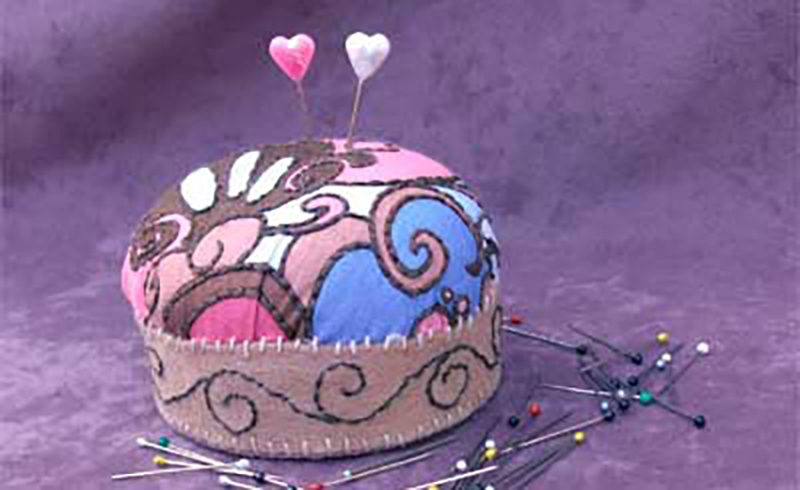
This one I embroidered some of the lines on top of the pin cushion with a back stitch.
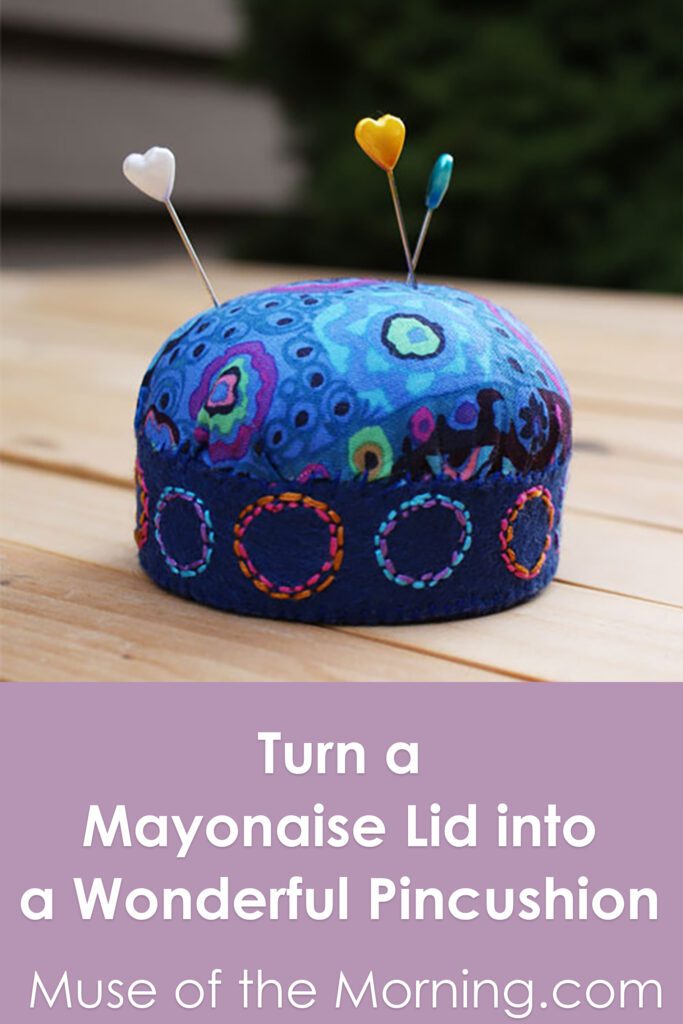
This post was published on Muse of the Morning.com

Like the idea of a larger lid and using wool felt around the rim.
We use plastic milk bottle tops to create a small, useful pincushion, it’s good to experiment and upcycle.