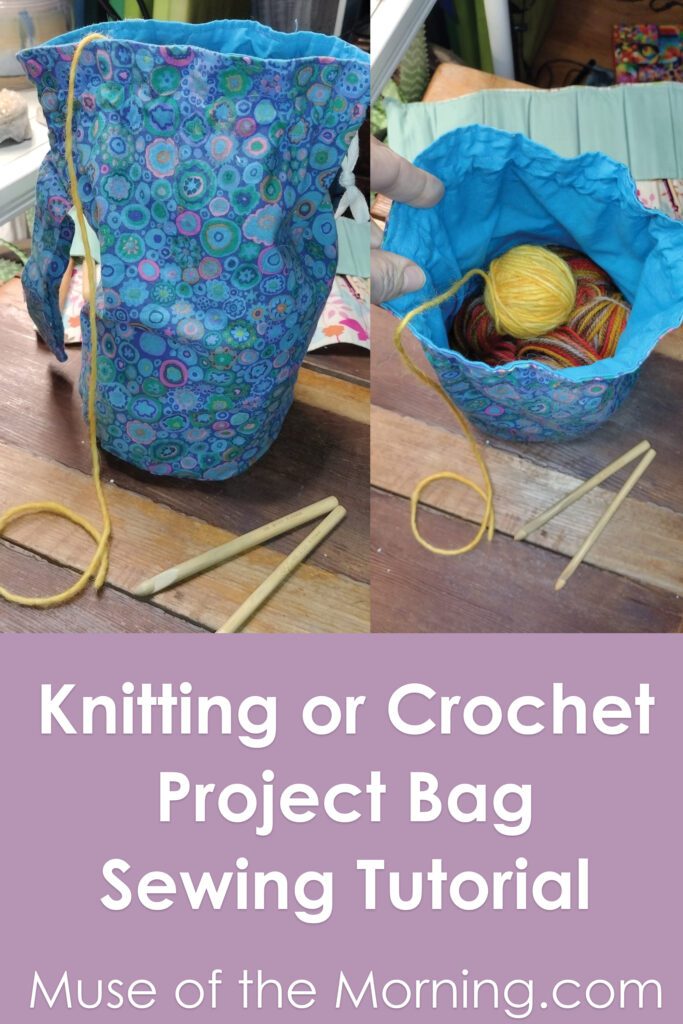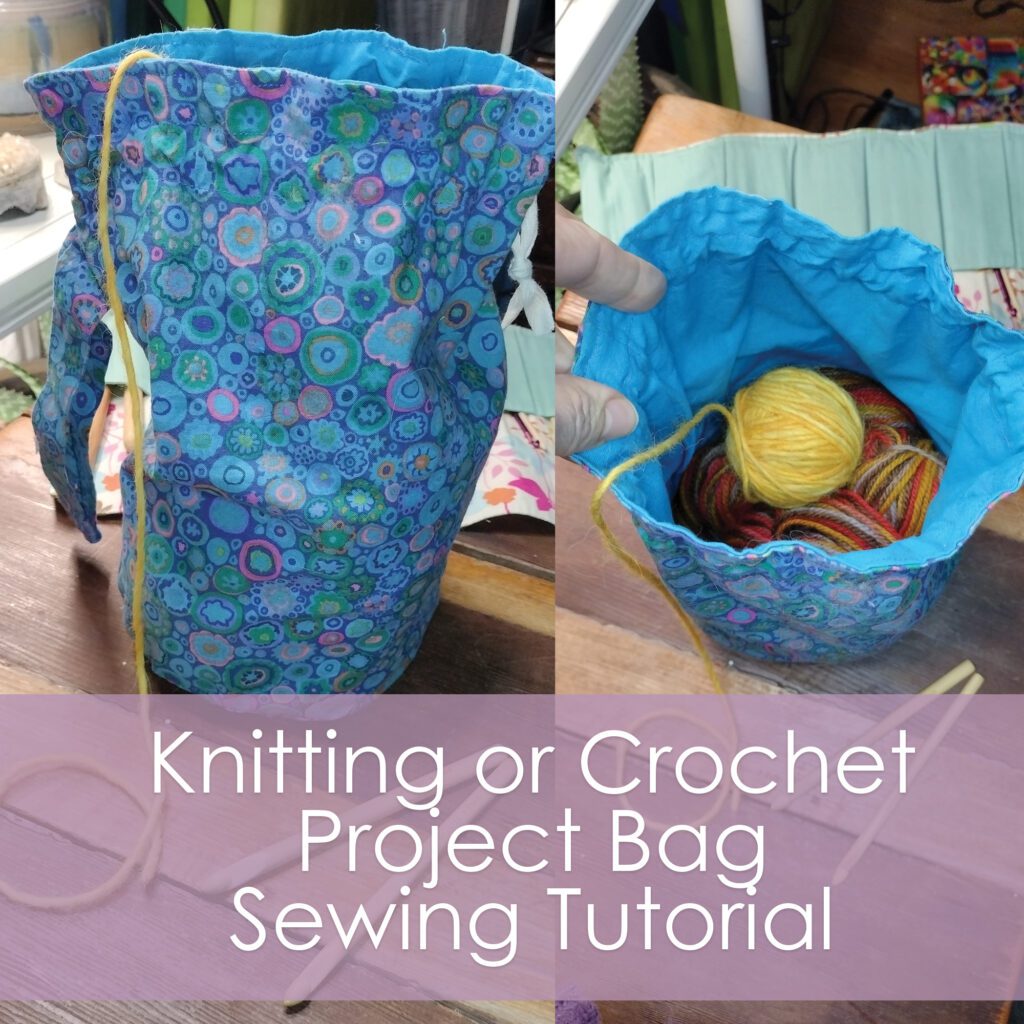
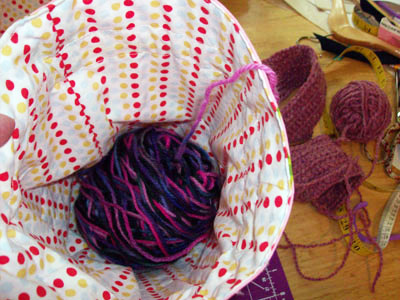
As a newbie hooker (read crocheter), I have found that to keep all of my projects organized and handy, a project bag is perfect! I slip a pair of embroidery scissors and a darning needle in the bottom, add my yarn and a hook and I am ready to go- doing any project anywhere! You might even want to sew a little holder in the bottom for your scissors and needle, so they aren’t floating around the bag.
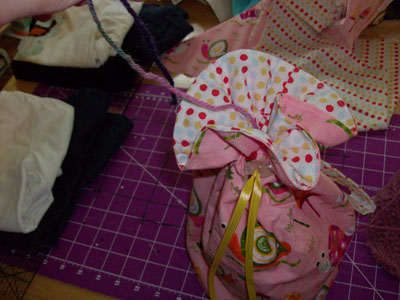
These project bags are perfect for on the go- slip the handle around your wrist, pull the cordlock tight so your ball of yarn won’t fall out, but your strand comes out the top so you can knit or crochet anywhere.
Supplies:
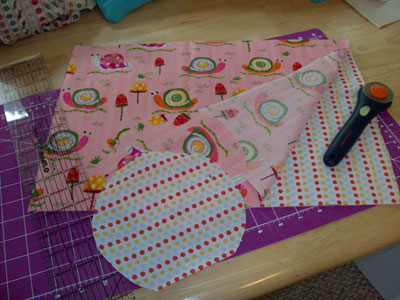
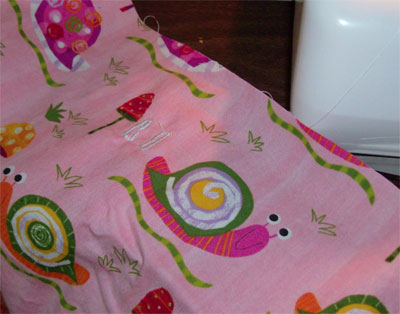
outer fabric:
1 circle 7 inches in diameter
1 strip 22 x12 inches
lining fabric:
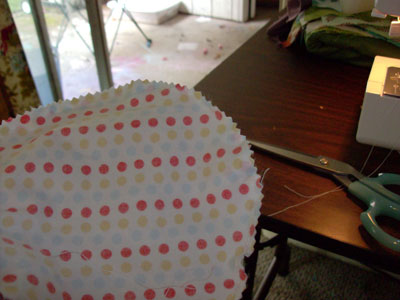
1 circle 7 inches in diameter
1 strip 22×12 inches
1 strip 2.5×18 inches
drawstring
cord lock
Note: 1/4 seam allowance allowed
Step 1:
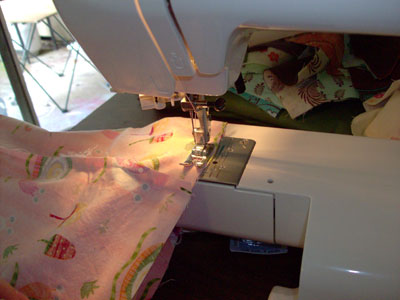
The handle: Fold the strip in half lengthwise with right sides together. Sew with 1/4 seam allowance along the long open edge. Turn right side out. When it’s turned, I like to put the seam in the middle on the underside, but you can put it on the side. Topstitch on both long sides.
Set aside.
Step 2:
Make a button hole: On the outer fabric, locate the center. Sew 2 button holes so the top of the button holes are about 1.25 inches from the top of the fabric. Make them 3/4 inch long and sew them about 1/2 an inch apart. Use a scrap of fabric as a stabilizer. (Ignore my ugly buttonhole there- I’m not exactly sure how my sewing machine makes buttonholes yet!)
Step 3:
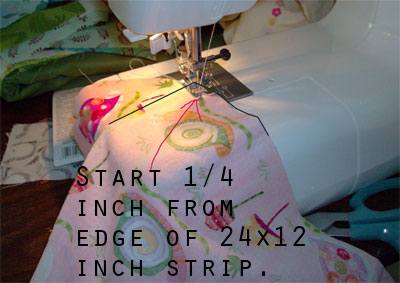
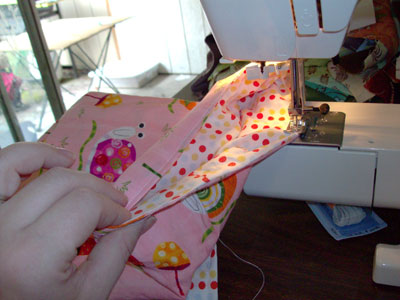
The bag outer and inner: Sew the long edge of the 22×12 inch strip around the edge of the circle with right sides together. Start about 1/4 inch in from the edge of the long strip. I find it easiest to have the strip on top of the circle so you can control where the fabric is going easier.
Repeat with the lining fabric.
Clip seams open so the circle will lay flat. I use pinking shears.
Step 4:
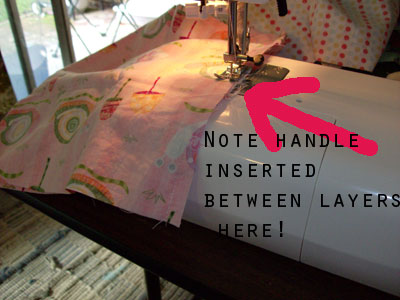
Bag outer and inner: On the outer, line up the short side that is still left open, with it’s brother side with right sides together. Take the handle and match up the short raw edges, with the seam side together. Insert the handle between the right sides of the outer bag fabric, so that all raw edges meet up, approximately 1 3/4 inches down from the top (just below the buttonholes on the front of the bag).
Repeat with lining (omitting handle insertion).
Step 5:
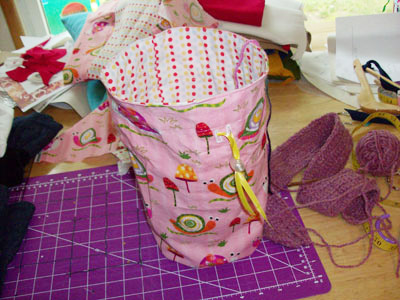
Turn the outer inside out. Insert the lining into the outer, lining up the back seam, with right sides together.


Step 6:
Leave a section about 3 inches wide open (near the back), and sew around the top circle.
Turn right side out and insert the lining into the outer fabric.
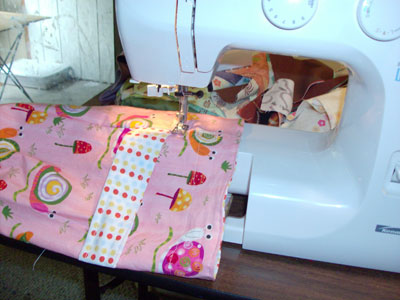
Step 7:
Topstitch the bag together 1/8 inch from the top.
Step 8:
Sew another 2 seams all the way around right above and below the button holes.
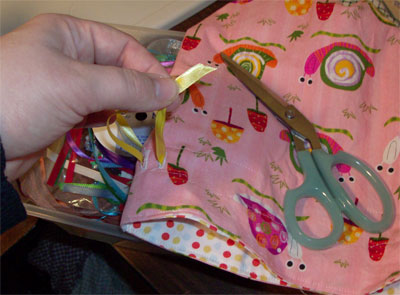
Step 9:
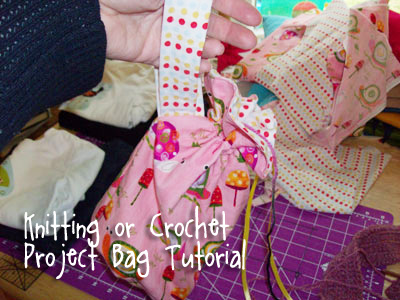
Thread your drawstring in through one buttonhole, all the way around and out the other. Thread both ends of your drawstring through a cordlock.
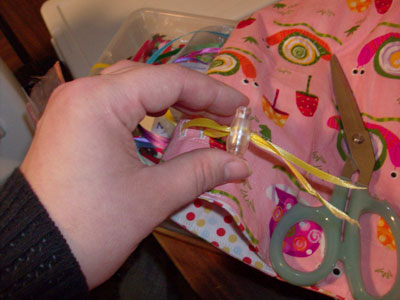
Step 10:
Put your yarn in, thread it out through the top and close the cordlock so it will keep the yarn in and start knitting or hooking away!
This post was published on Muse of the Morning.com