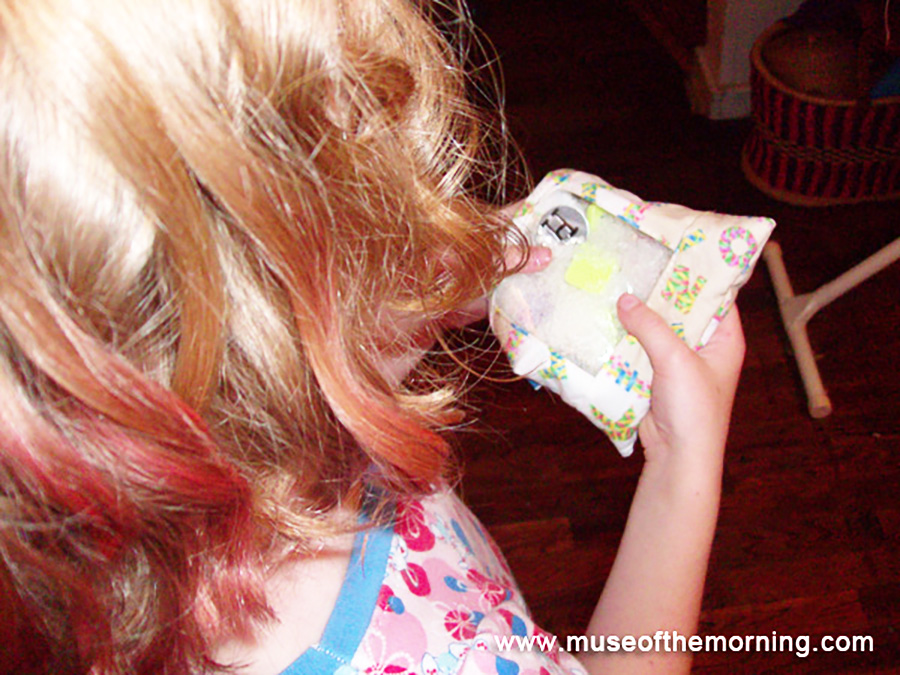
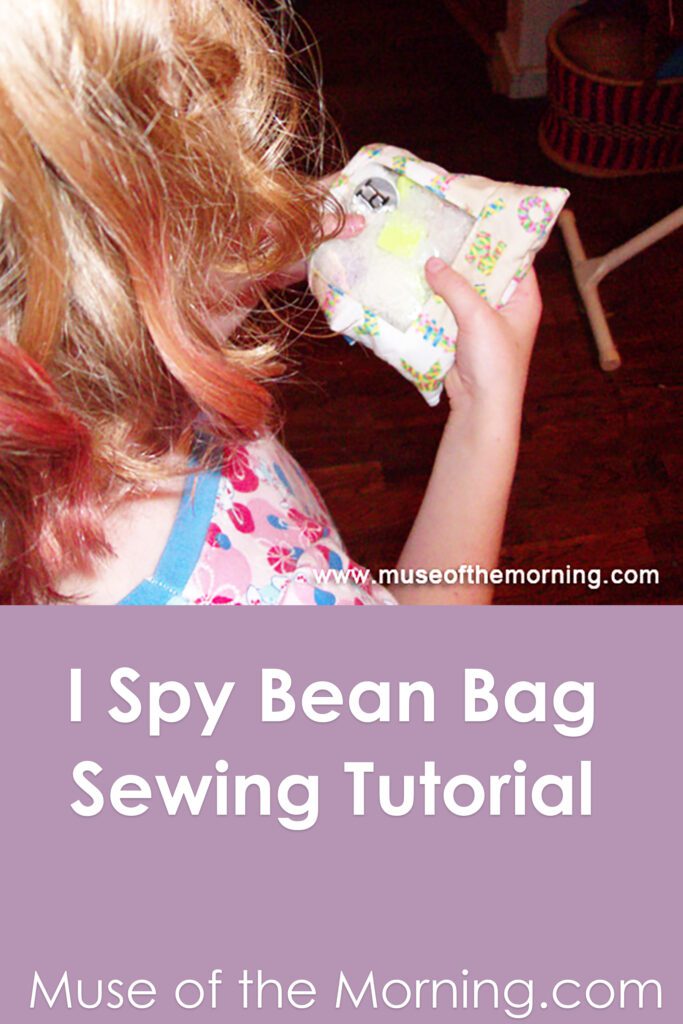
Seek and Find Bags or I Spy Bags are such an awesome toy! I love search for little items to fill them with, especially things that are out of the ordinary!
What you need:
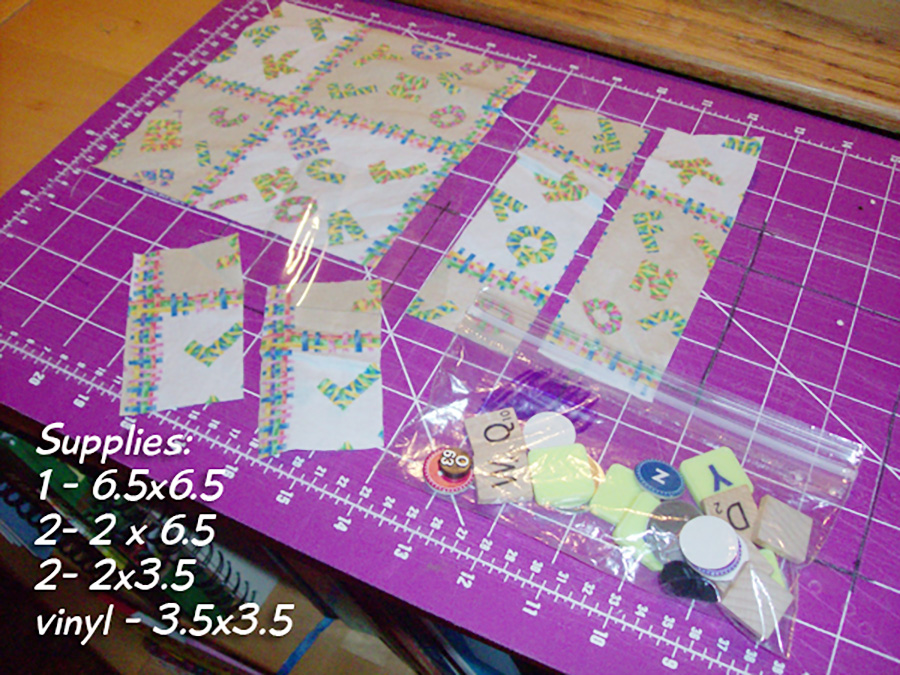
Piece of vinyl that is 3.5 x 3.5 inches
(A) 2 pieces that are 2 inches by 3.5 inches
(B) 2 pieces that are 2 inches x 6.5 inches
(C) 1 piece that is 6.5×6.5 inches
20 or so little items to seek and find in the bag
a list of said items on a piece of paper, then laminated and attached to a ribbon
poly pellets or rice for filler
To Find the Items:
Look for little things all around you- you can use ordinary things like nuts or bolts, coins, pencil erasers or paper clips. You can also try finding other fun things like shaped buttons, or shaped erasers, doll house accessories, jewelry charms or game pieces.
For Filler:
In my opinion the best filler is poly pellets. You can find these in any craft store. You can also use rice and I’ve heard of some people even using dried beans. Be careful with the rice or beans though- you don’t want them to get wet!
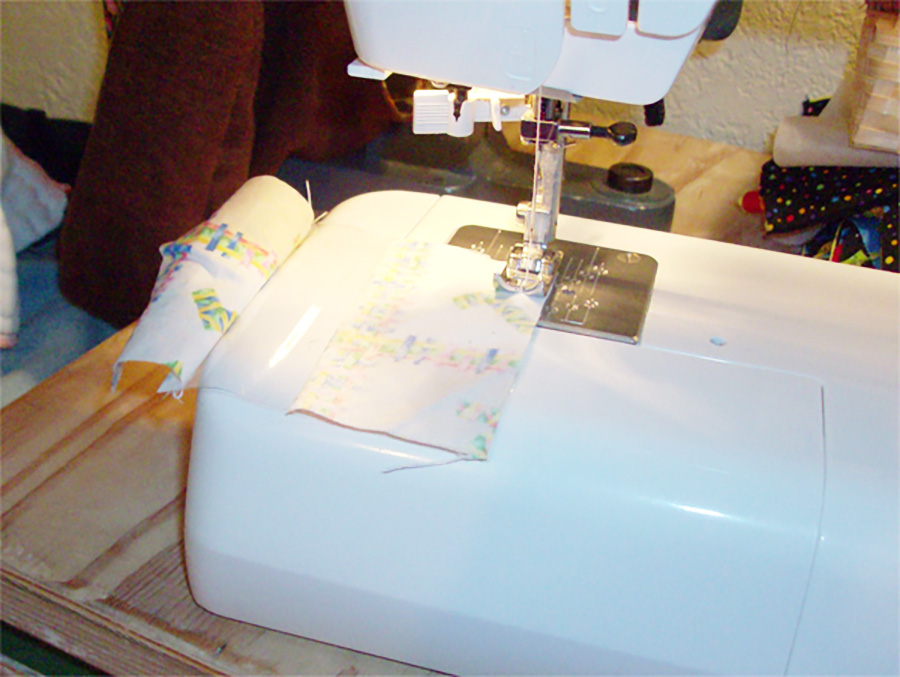

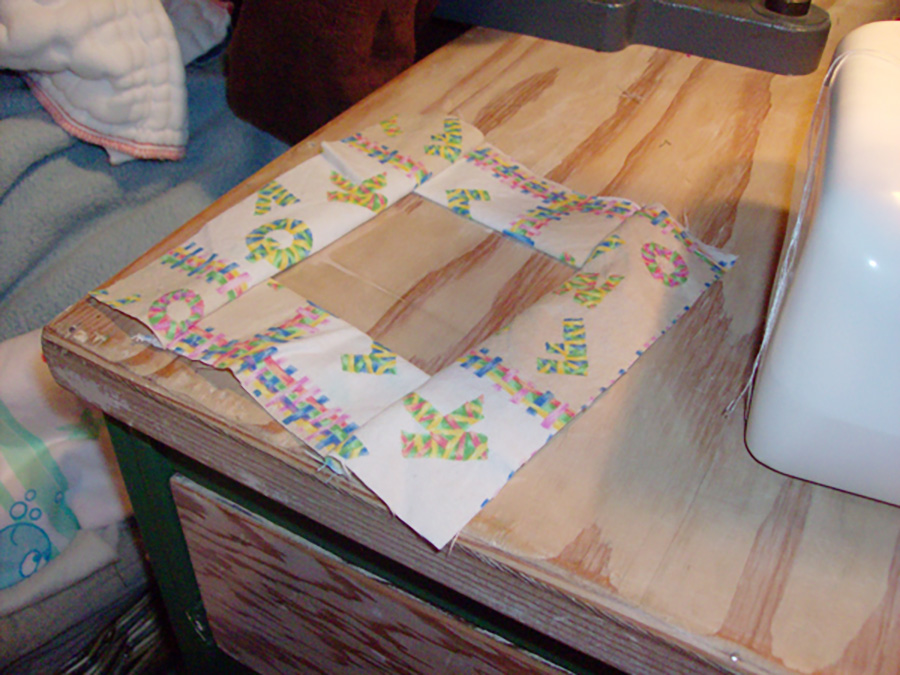
Take the piece of vinyl and sew the 2×3.5 inch pieces of fabric (pieces A) to it on each side. To make the vinyl go through your machine easier, use a walking foot or just keep the vinyl on the bottom when you sew with it.
Zig zag over the raw edges. This will keep the fabric from fraying inside the bag.
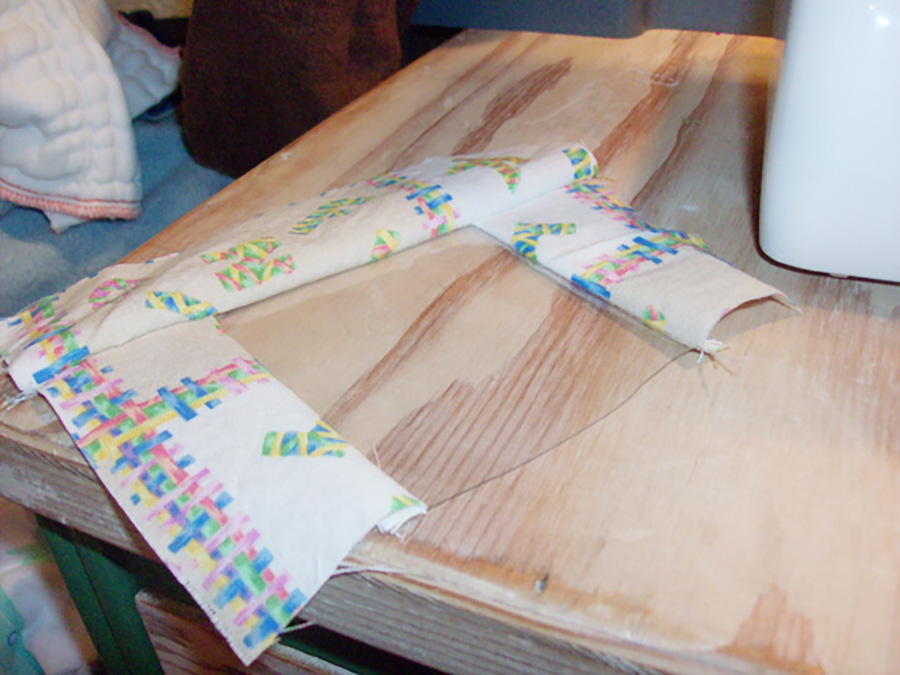
Take the 2 pieces that are 2×6.5 inches (pieces B) and sew them with right sides together on either of the long sides of the vinyl/fabric combo. Zig zag over the edges.
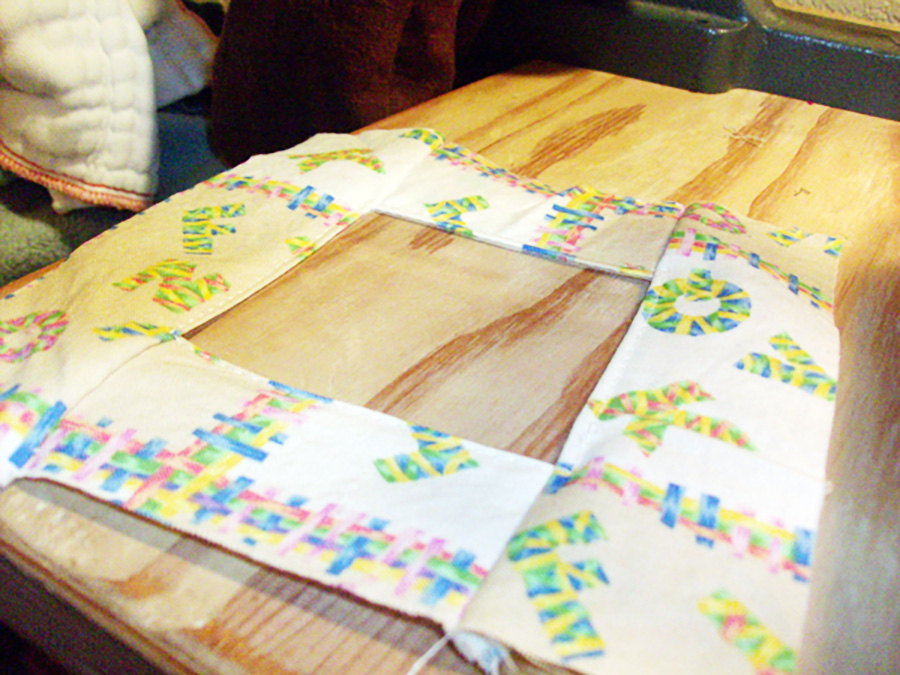
Top stitch the edges around the vinyl square.
Place the 6.5×6.5 square (piece C) together with the vinyl/fabric square with right sides together. Pin together if desired.

Insert the list of seek and find items connected to a ribbon into the bag, leaving the ribbon ends hanging out. Pin in place.
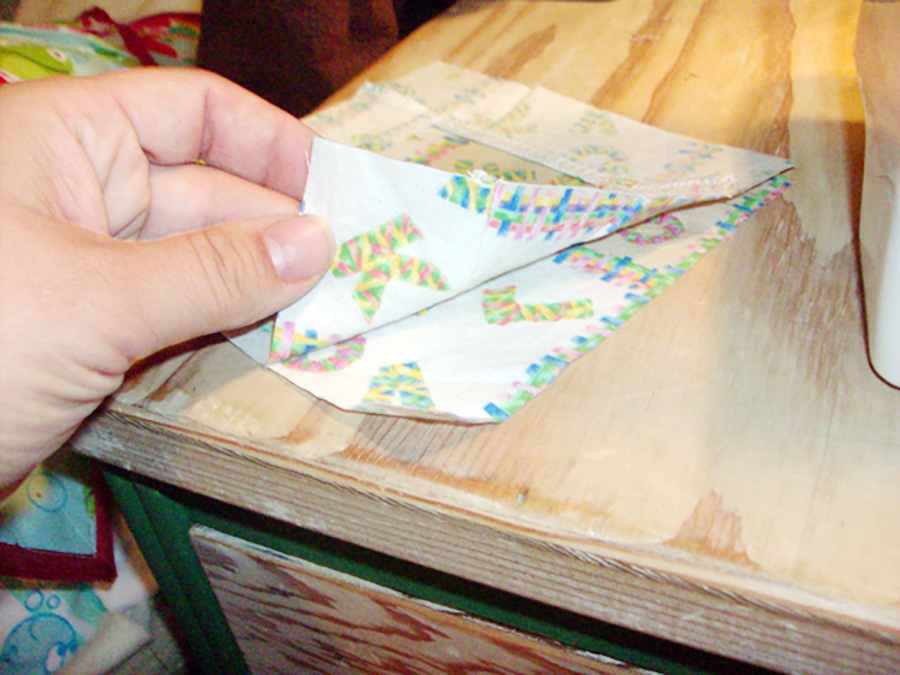
Sew the two layers together around the edges, leaving one edge partially open. Zig zag around the edges. Clip corners.
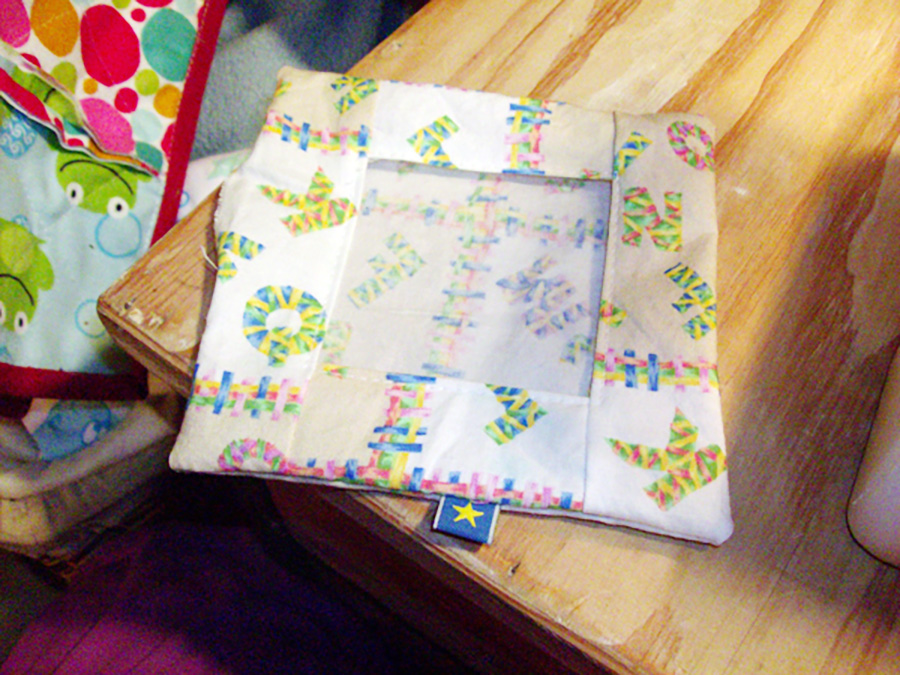
Turn right side out. (This one doesn’t actually have a tag with the list of items.)
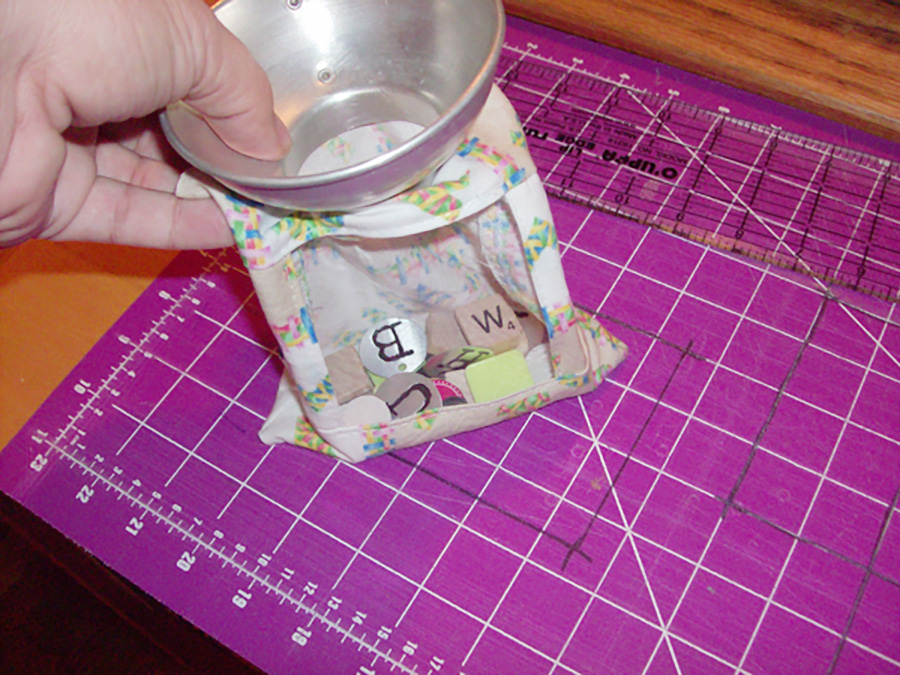
Put your eye spy items into the bean bag. Using a funnel (and trust me, you want to use a funnel), pour in your poly pellets or rice. It takes about 3/4 cup to have enough in there. You don’t want to over fill the bag. I recommend using a measuring cup to scoop the pellets because they will stick to your hand and then fall off all over the place.
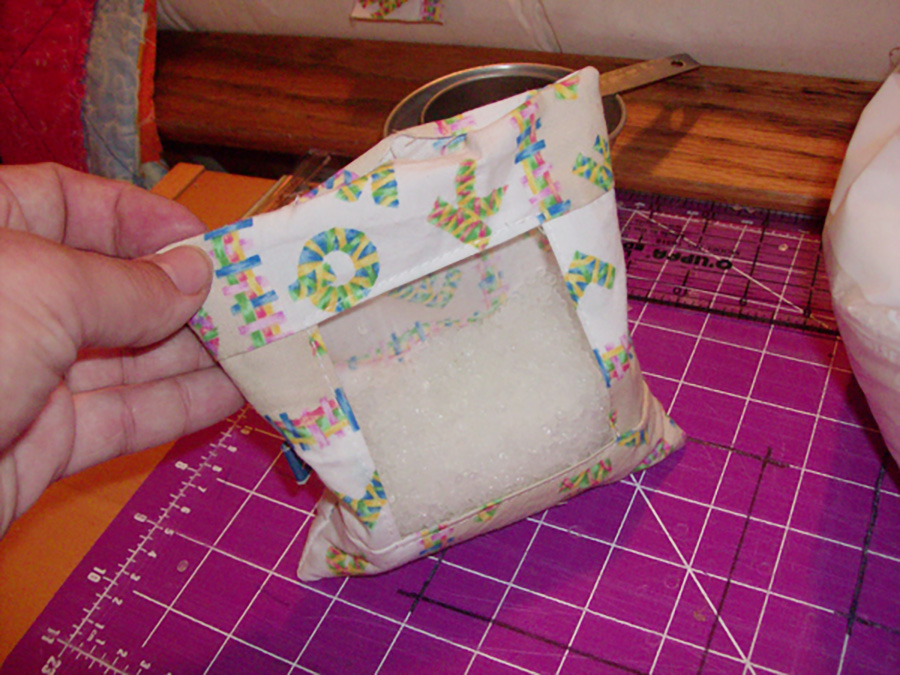
You only want the bag to be about half full or it will be hard to look for the items in the bag.
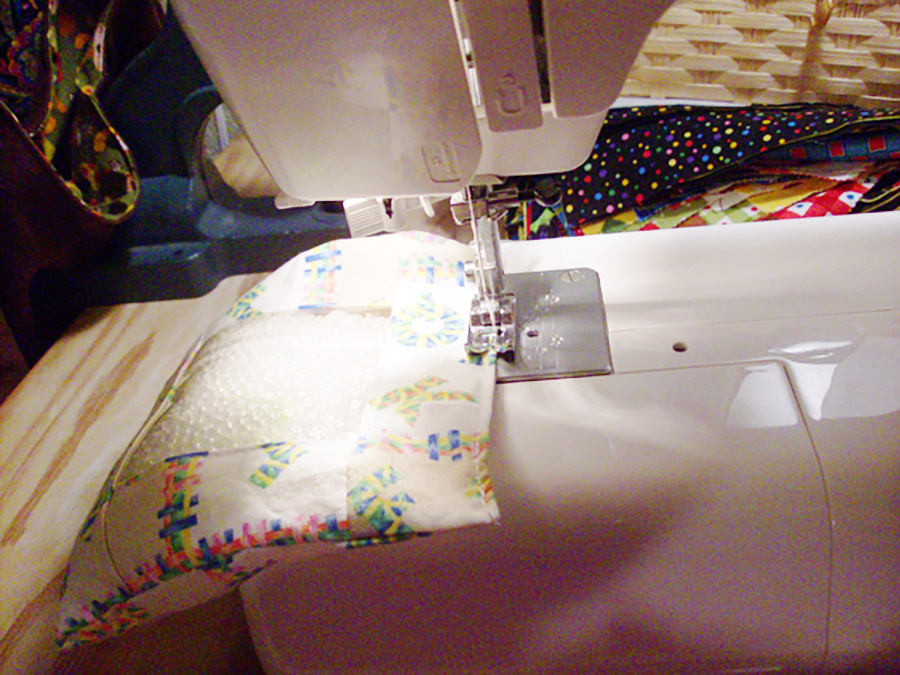
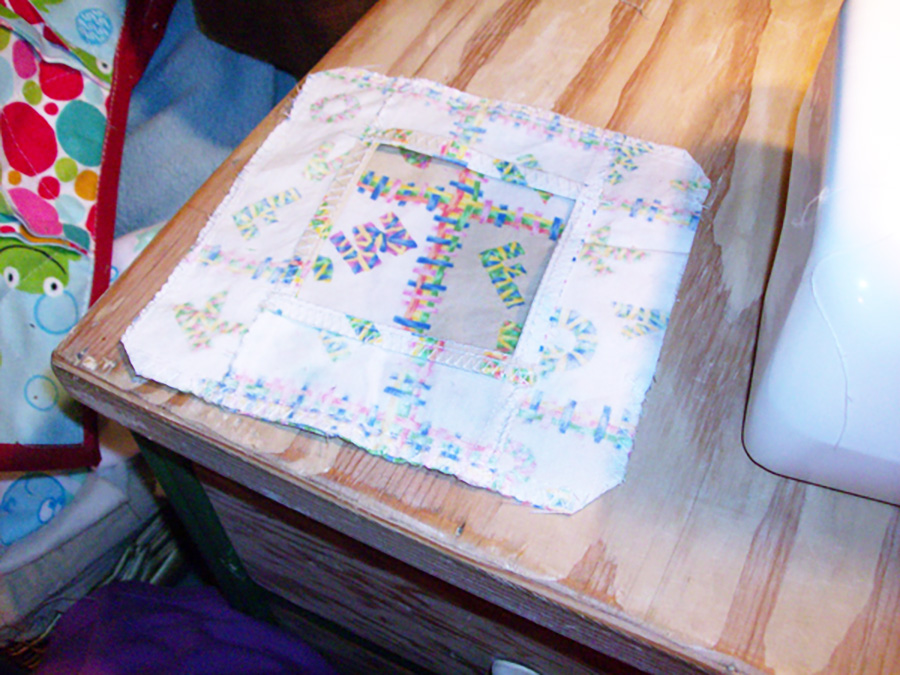
Sew the open edge closed. Be careful not to get poly pellets or rice under your needle!!
And voila! You’re finished! Enjoy your Seek and Find Bag!
P.S. Make sure you take any safety precautions that are necessary to keep kids safe from the small objects in this toy, including keeping away from children who are under 3 or still mouth things. I’m not responsible for your actions, so please remember that you are!

This post was published on Muse of the Morning.com


Pingback: Color Sorting Busy Bag – Tutorial – Muse of the Morning – Hand Dyed Embroidery Floss & Fabric + PDF Embroidery Patterns