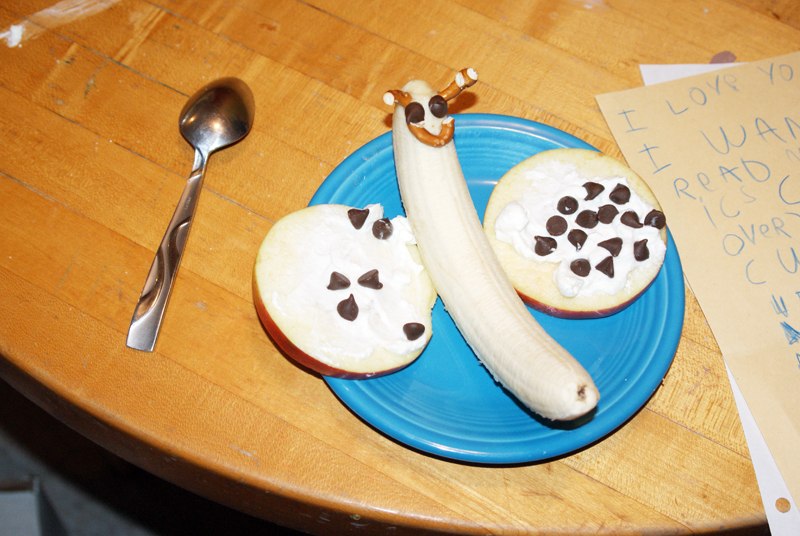
First, before we get to the meat of this post, I just have to share the snack that Lil’Miss was ADAMANT that she make for us yesterday. We had to take a special shopping trip to get the bananas, since they’re not something we generally have around….
Isn’t it sweet? She made it all by herself and she was so proud of herself!
Ok, now onto the real post… The brand new studio redo again!
We have moved a lot. Just so many times. And we are so glad to be in this house and settled now. In previous houses and apartments, I’ve had various sizes of craft spaces. Usually we would take the master bedroom in our house and turn it into a game room/craft room. Then, even that started to go away- ending up with my smallest space ever in the last house. That one was in the living room and I kept spreading out until I pretty much took over the whole room. Oh, that was a teeny tiny house.
So, you can probably guess at my excitement when we moved here and I was going to have double the space. The rest of the room was supposed to be a play area, but the kids never played there, so I ended up taking over the majority of the room. You can see that beautiful story here. After that, I ended up taking over the whole room when we moved the play area into the living room. You can see the play area in this post. It doesn’t look any better now- that’s a project I’d like to take on soon though!
Anyway, The Hubs and I got to doing a little work around the house and had this discussion about switching rooms.
And then we did it.
And this is the story of the new studio. It took a long time to get here, and there’s lots of room for improvement- but it’s looking pretty amazing if you ask me!
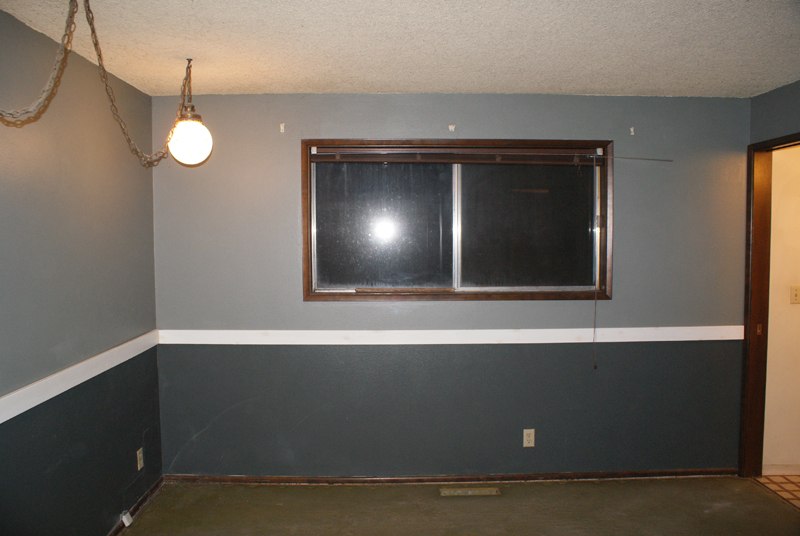
Let’s see if I can find a “before” picture…. yep- ok this one- this is before we moved in and before we painted. It’s kind of boring- just a blank slate I think. Check out those lights!
It was slated to become the game room though- not the studio- and this is the best picture I have of after the first painting was done- interesting color choice, but hey, The Hubs chose it:
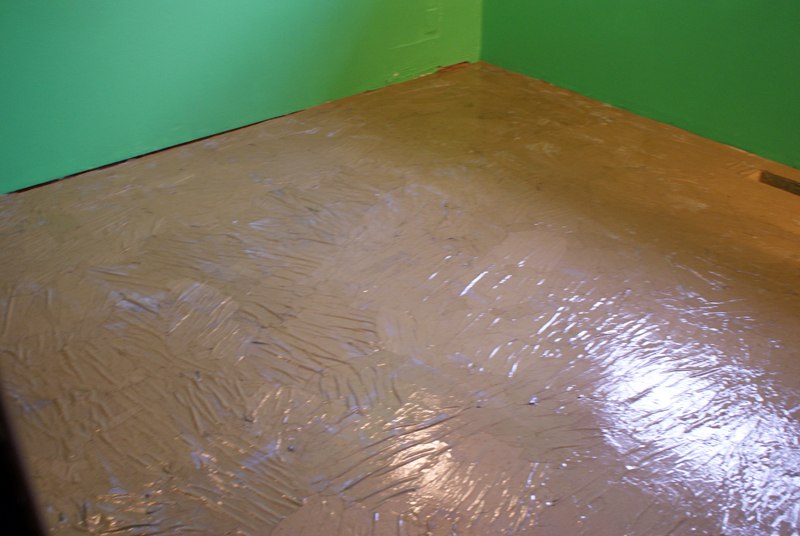
That was actually a picture to show off the floor. We tried out a paper bag floor, which is really cool in theory, but with the wear and tear that room got… it’s not so great. I haven’t fixed it, so we’ll just avoid looking at the floor in the rest of the photos. By the way, if you’re thinking about a paper bag floor, it does not stay wrinkly like that- it smoothes out as it dries and is just like a regular floor.
I had a hard time choosing a color for my new studio. I wanted something that would reflect the light and be bright and airy- especially after that dark green! I knew I wanted white trim and I was about to just paint the entire room white, but The Hubs convinced me to go with my tried and true blue- so I did. I’m glad I did now- it’s nice to have some color on the walls!
Ok, be warned- this room is ridiculously hard to get photos of. I don’t know if it’s the new lens on the camera (it’s weird and different but the old one broke) or the shape of the room or what… but here it is in all it’s pieces… and glory, in all it’s glory!
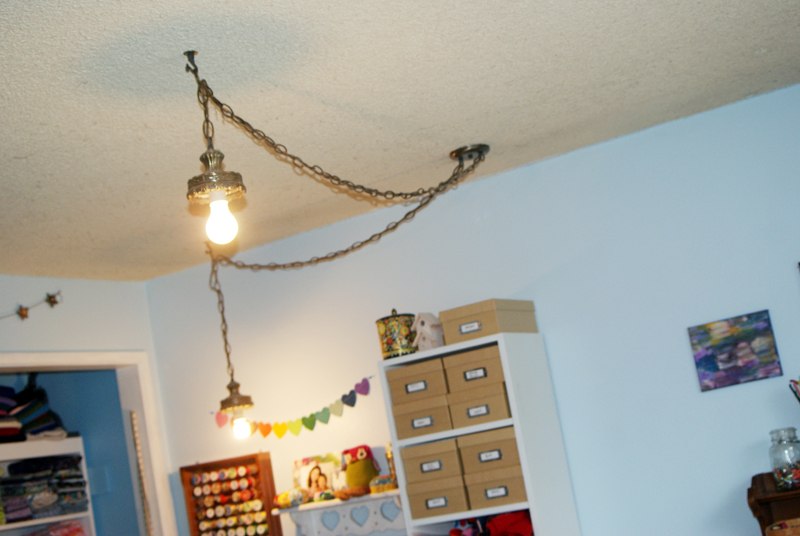
First, the lights! Since there were two, it seemed like a perfect situation- The Hubs moved one to the center of the room and the other is over my sewing desk. I think I might paint the fixtures and chains white so they won’t stand out so much, and of course I am looking for some fun covers for them. Goodbye starry balls!
So far though, the room is really bright and I hardly use the lights. I love having a window!
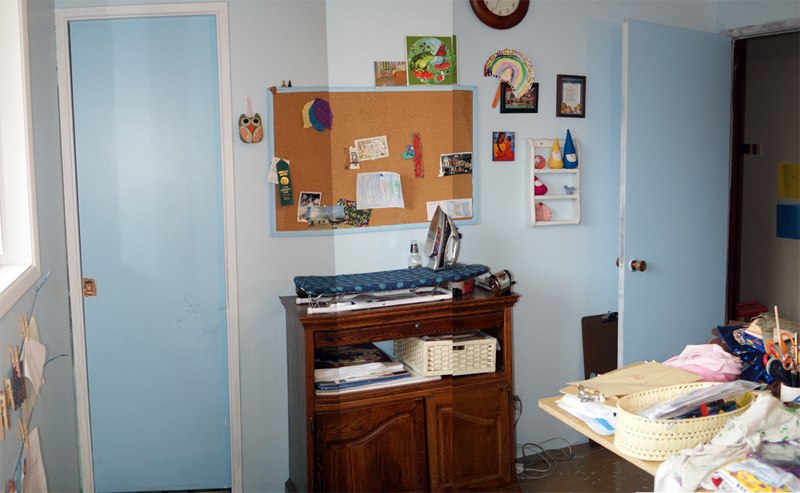
Ok, you come in, and this is the wall to the right of the door. This is a photo montage (you can probably tell) because I could not get the entire wall! Click it to get a larger view. The open door is the door to the hallway- you can see that the doors are darker blue. Behind the door is our giant art board, we like to take it outside on sunny days to draw. My bulletin board there has been mostly emptied and is being used as an inspiration board. The frog picture up above the bulletin board is a print from my friend Fiona McAuliffe, who is a fantastic colored pencil artist. The closed door on the left is a bathroom- this is super cool because we can wash paintbrushes and lino blocks and things there instead of hauling everything to the kitchen!
Below the ironing board is a newer piece of furniture for me- I think The Hubs was using it as a TV stand. It was a freebie from some friends. I have my ironing board on it- it’s the perfect height! It has a drawer where I keep my tissue paper for wrapping the items I sell in my etsy shoppe and the basket below is shipping supplies. Beside the basket and in the cupboard below are various sundry items that we need for art, but not everyday- clay, tiles, extra crayons for melting and such….
If you keep going around the room- here is the space below the window, a perfect spot for the kid’s art table. I don’t know if I mentioned in other posts, but this table was a coffee table or end table in The Hubs’ Mom’s office that she gave to us. It’s the perfect height for kids and all wood. It was actually getting really wobbly and I thought it was a goner, but I tightened the legs and its good as new! I love this thing!
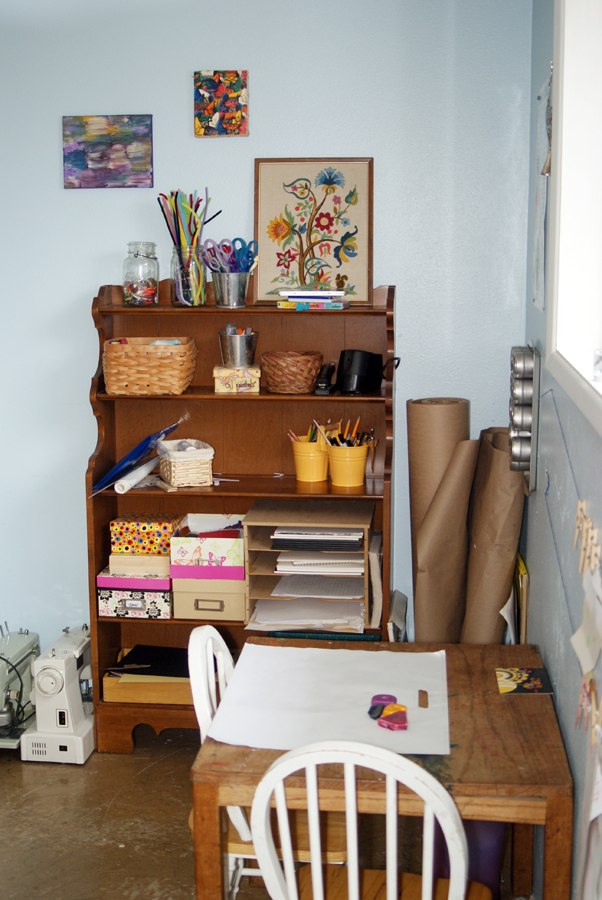
The shelf, you’ve seen before, it’s such a perfect shelf for kid’s things! The top and 2nd shelf keeps things out of Mr.Man’s reach, but he can and does get into everything lower than that. I try to keep paper and something to mark with on the table so he won’t get into everything else. It only works some of the time.
To the left of the shelf on the floor, I have two sewing machines that I’m collecting for when I give classes. I only need one more!
Here’s a closer look at the kid’s shelf:
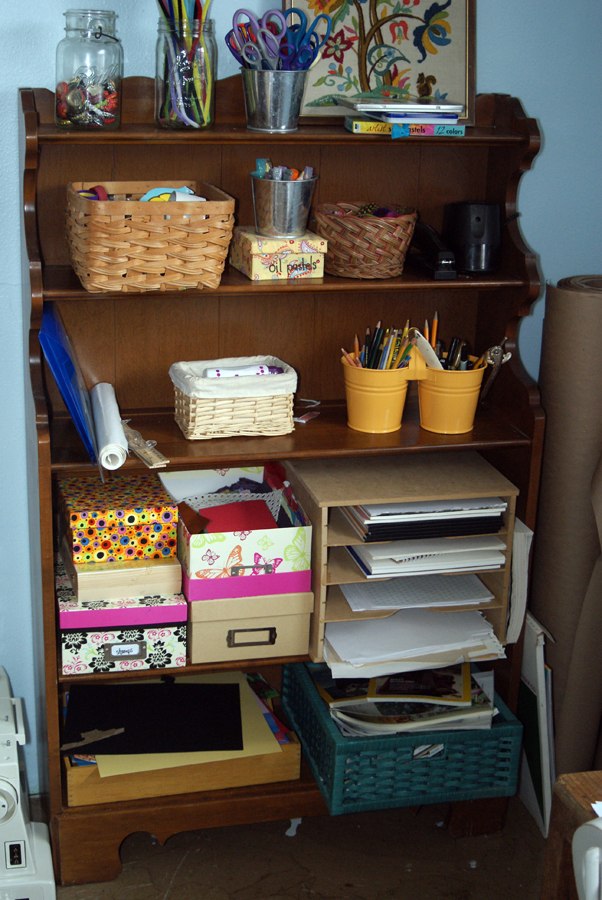
Most of the containers I found at Goodwill – including that yellow caddy! It’s so cool- one side is for colored pencils and the other houses regular pencils, pens, a bone folder, hole punch and other basic supplies. Lil’Miss is really into found object sculptures right now, so the basket on the shelf above that holds various recycled things- spools and bottle caps and little bits of metal. She puts them together with the glue gun. Also on that shelf are oil pastels, glitter glue, a basket of feathers, the stapler and pencil sharpener. The top shelf holds pipecleaners, bottle caps, scissors, chalk pastels and water soluble colored pencils.
Down on the fourth shelf, there is a large cubby thing full of various papers- sketch paper, watercolor paper, cardstock and scratch paper. Left of that is a box of nice and tidy paper scraps. Below that box are the glues – glue gun and hot glue sticks, regular glue sticks, white glue, mod podge in little jars for the kids to use. In the stack left of that, there is (from bottom) a box of stamps and stamp pads, a wooden box with all the letter and number stamps (they fit perfectly upright in it!) and the top box is stickers.
The very bottom shelf holds whole sheets of colored paper and the green basket holds magazines for cutting. I generally buy National Geographics from St.Vincent de Paul for 10c each or put my catalogs in there.
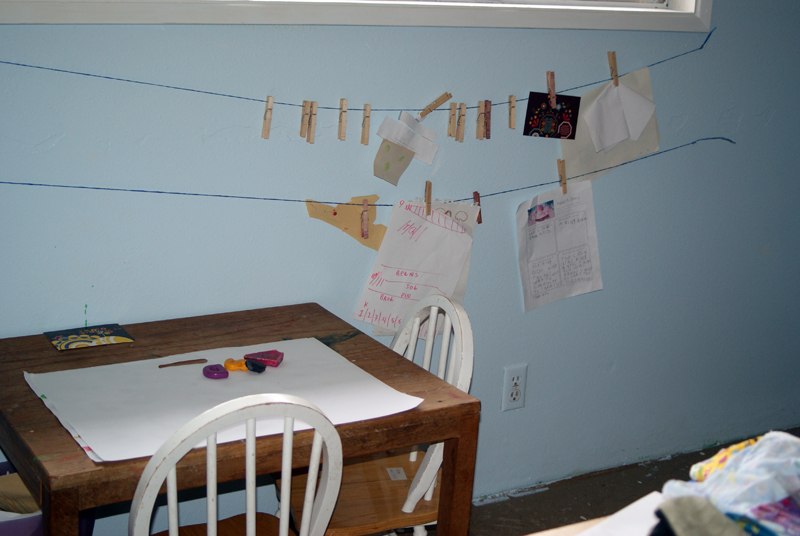
Here’s a direct view of below the window- the blue lines are some twine for hanging up the kids’ art.
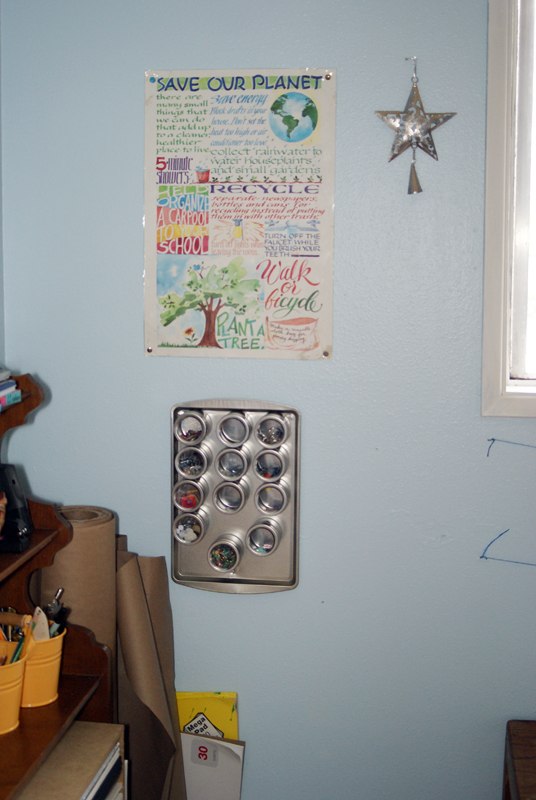
And to the left of the kid’s art shelf is this collage goodies caddy- magnetic spice containers on a baking tray from the dollar store. I adore the poster above it, you’ve probably seen it in every single room redo I’ve done! You can also see in this pic, I store our giant rolls of paper and pads of paper here beside the art shelf so the kids will see them and use them.
In this view, you can see my cutting table. It’s still one of those folding tables, but I found this giant piece of laminated wood at the ReStore that is perfect for the top. I’m going to put wooden yardsticks around the edge if I can ever find enough- I can’t seem to find them anywhere!
Around the walls- the shelf in the very right of the photo holds my scraps in labeled boxes and other scraps for doll making, plus felt and other goodies on the shelves below that.
My sewing desk and the closet. The closet is what makes this room bigger than the previous studio and let me tell you, it’s awesome. All that storage! I’m thinking about putting a curtain over it, but I also like to look at all my stuff, so we’ll see.
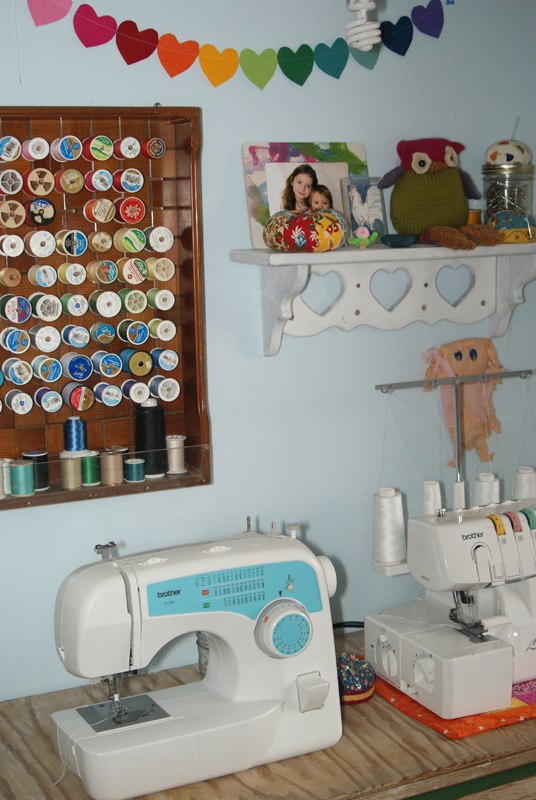
Here’s my sewing desk – still the way I got it because I’m not sure what I want to do with it. The Princess and my serger live on it and the drawers are full of sewing notions. The thread rack was given to me by my brother and his wife. It’s a lot of fun, and better than the plain one I had before! And then a shelf to hold cute little things to inspire me.
And here’s a montage of the closet because, again, I couldn’t get the entire wall!
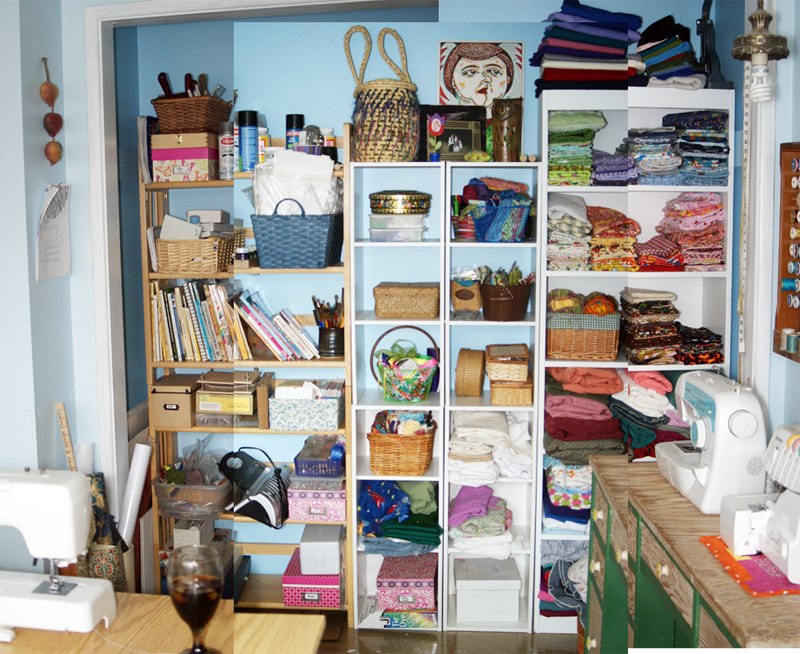
The left is crafty shelves with stuff that the kids don’t use that often, although Lil’Miss is welcome to use anything that is in here. Punches, paints and brushes, lino carving stuff, sprays, the flower press and etcetera are all in here. And of course the crafty books!
In the middle are more sewing notions and miscellaneous fabric, like t-shirts I want to re-purpose and linen for making dolls. Also ribbons and coordinated fabrics- like what comes in a charm pack. And bias tape that isn’t bias tape yet.
The very right is, of course, my fabric:
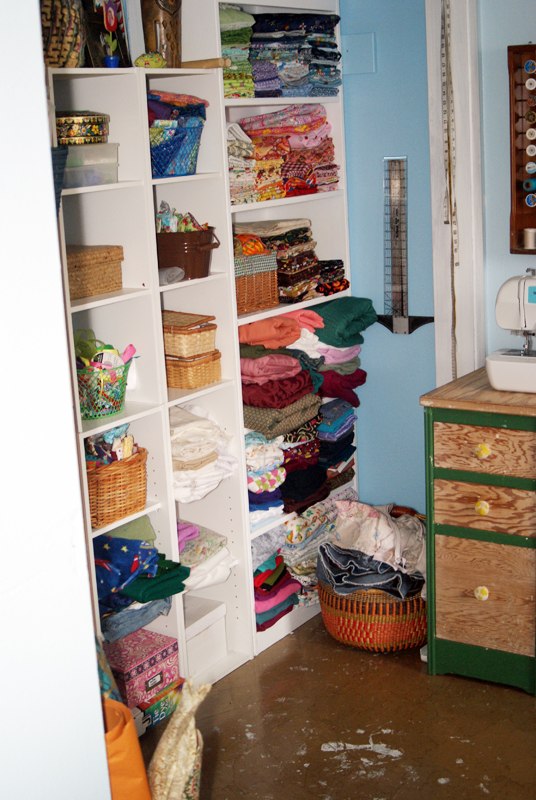
The very top (which you can’t see in this pic) is all my solid colored cotton. The yardage is on the left and the smaller amounts are on the right. The yardage, I keep unwashed in case I want to use it for a quilt. I bought it all from Fabric dot com’s Black Friday sale for less than $2 a yard!
Under that on the top 3 shelves are my cotton wovens, mostly sorted by color. The shelf under that is all my costuming and medieval re-enactment fabrics. Under that is flannel and bottom-weights, corduroy, denim and that sort of thing. The very bottom shelf holds my cotton knits. I like how they work for my kids, but I don’t really like sewing with them, so they’re on the bottom.
In front of the shelf is my basket of projects and mending.
I wish I could follow up with an overall photo, but it really is amazing to me how hard it is to get photos of this room! Here, you can look at the sewing area picture again:
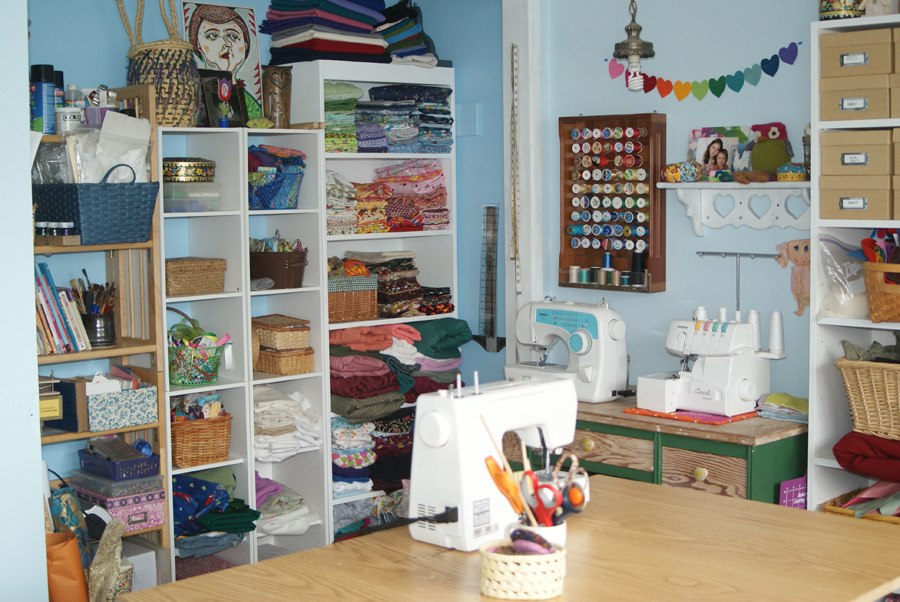
I’m really loving my new room, and I hope to get a lot of projects done in here! Have you done anything special to renovate your room lately? Tell me about it! What are you creating in your studio or creative space these days?





This is awesome! I have seen yard sticks at the local home depot in the paint section. Worth a try. I also found a metal one at Ikea. Not sure if you have one close at all.
I love your studio btw. Very cute and bright!
Kim, I will have to look at Home Depot- they told me they only had metal, but they also have some things that might belong together in separate areas sometimes. Thank you for visiting!!
Chrissy
I found pictures on the facebook patterns page. What a great space! I love the thread holder, and I think the heart garland is so adorable!! I want to make one for my daughters room now. 🙂
Help. If I have a few real big wrinkles in my paper floor, should I cut into them and flatten them with glue before I put on the Poly? Thank you for your help.
Are they still wrinkled after the glue has dried? Our experience is that the floor will be very very wrinkly while wet, but then flattens out after everything has dried. I hope this helps!
Chrissy