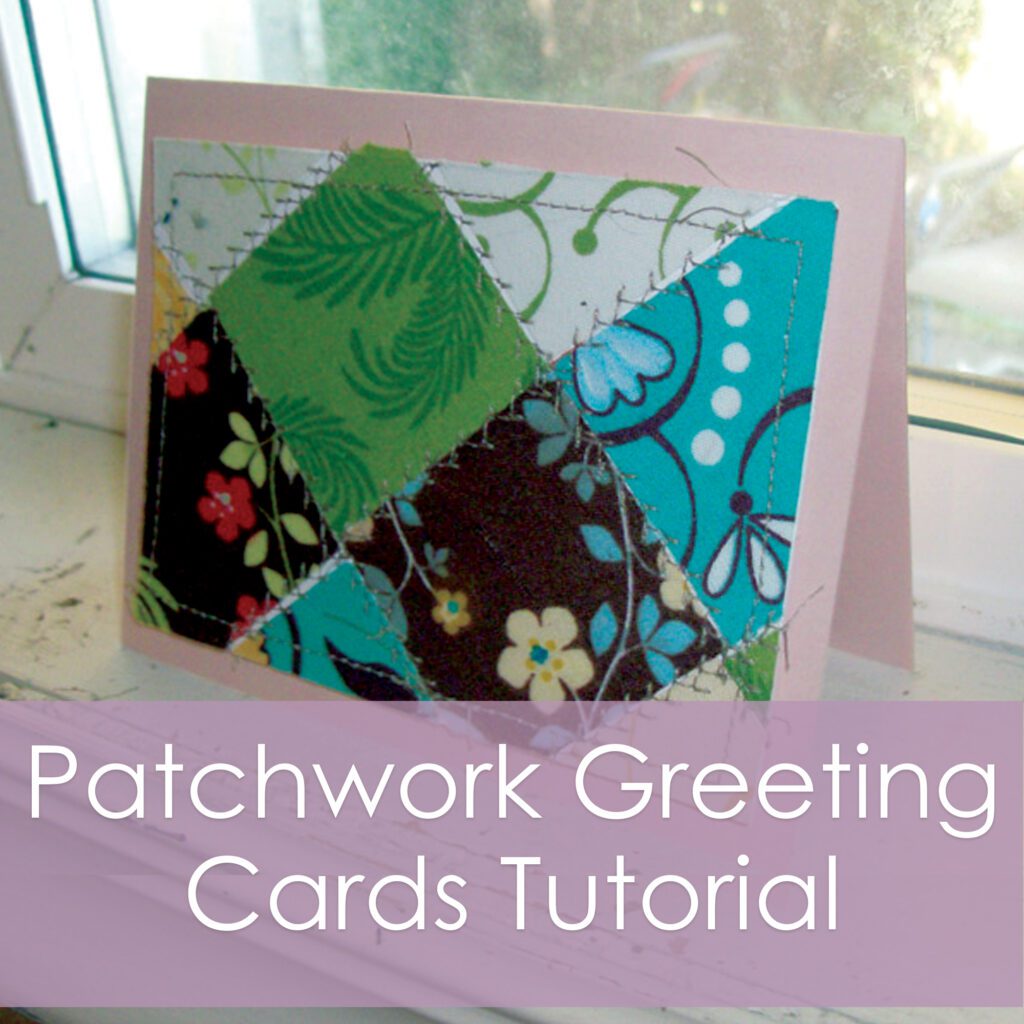
These cards are so sweet and fun! And this is a great way to use up those little scraps of the fabric that you just love, but they’re too tiny to use for anything else!
Ready to learn how to make them? Let’s go!
You’re going to need your scrap fabric, a gluestick and some 12 x 12 inch cardstock. I recommend using a rotary cutter to cut the fabric so you’ll get nice straight lines. You’ll also need your sewing machine and some sewing thread.
You’ll also need some blank cards to put the finished pieces of cardstock on. You can find some finished ones here on Amazon, or you could make your own from cardstock.
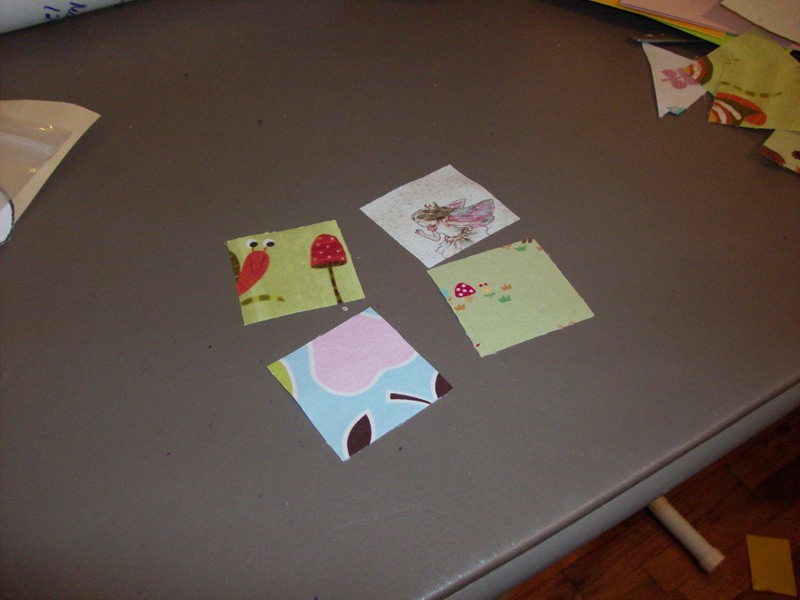
Cut a whole bunch of squares that are 1 inch by 1 inch square. I know I’m only showing four of them here, but you’ll need a lot.
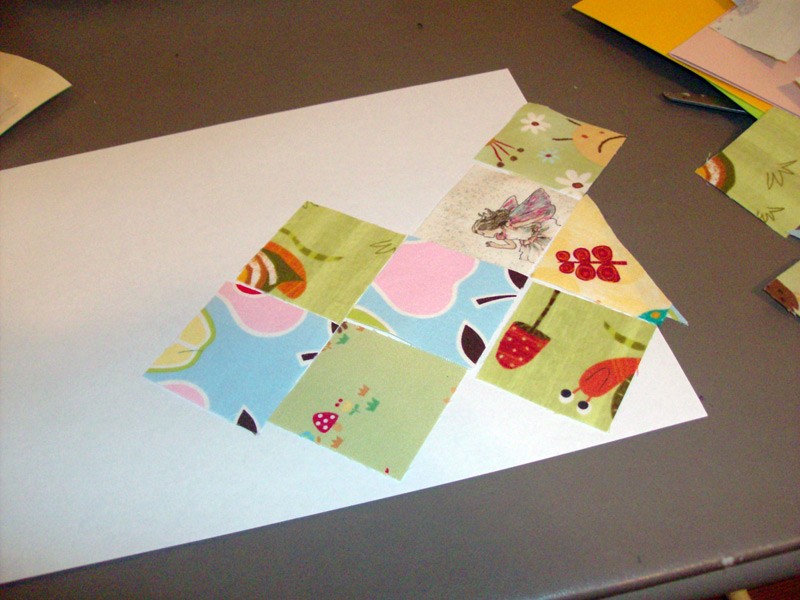
Start gluing the little squares on the cardstock in a corner. Angle the square right across the corner like shown in the picture above.
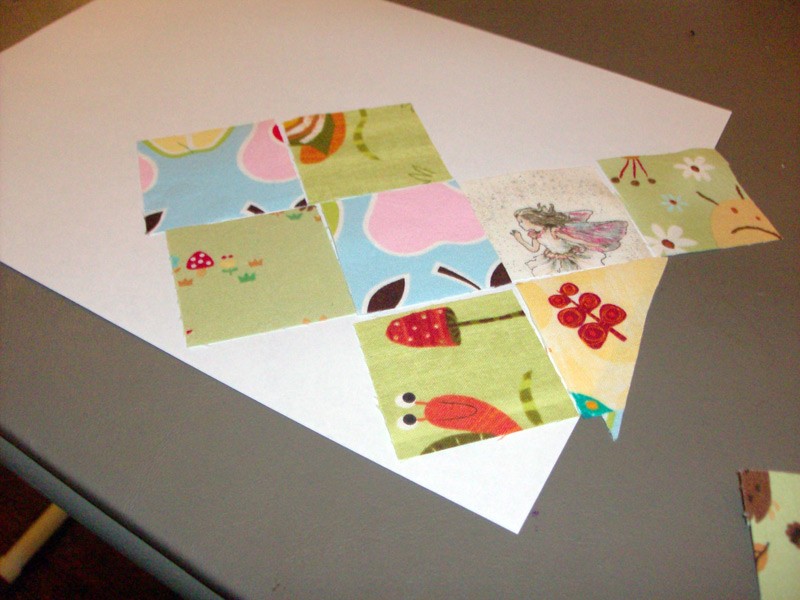
Keep going, butting the next square right up against the previous one. I find it easiest to use the gluestick on the cardstock and stick the fabric to it.
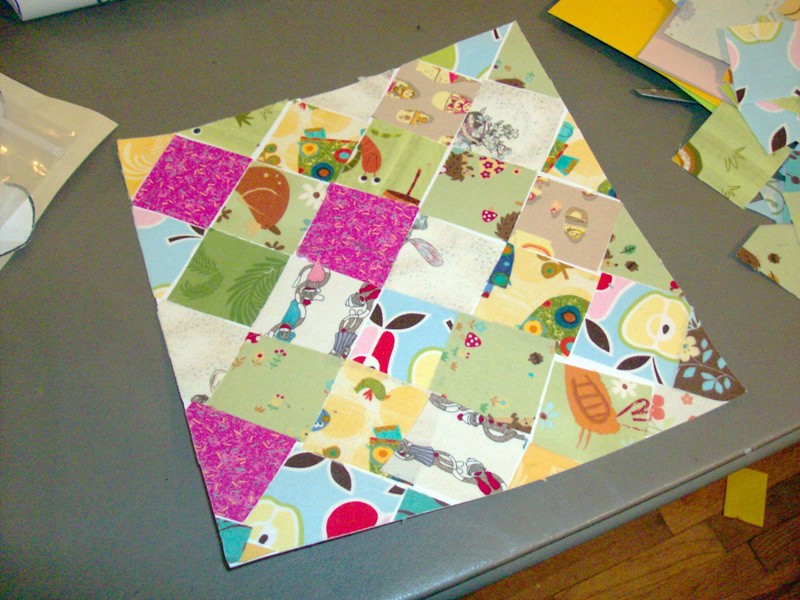
Once you have the whole page filled up, cut any pieces that hang off the edges.
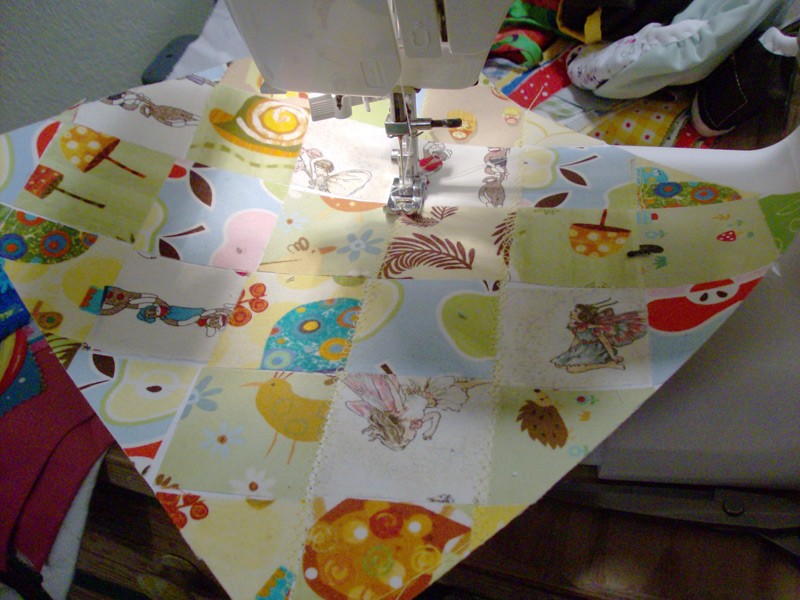
Now head on over to your sewing machine and sew over the line between rows of squares with a decorative stitch. Use a coordinating or contrasting thread color. Once you’ve done every row, turn the cardstock 90 degrees and go the other way too.
If your machine doesn’t have any decorative stitches, just use a zig zag stitch- this will look really cool too!
Cut the cardstock into rectangles a little bit smaller than the cards. A good measurement is 4 inches x 5 inches.
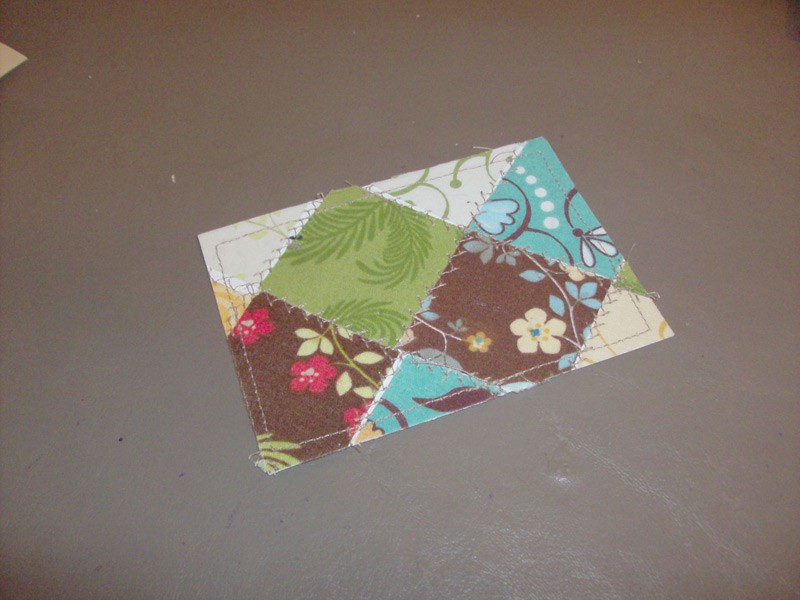
With a straight stitch, sew around the edge of the pieces that you’ve cut. I like to sew about 1/4inch away from the edge.
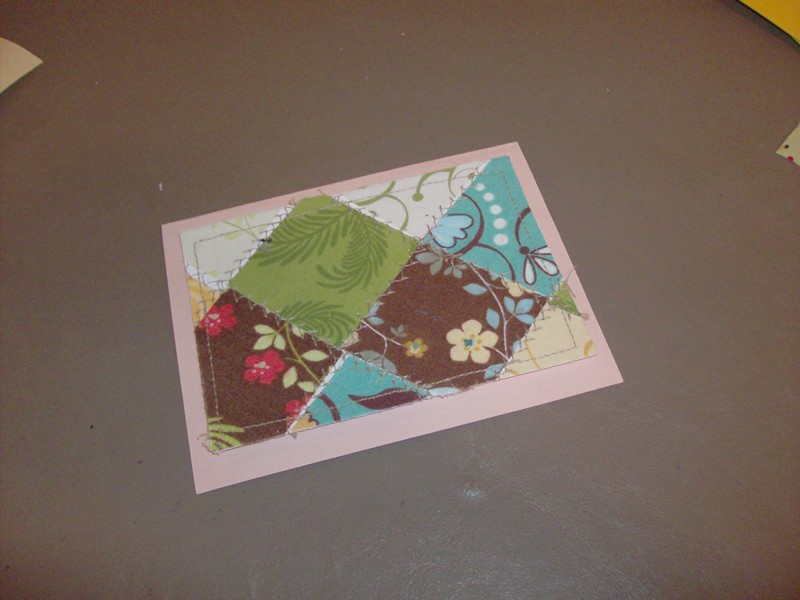
Glue a piece onto the front of a card. You might want to use white glue or mod podge for this part. A gluestick might not be strong enough.
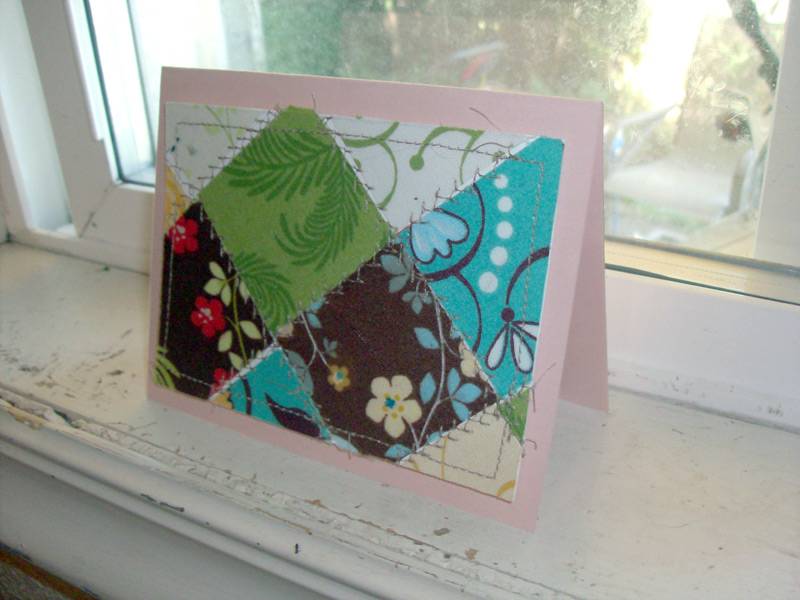
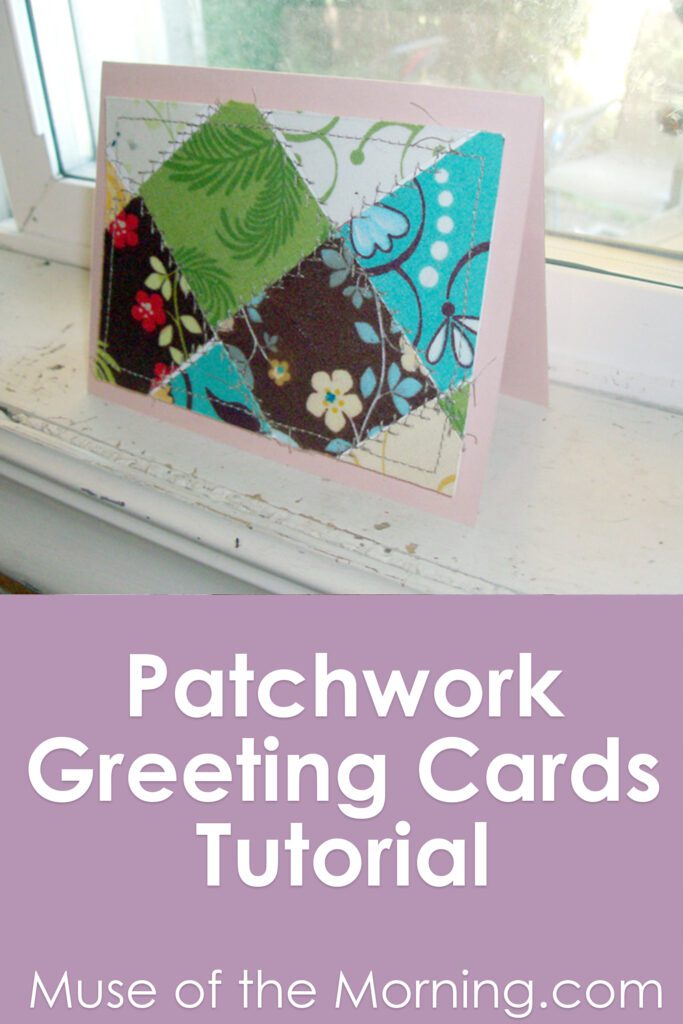
And there you go! Some lovely greeting cards to tuck into packages or send in the mail!

This post was published on Muse of the Morning.com
