Last week, I did a review on a couple different types of pens that can be used for transferring embroidery designs onto fabric. Today, I’m going to show you an easy method to get the design onto the fabric.
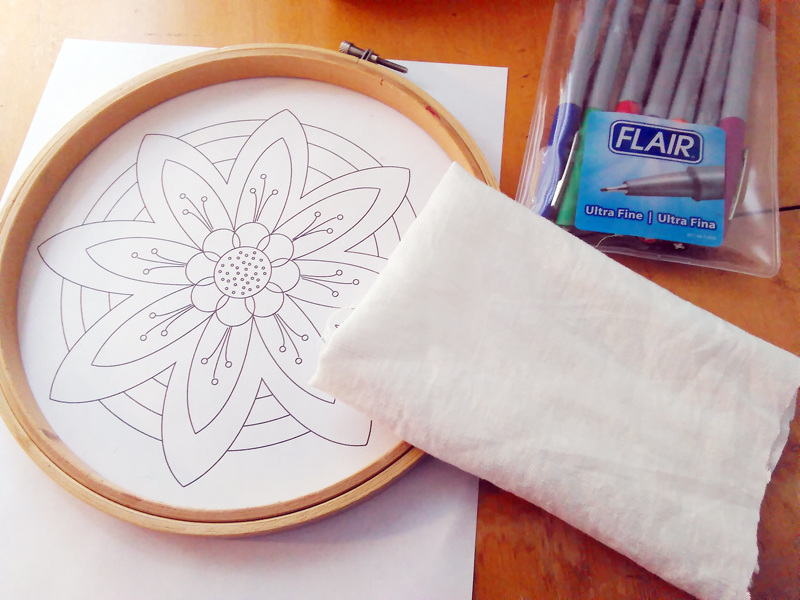
For this method, you’ll need your embroidery design printed on paper, your fabric, and pens for transferring the design. You’ll also need an embroidery hoop – a hoop large enough to encompass your whole design. This doesn’t have to be the hoop that you stitch in or even display the final piece in- just any hoop that will fit the whole design.
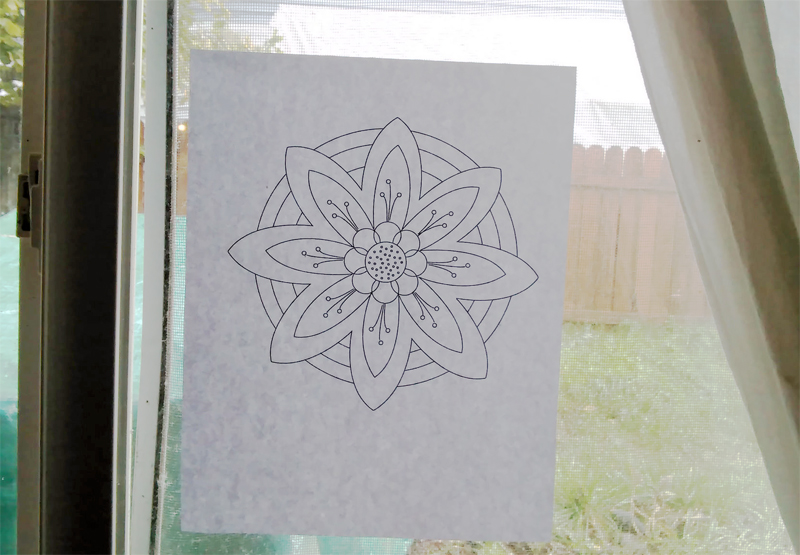
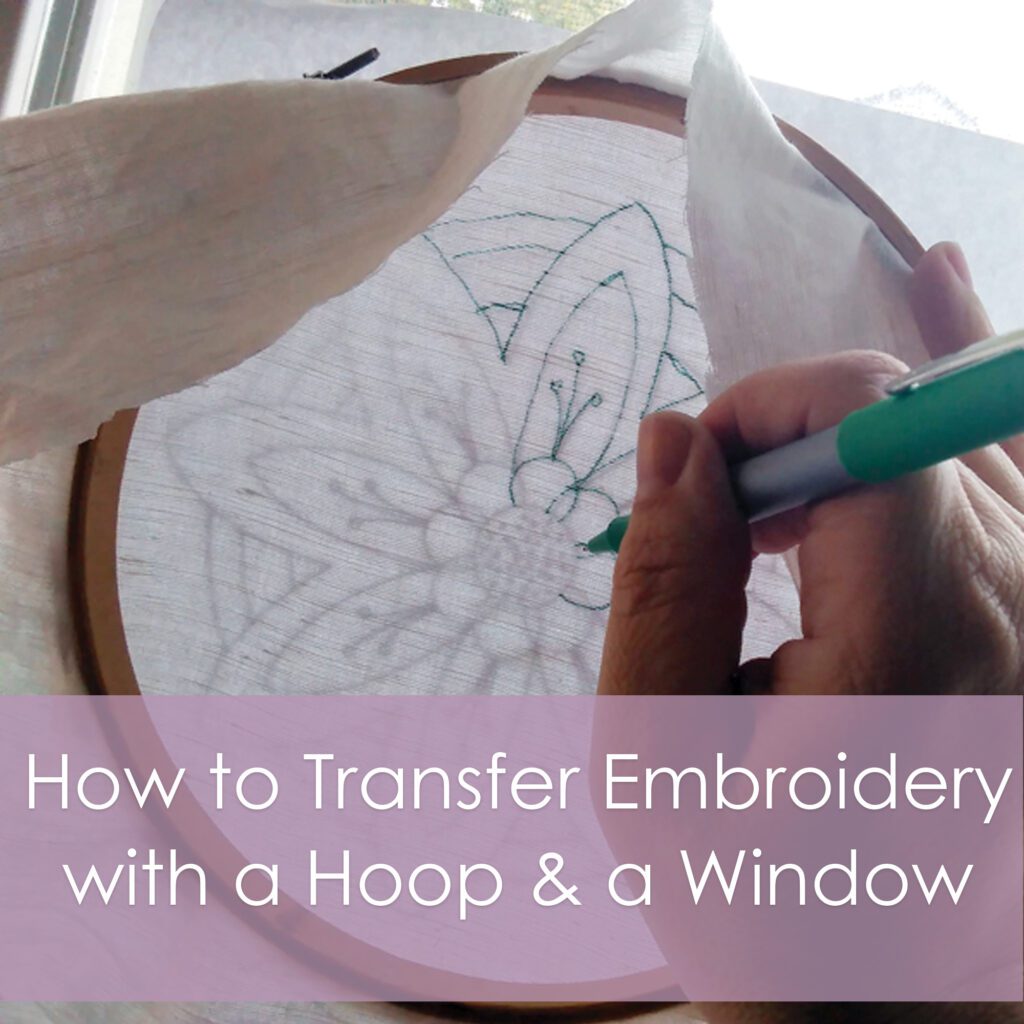
Tape your design onto a window that is large enough to comfortably fit it.
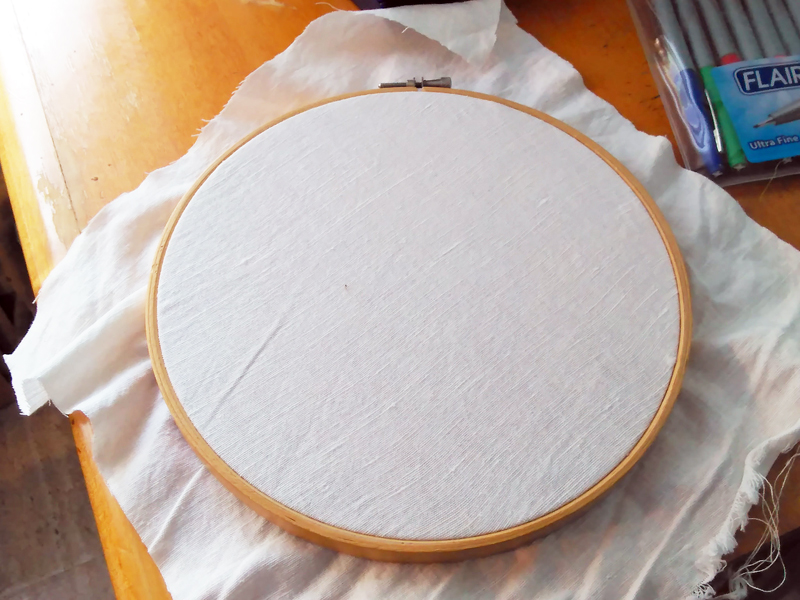
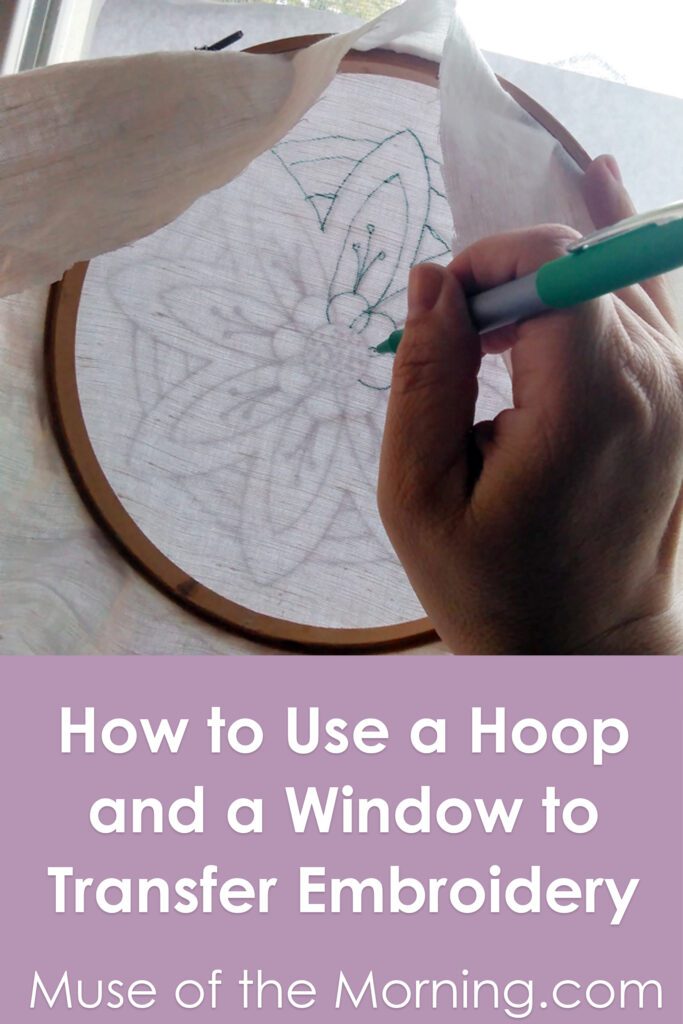
Stretch your fabric very tightly in the hoop with the right side facing INSIDE the hoop. It’s important that if our fabric has a right and wrong side, that the right side faces inside the hoop- the opposite of how you would have it for stitching. See that little wrinkle in mine? That’s not tight enough. Keep going.
The reason for the right side facing in is because you’re going to be tracing onto that side.
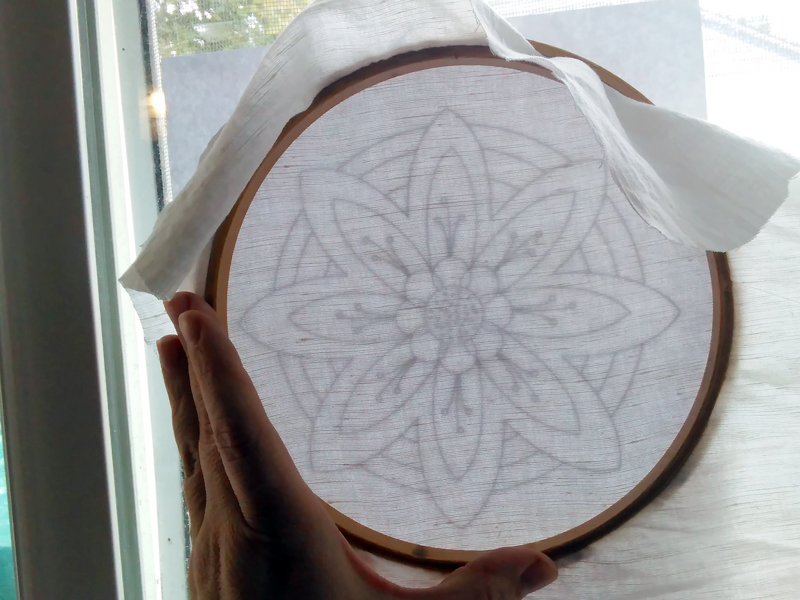
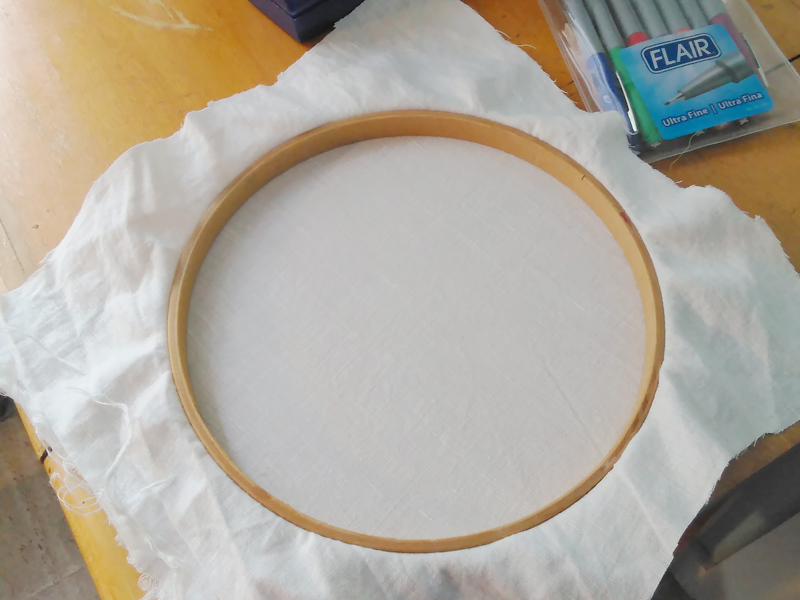
Hold your fabric in it’s hoop in the window over the embroidery design. You can see right through it!
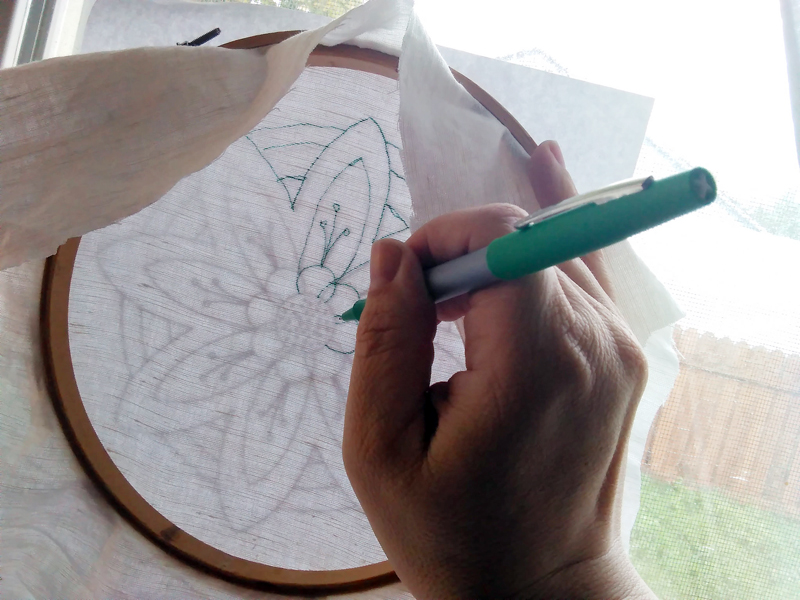
And get started tracing. If you need to take a break, simply line up the design when you come back and continue. And that’s it. It’s pretty easy.
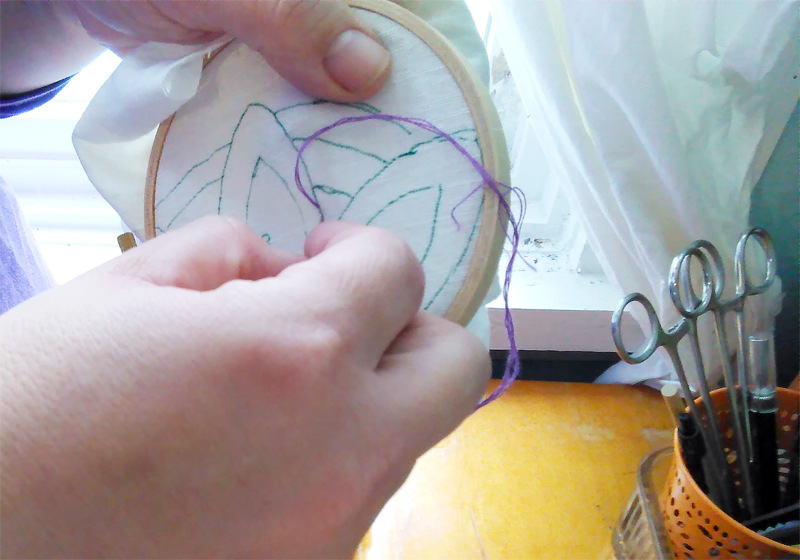
Now you can remove the fabric from this hoop and put it in one you prefer to use for stitching – and voila, there you go!! Maybe your tracing will end up better looking than mine.
What embroidery pattern are you working on right now? Tell me about it!
This post was published on Muse of the Morning.com