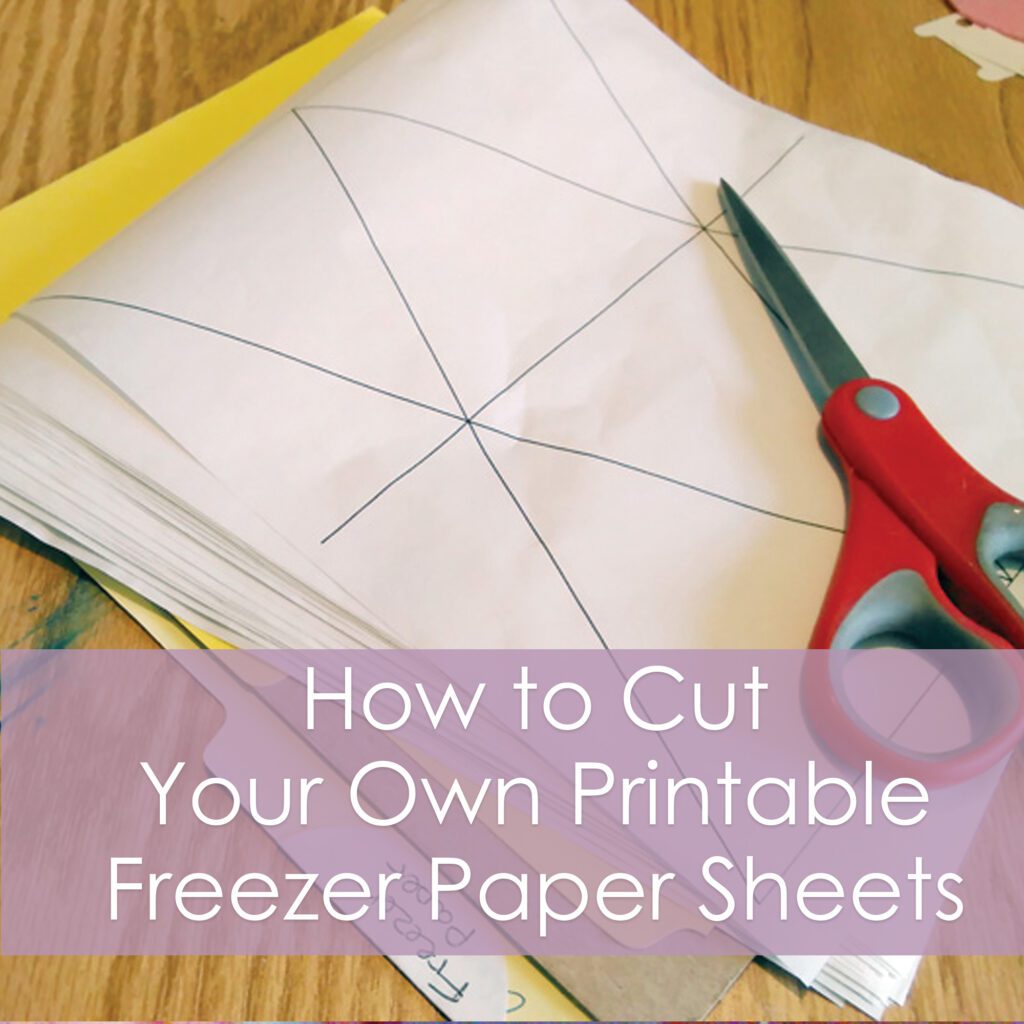
A while ago, I shared with you how to use freezer paper to cut out felt shapes for applique and sewing. Those little tiny fussy bits can sure be a paint to cut out- and freezer paper makes it a lot easier.
You can buy freezer paper already cut into sheets which can go through the printer – or you can buy a large roll, which is a lot cheaper. You can also buy it on the roll at your local grocery store, which makes it a lot easier to come by if you really need to do some felt cutting right away. Which I often do- so don’t make fun of that idea!
Well, you can easily cut that roll of freezer paper into some printable sheets, which is way cheaper than the purchased ones, and really doesn’t take a lot of time. Another benefit is that the freezer paper on the roll is a lot thinner than the sheets, which I think makes the felt easier to cut when they’re ironed together.
This tutorial is for 8.5 x 11 size sheets. I don’t know if you could do A4 or other sizes easily with the measurements of freezer paper that we have. Let me know in the comments if you’ve done it successfully with A4 sized paper!!
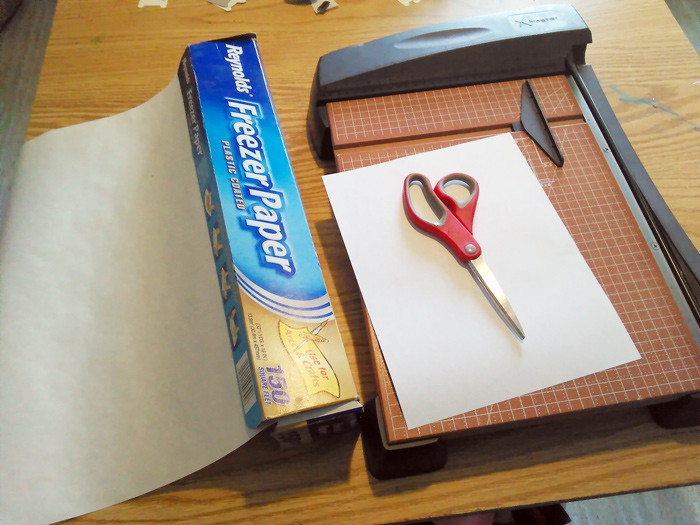
To cut your own printable freezer paper sheets, you’ll need that freezer paper, a paper cutter and a sheet of regular printer paper (cardstock works even better, but paper is fine too).
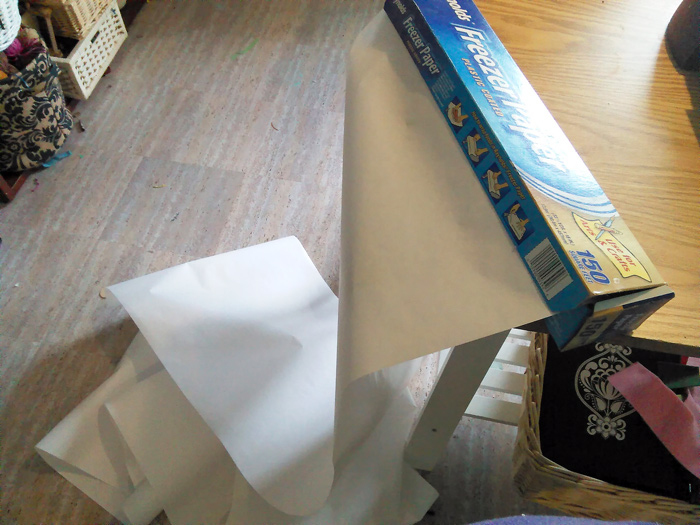
First, roll out a whole bunch of the freezer paper. You’re going to get about 2 sheets per every foot, so I would roll about 5 or 6 feet for your first try. After that, you can see how more feels. Cut the length of freezer paper off.
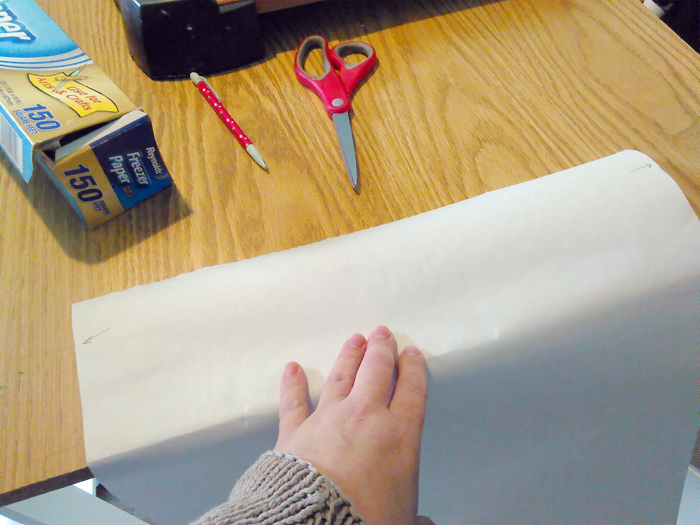
Now, two edges of the paper are already cut perfectly straight for us. This makes it a lot easier. Mark those edges with an arrow, in case we forget later when it’s all cut apart.
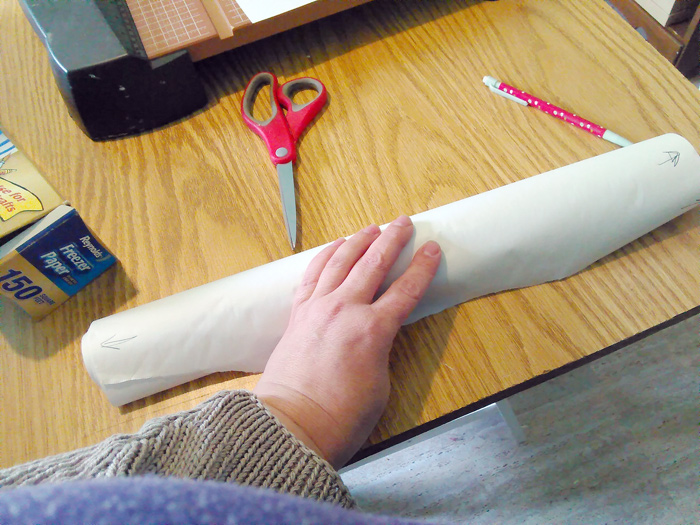
Roll up your freezer paper, and mark the straight edges on this end as well.
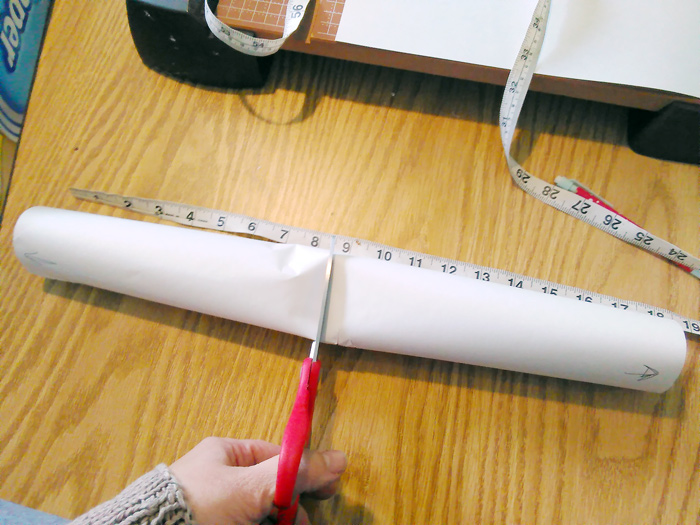
Now cut through the roll right in the center. For 8.5 x 11 inch sheets, we have about an inch of wiggle room, so it doesn’t have to be exact, but try your best!!
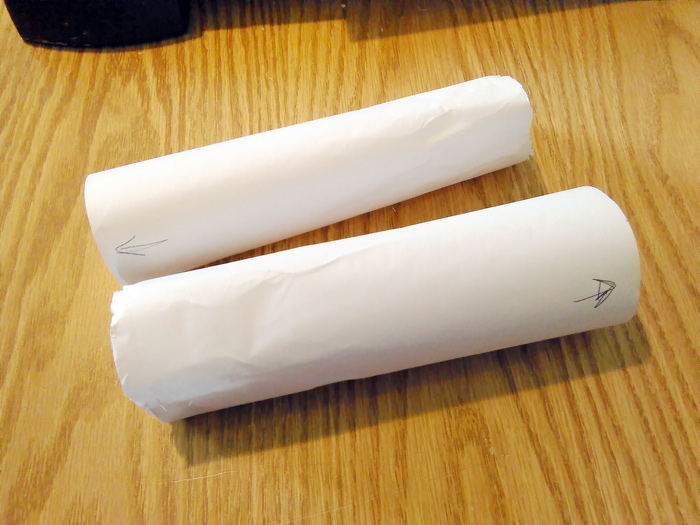
Now you have two rolls that are ABOUT 9 inches wide, by however many feet long.
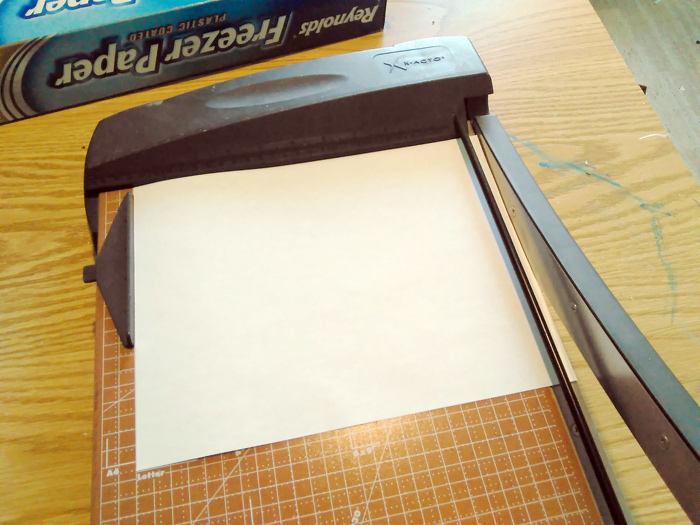
Take the sheet of regular printer paper or cardstock and use it and the guide that came with your paper cutter to mark the length of the paper you’ll be cutting. That’s 11 inches. You can do this by placing the guide at 11 inches without the cardstock, but I find with my paper cutter, I get a little more exact by using something to measure.
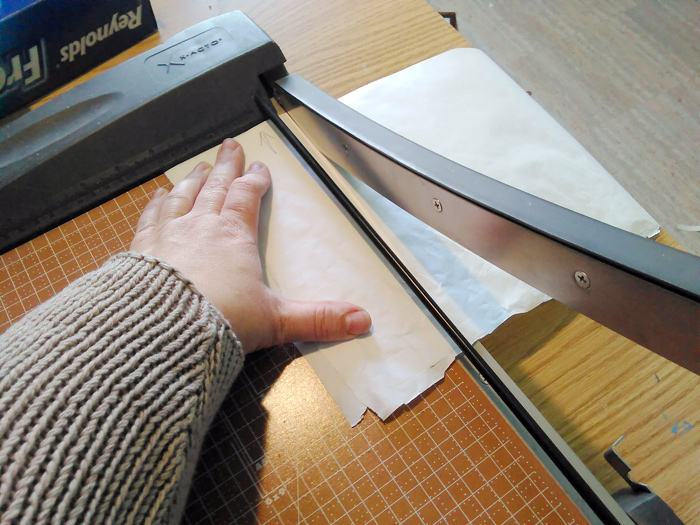
Now take your freezer paper rolls. You’re going to want to match up the straight edges along the top. This means you will start with one end of one roll, but the other roll, you will need to unroll and use the edge from the very end. Does that make sense? Hopefully you can figure this part out.
We’re going to align the straight edges, that you marked with a pencil arrow along the top edge of the paper cutter. This allows us to cut two sheets at the same time. Slide the two sheets into the paper cutter and cut off the jagged edges at the end, so that we can have a nice 90 degree angle to get started cutting.
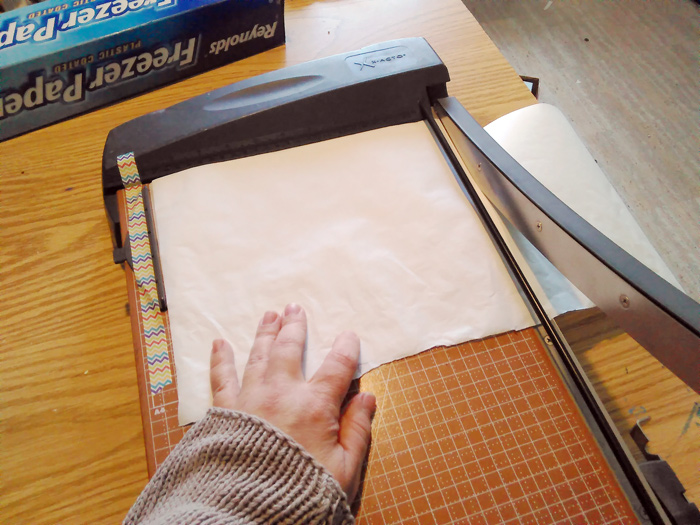
Now slide the roll all they way into the paper cutter, right up to the edge of the guide and cut a couple sheets. Align the rolls so that the top edges are together! Don’t let them slide around.
Alternatively, you can cut one roll at a time. It will take a little bit longer, but it will probably be more exact, especially at first, and it’s still worth it to have the printable freezer paper!
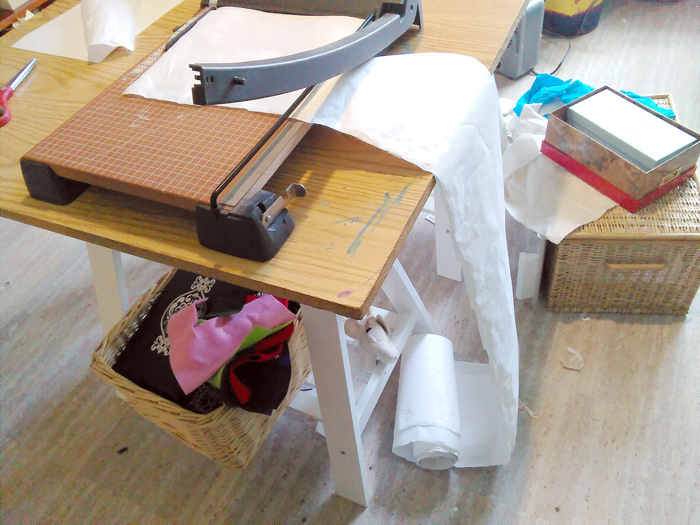
I aligned the straight edges and rolled the paper together so that it comes up through the paper cutter more easily.
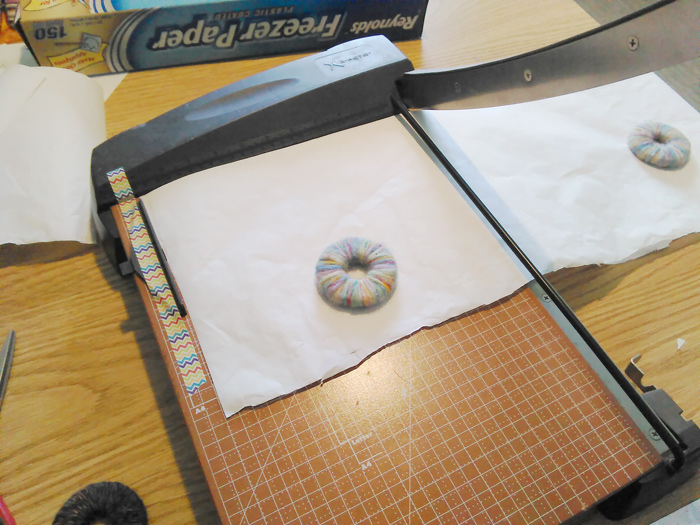
Now just keep cutting until you get to the end. I used some pattern weights to keep the paper from slipping down to the floor after I cut each time. Also notice that I kept the paper cutting guide in place with some washi tape. When it’s that close to the edge, it likes to slip around.
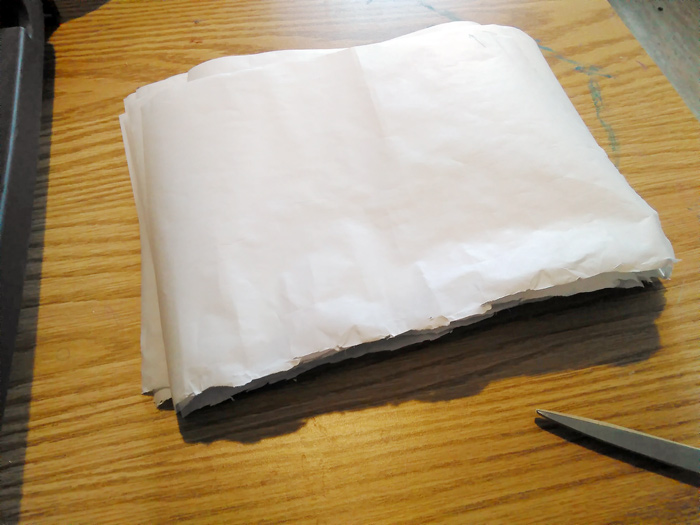
When you’ve reached the end, you should have a nice stack of sheets… with that one sad jagged edge. Let’s take care of that.
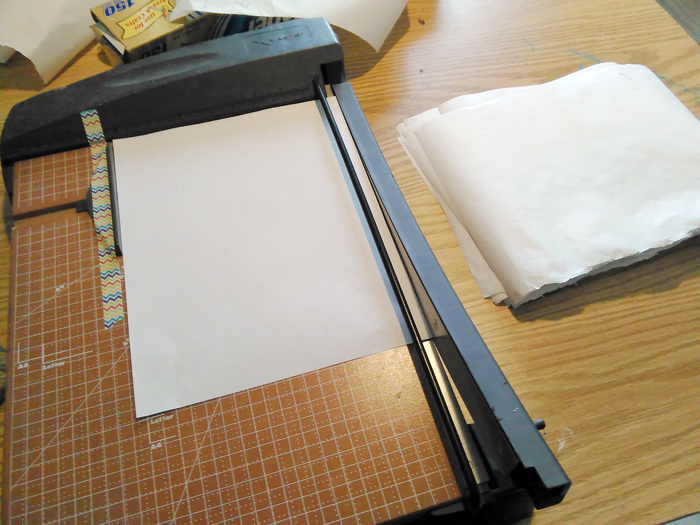
Using your paper cutting guide and sheet of cardstock, set up your paper cutter to do the 8.5 inch side.
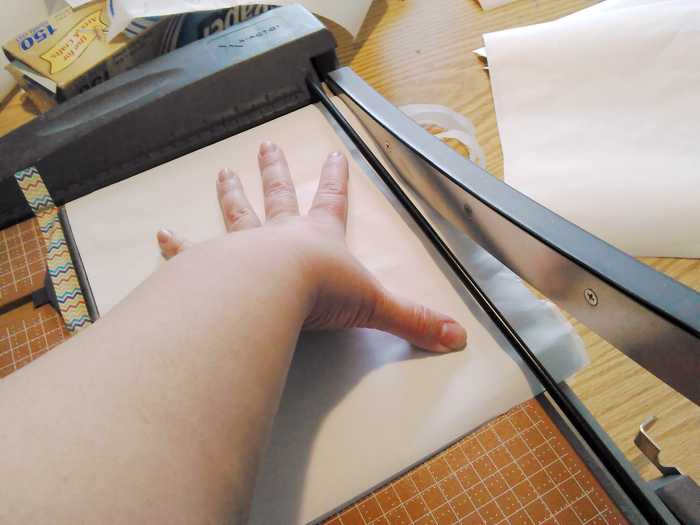
And cut. The nice thing about this step also, is that it goes much faster because you can do more sheets at a time. I found 6 to be an optimal number in my paper cutter.
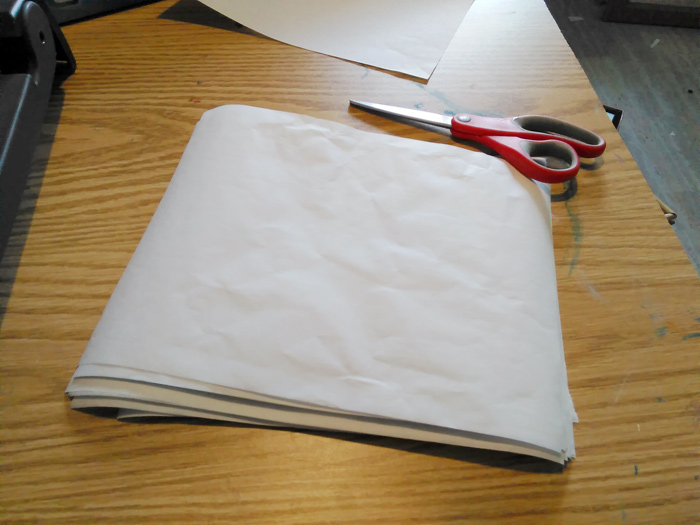
And there you go! A lovely stack of printable freezer paper sheets!! They have a tendency to curl up though… being stored on a roll and all…. so….
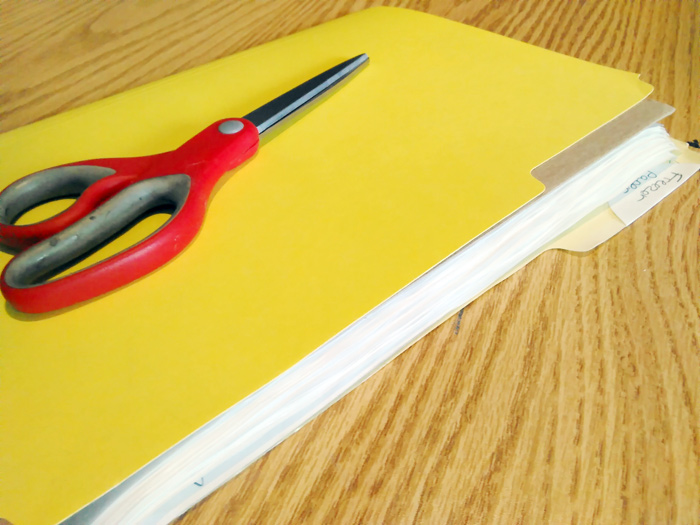
…. I store them in a file folder, with a piece of cardboard on each end. Then I store that in between stacks of printer paper or books or something that will keep them nice and flat.
Eventually they will end up flat too.
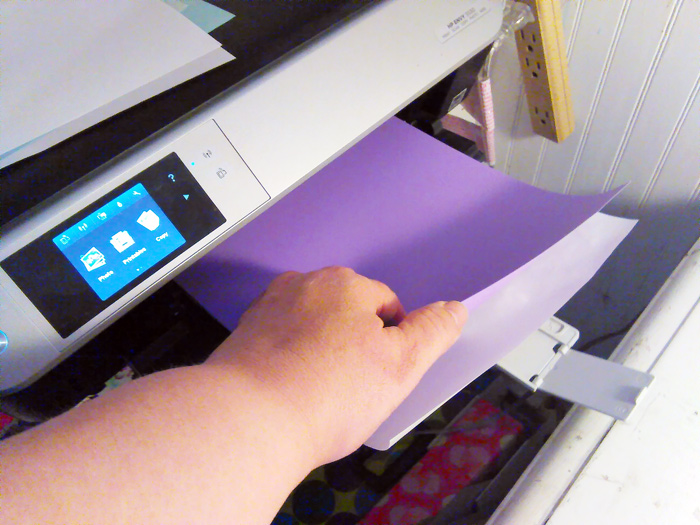
While the sheets are still curly, they might need a little help in the printer. I put one together with a piece of cardstock, slip it into the printer, and then carefully remove the cardstock. This works great!
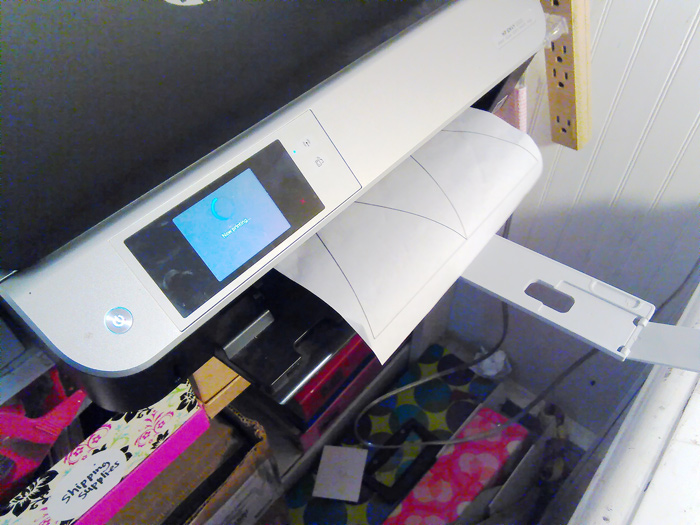
Then I print out my design and I’m ready to iron, cut and sew!!
Remember to print onto the dull, papery side of the paper. In my printer, that means putting the paper in shiny side up. I only put in one sheet at a time into the printer.
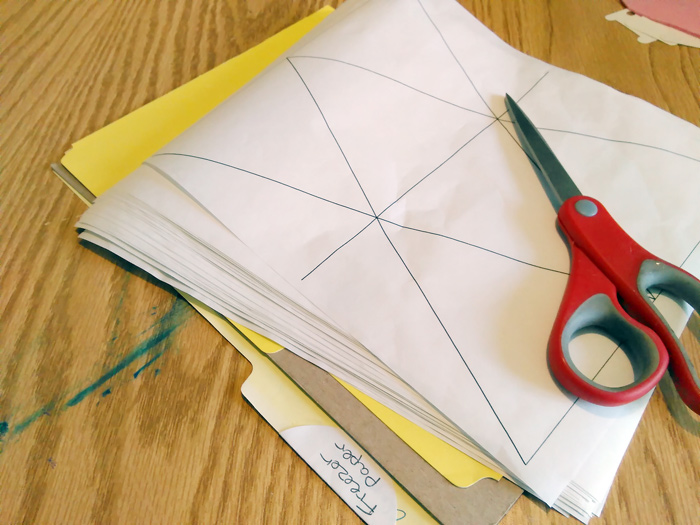
And look at that! My own printable freezer paper sheets. Man, that makes my life a lot easier!!
Have you made your own freezer paper for printing? How did it go?
Now you’re ready to use the sheets to cut some felt shapes.

This post was published on Muse of the Morning.com
