If you want to hang your embroidered or appliqued artwork in a hoop, you might want to finish the backside so no one can see the stitches on the back. Especially if it’s a gift.
There are lots of ways to finish the backside. This one is my favorite. It’s really nice because there’s lots of space to sew on a label or dedication.
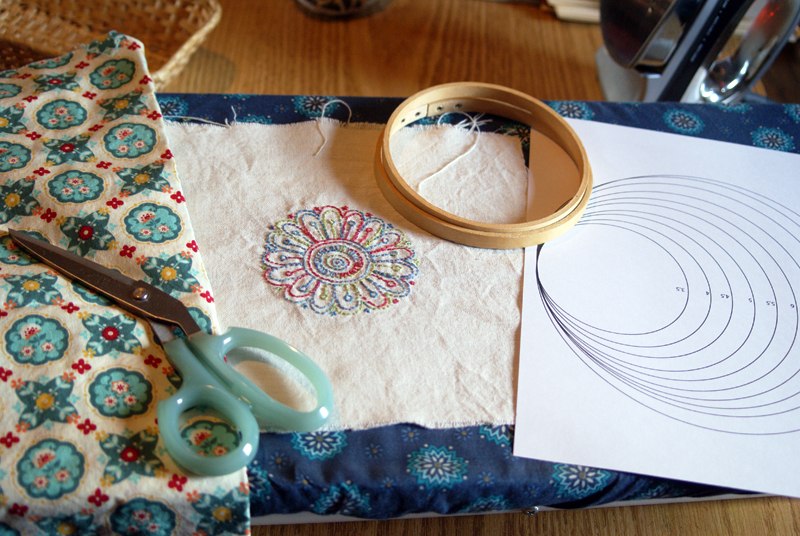
For this method, here’s what you’ll need:
– Your finished embroidery project
– a wooden embroidery hoop that fits your design
– a small amount of cotton woven – I used some that coordinates with the colors in my embroidery
– a copy of my circles template printout– print this on cardstock!!
Let’s Start!
Choose the hoop you’re going to use to display your art. Choose a circle from the circles template sheet that is about 1/2 inch or 1 inch SMALLER than the inside ring of your hoop. Cut the circle out carefully.
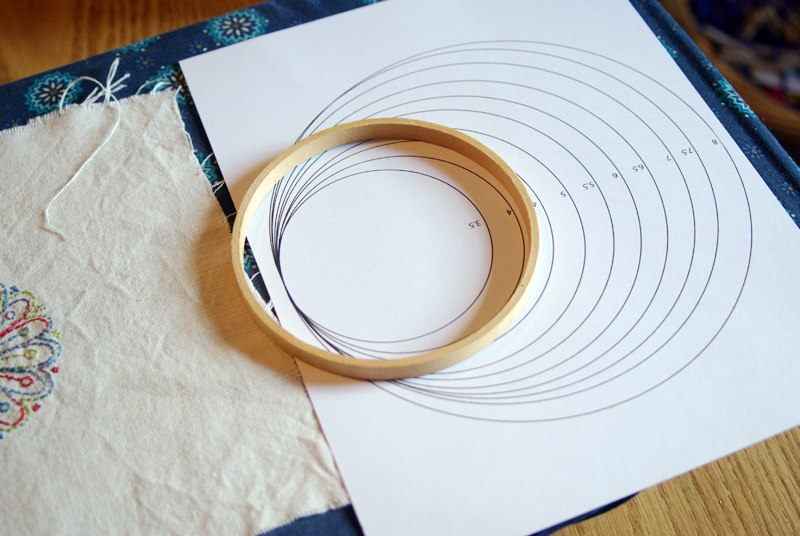
Make sure your embroidery project is ironed nicely (from the back!) and ready to hoop. Place it right side up on top of the inner hoop. Adjust it until it’s just how you want it to be displayed. Then place the outer hoop on and tighten the screw. Adjust the fabric so that it’s taut, but not stretched too much. Tighten the screw until it won’t tighten more.
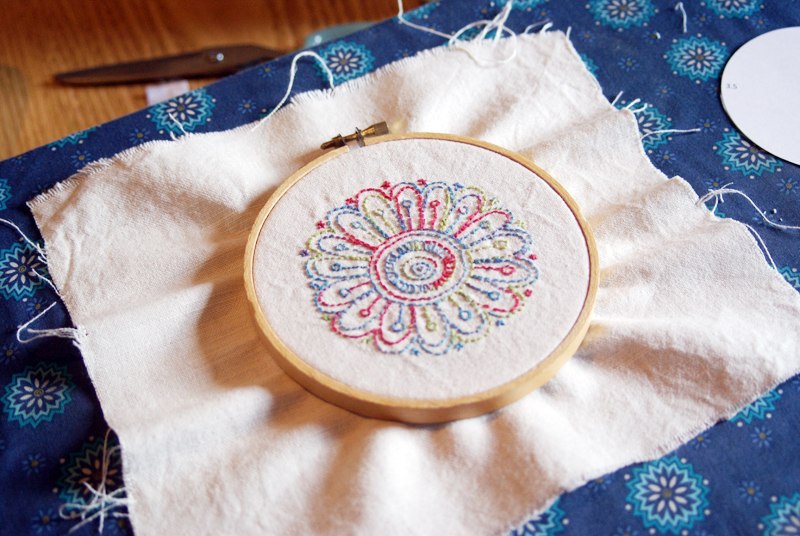
Cut around the edge of the circle, leaving about 2 inches all the way around. With a needle and thread, stitch all the way around with a running stitch. Stitch about 1/4 inch away from the raw edge.
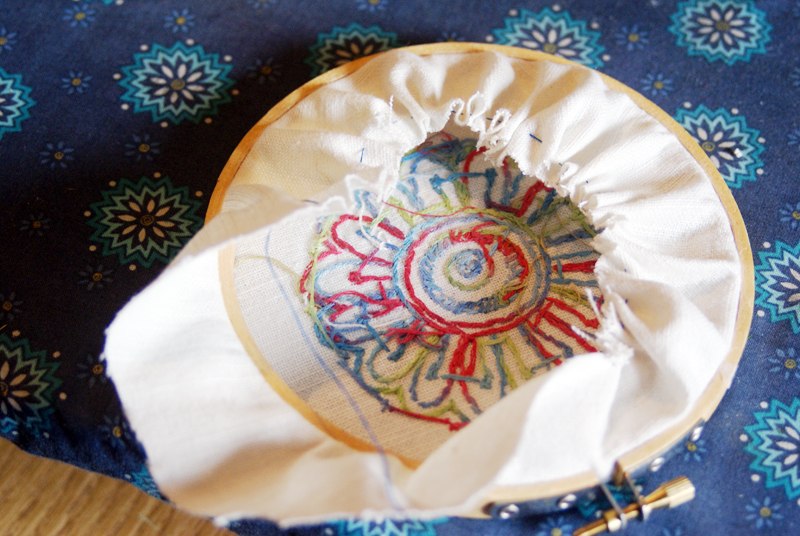
Start to gently pull the thread so that the fabric gathers around the back of the hoop.
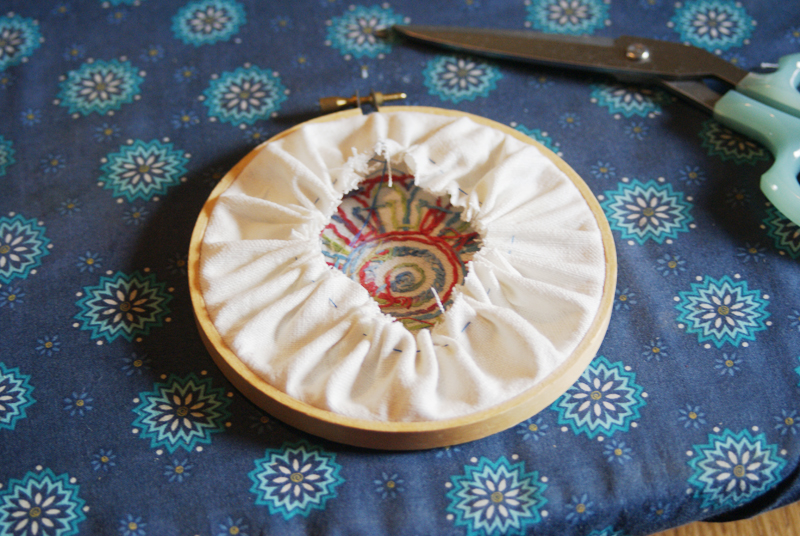
When you’re finished stitching, gently pull the thread until it’s taut and all the fabric is gathered on the back! Set the hoop aside.
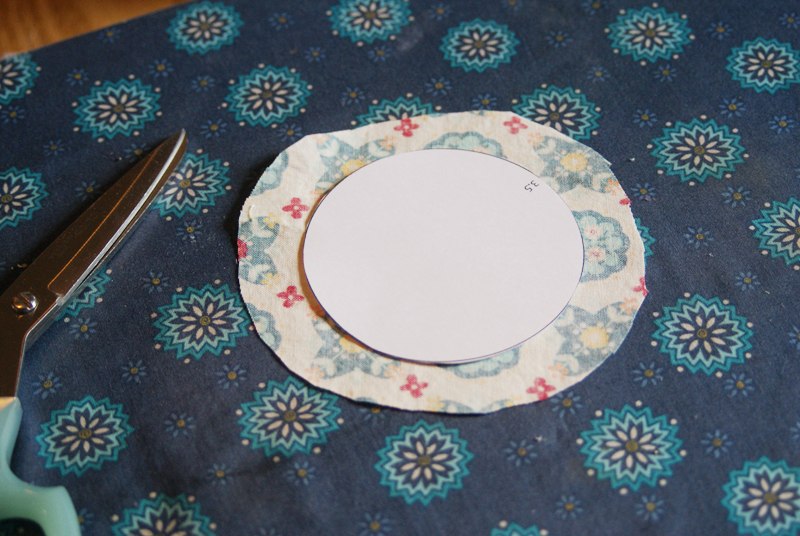
Take your bit of cotton woven fabric and the cardstock circle that you’ve already cut out. Cut a circle from the fabric that is about 1 inch wider around than the cardstock.
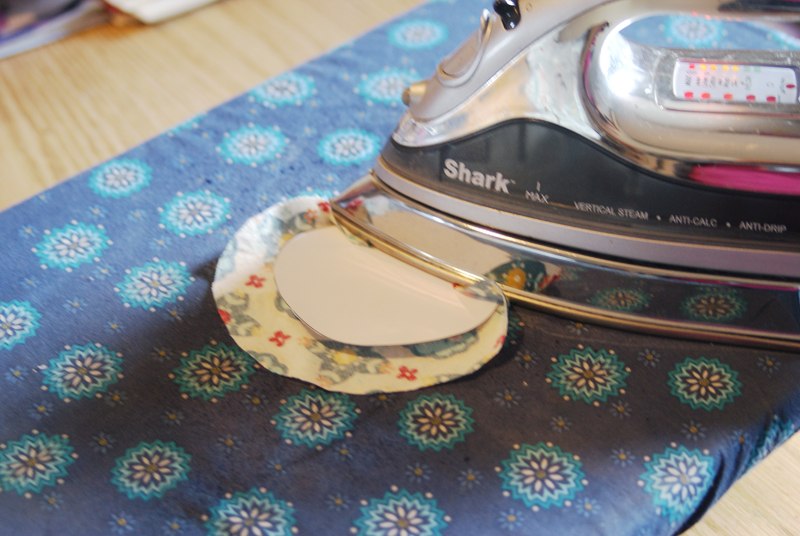
Use your iron to fold the fabric over the edge of the cardstock, all the way around. I did spritz the fabric with a little water first.
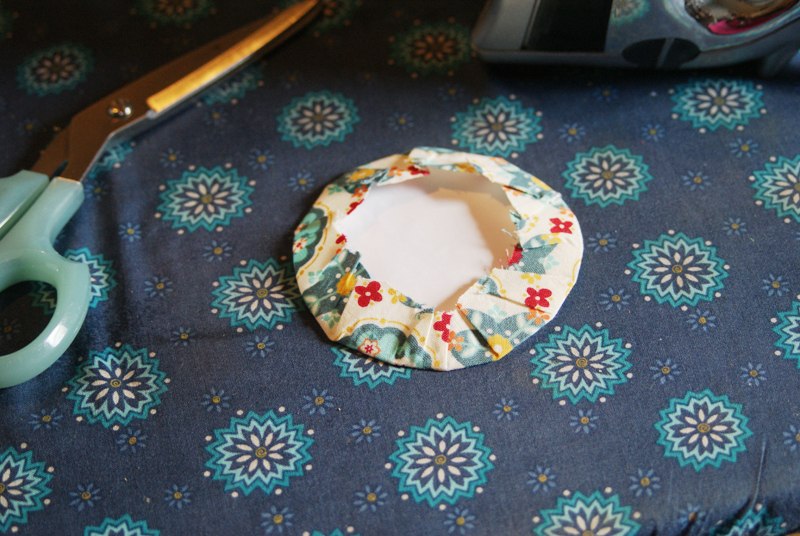
And this is what you should have:
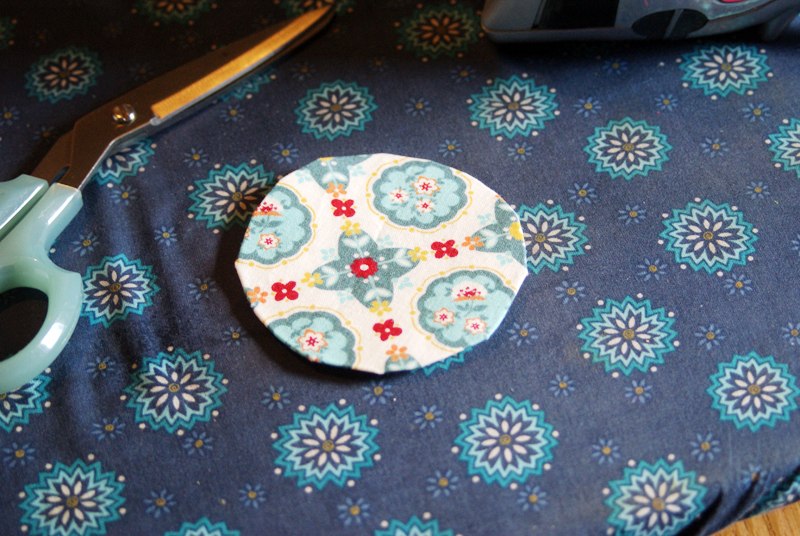
Here’s the circle from the other side! It’s not a perfect circle, but the corners will kind of disappear when it gets stitched to the back of the hoop.
Remove the cardstock (and set aside so you can use it again next time).
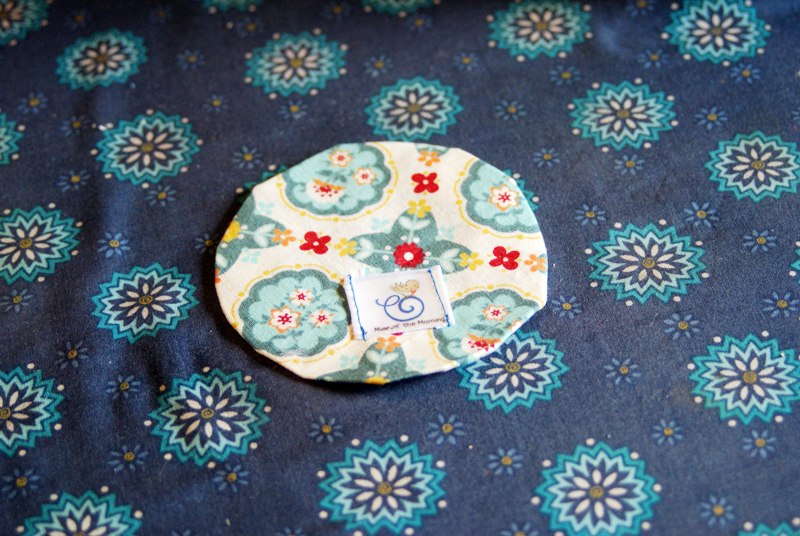
On this circle, you can stitch a tag. Or you could stitch an eye from a hook and eye set to make a hanger. You could stitch a bit that says “to and from”. I stitched on on of my little ribbon tags.
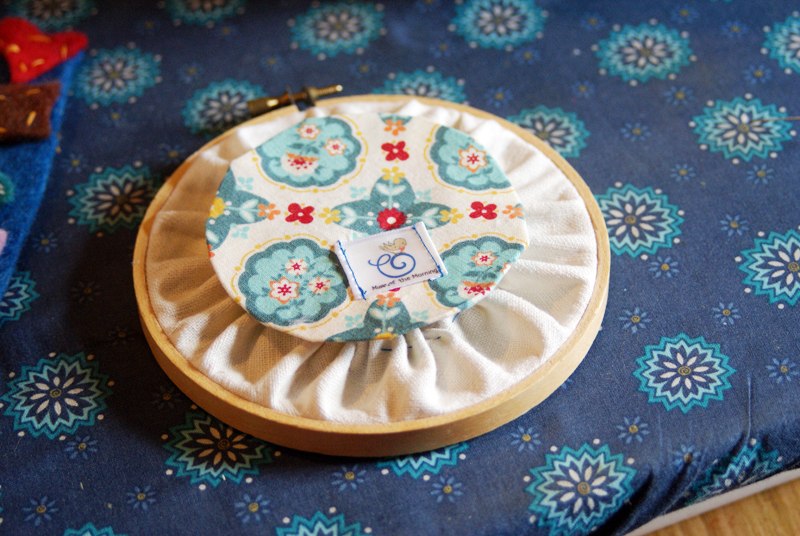
Line up your circle on the back of the hoop however you would like it to be. You might want to gently pin it in place along the edges.
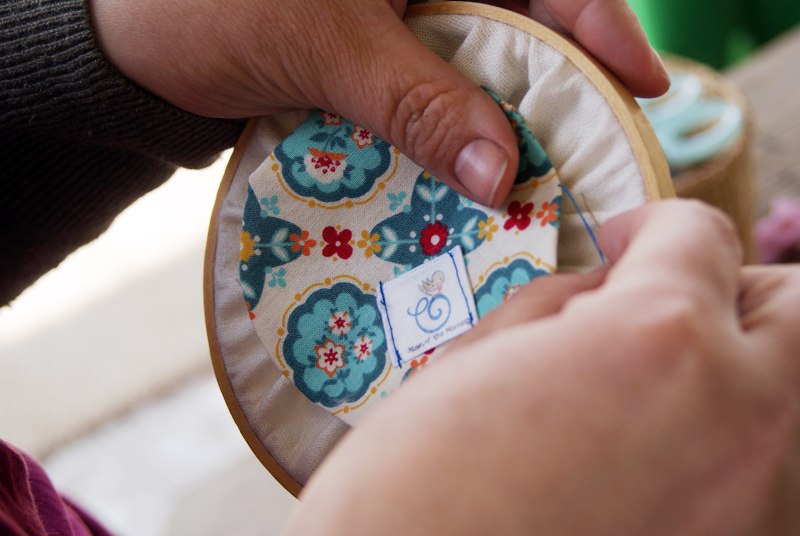
Now, here comes the tricky part. Don’t worry. It’s just a little tricky and this skill will help you out in a whole lot of other venues too.
Pull the thread out from the back of the hoop. Then you sew a small stitch through the seam of the circle. Then through the back of the hoop, right where you want the circle to line up. Then the seam of the circle. All the way around.
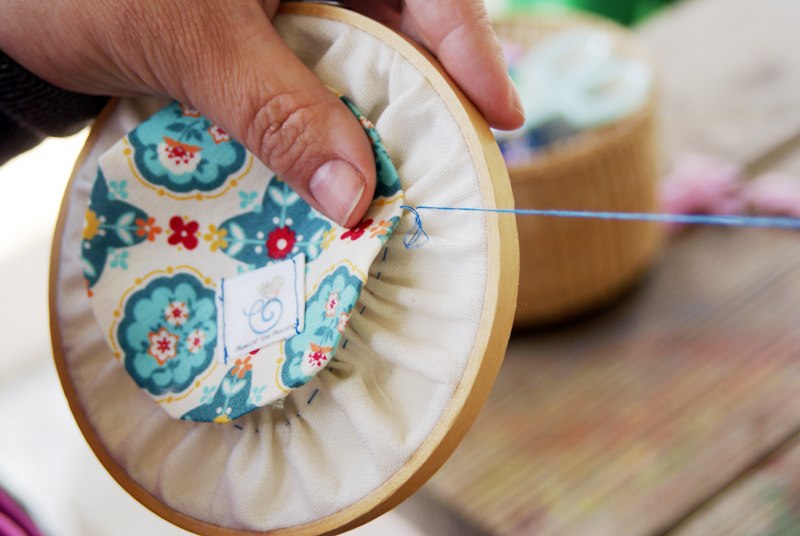
This stitch is called a ladder stitch. You might recognize it from closing plush toys or pillows. It’s also called a applique stitch, blind stitch or closing stitch. Here‘s a video of someone doing an applique with this stitch that might be even clearer.
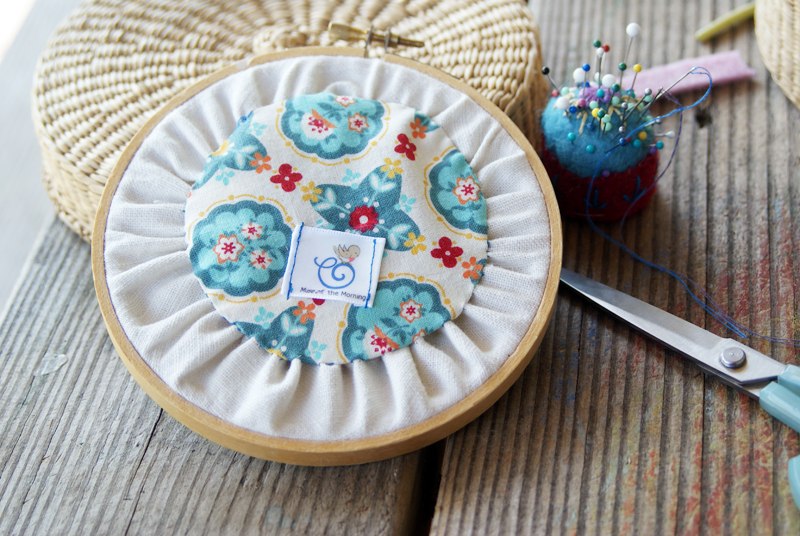
Once you get all the way around, you can knot the thread and it’s done! Look at how neat and fancy that looks!! What do you think? Not too hard, right? And now the back is all neat and tidy.
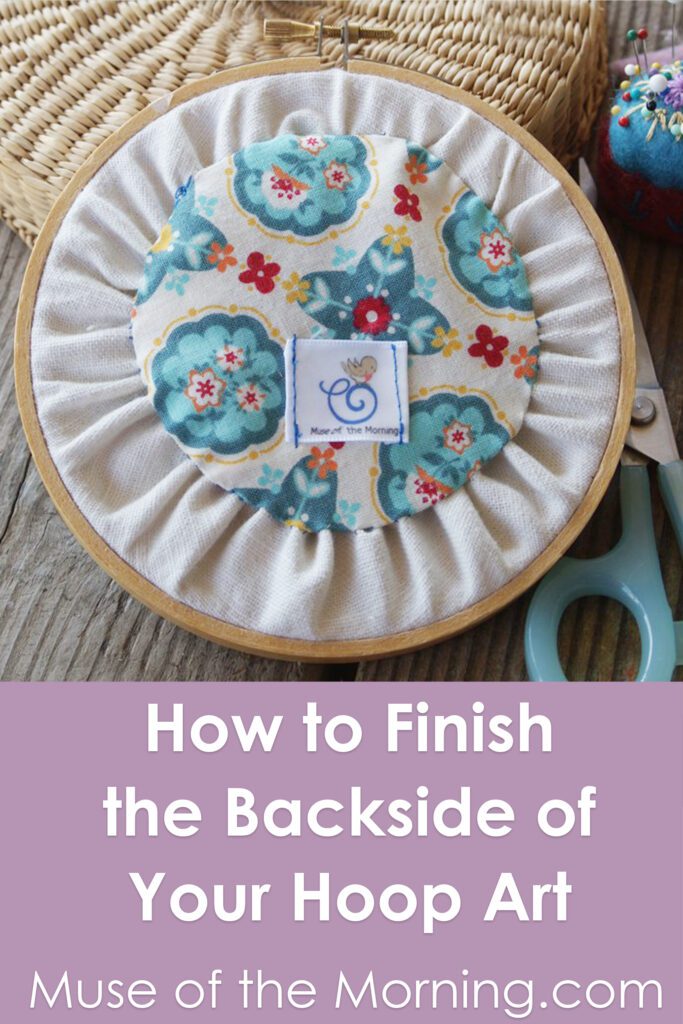
This tutorial was posted on Muse of the Morning.com

Pingback: Free Rainbow Embroidery Pattern – Muse of the Morning – Hand Dyed Embroidery Floss & Fabric + PDF Embroidery Patterns