A while ago, I showed you how to make a bottlecap pincushion from the lid to a 2 liter bottle, a bit of wool felt and some wool stuffing. These are some of my favorite things to make. I’ll spend some time making a whole bunch of the pincushions and then spend several weeks embroidering them in the evening while the Hubs and I watch Outlander.
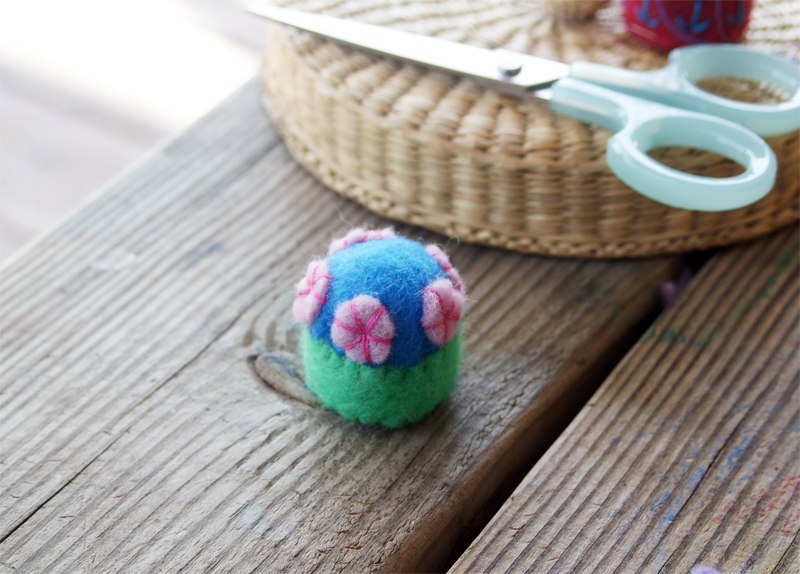
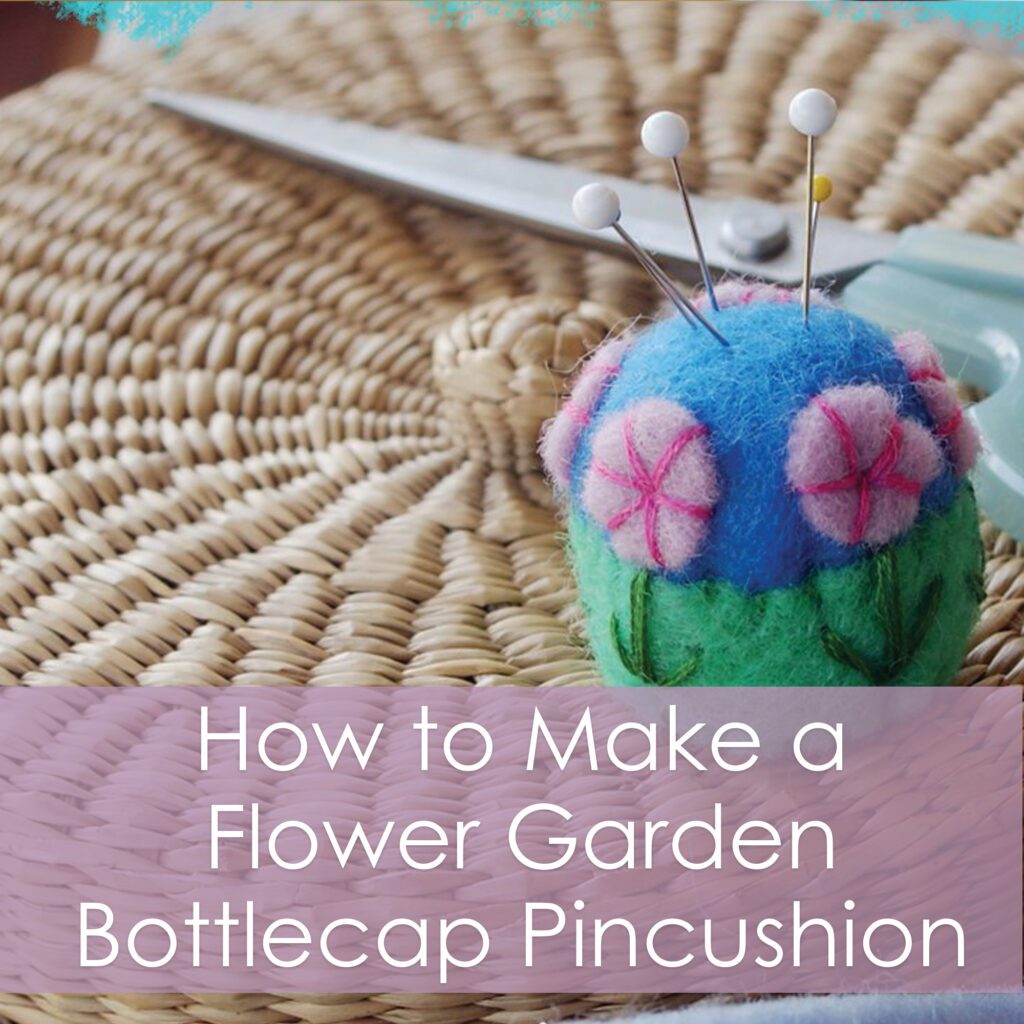
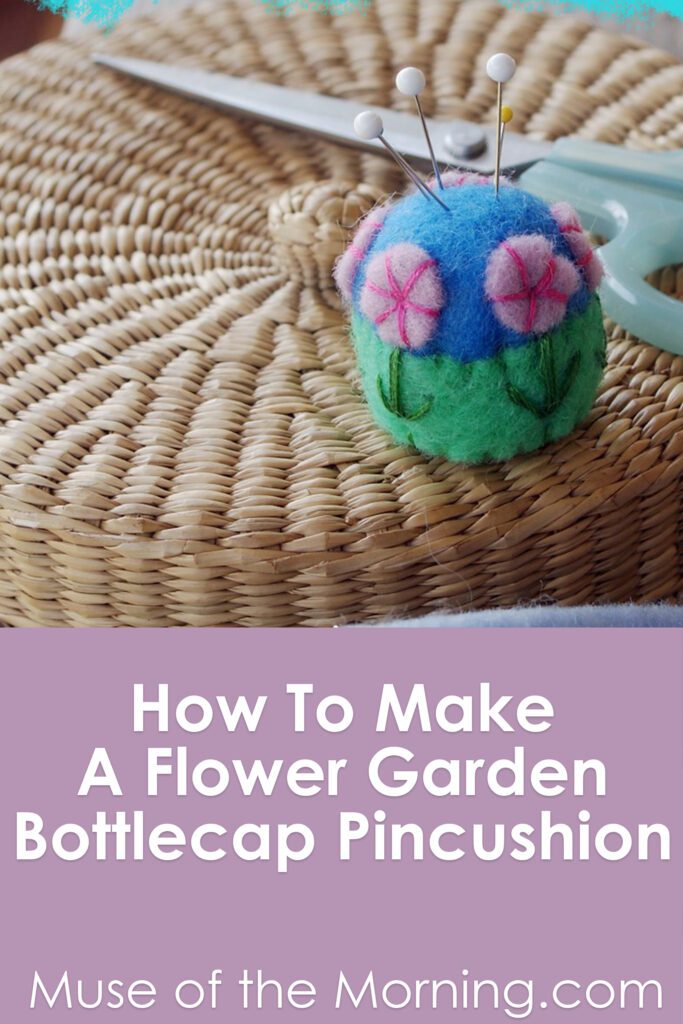
Now I want to show you how to embellish one like a little springtime garden. This is my current favorite pincushion and it travels around in my embroidery basket.
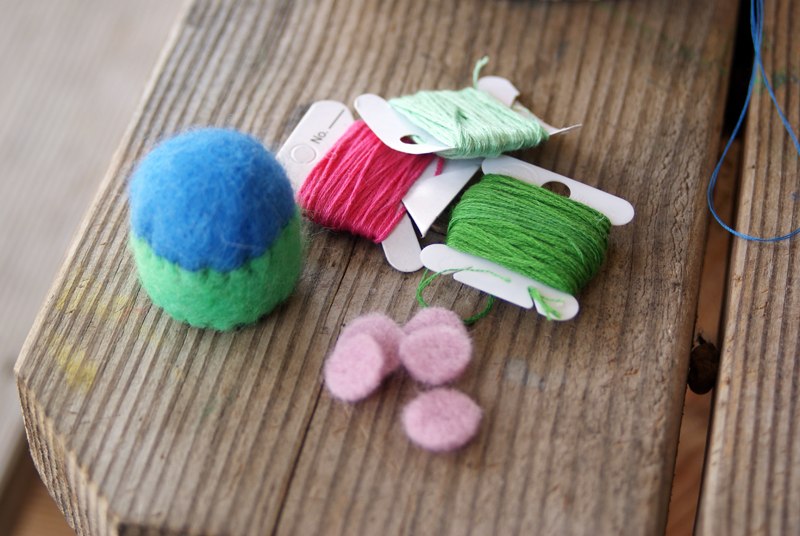
Stitch this along with me! Here’s what you will need:
Use the instructions from my bottlecap pincushion tutorial to make a pincushion base. Use a light green felt for the bottom part and a light blue for the cushion part.
You’ll also need 5 circles of light pink felt- these are about 3/8inch in diameter.
And embroidery floss in dark green and dark pink.
——
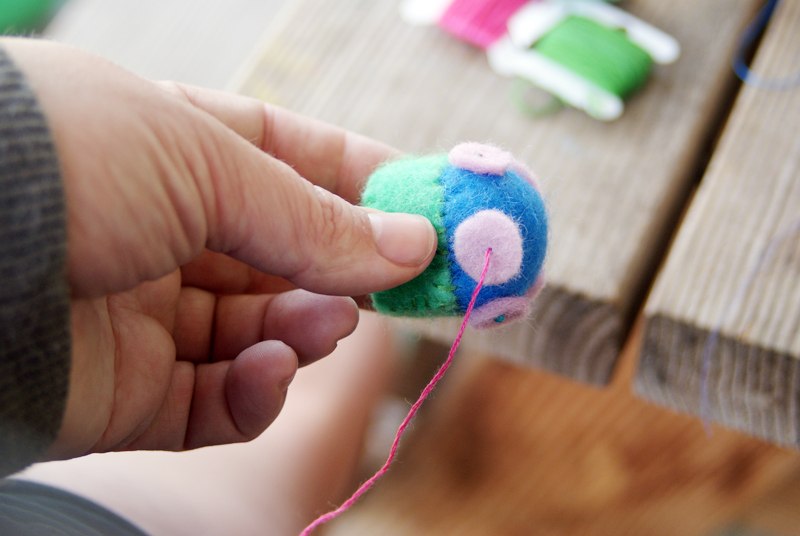
Pin the tiny circles evenly around the edge of the pincushion, right above the base.
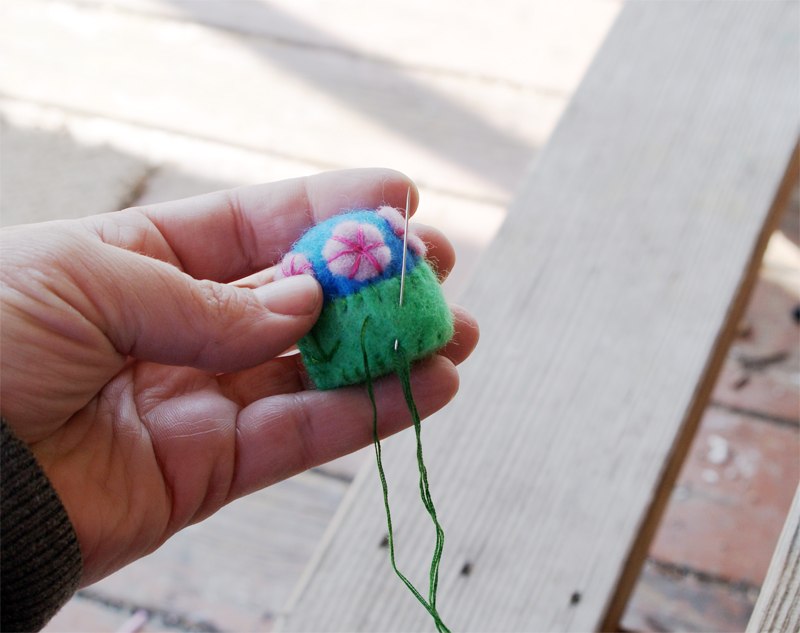
Use the dark pink embroidery floss first. I use 3 strands of floss at a time. Knot the floss and hide it in the base. Have the floss come out the center of one of the pink circles.
Use a star stitch to attach the circle. Take the needle down right bedside the circle and then have it come back up in the center again. Repeat this until you have 5 or 6 stitches radiating out from the center of the circle. Then move on to the next one.
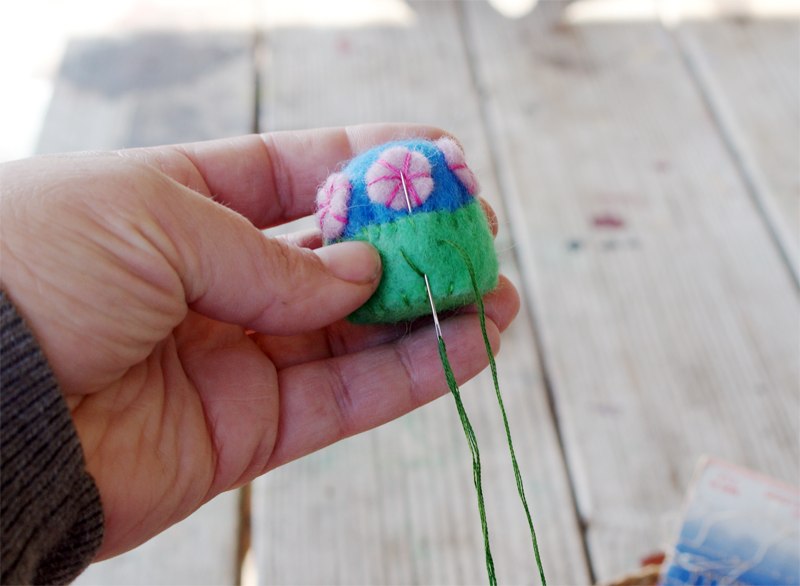
Once the circles are attached, use dark green embroidery floss to make stems. I’m not sure if this is a certain type of stitch. I would just call this a bunch of isolated straight stitches. This is what the stems should look like: \|/
And that’s pretty much all these is to it. Make sure to hide your knots and enjoy your pincushion!!


This tutorial was published on Muse of the Morning.com