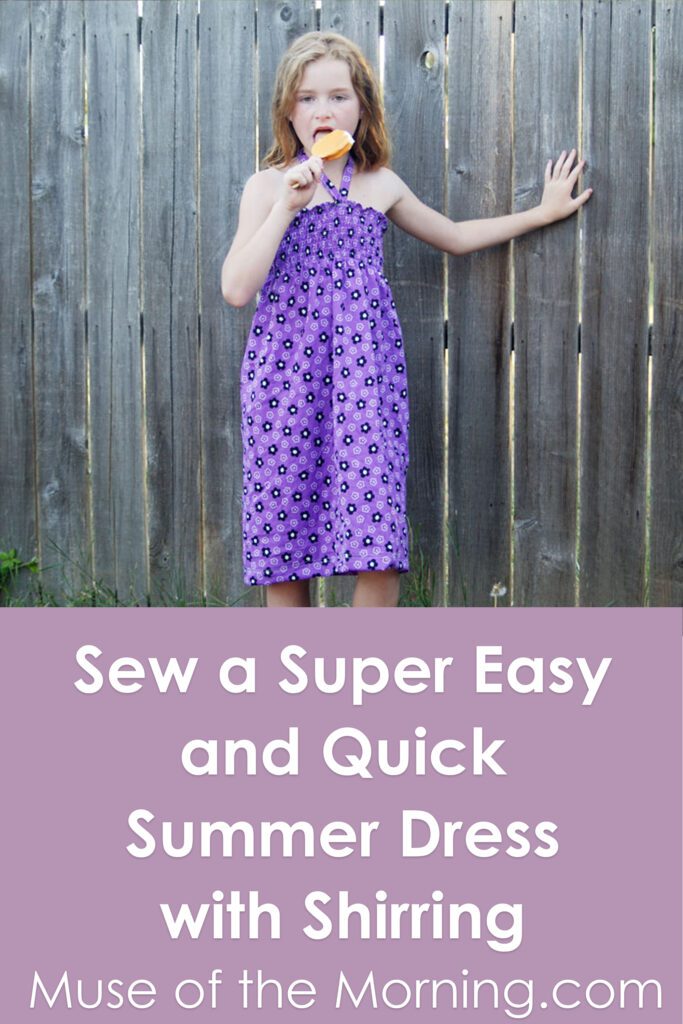
I’m going to start this off by promising that shirring is really easy. If you haven’t done it before, it might seem intimidating, but it really is easy and it makes for some really really easy outfits. The tutorial I’m going to share with you today is for a little girls’ outfit, but you can use the same technique for women too! And it really does make an adorable dress or top for women and girls!
I’m writing this tutorial as part of a big blogger stitch swap that I took part in. I sent off a yard of fabric to an awesome blogger, and I received a yard of fabric from another awesome blogger. Our assignment: to do something crafty with the fabric and write a post about it.
On the day I whipped up this dress, it was really really hot, so I turned on all the fans in the living room, directly on me, and hauled out my workhorse sewing machine and watched some Dr. Who while sewing.
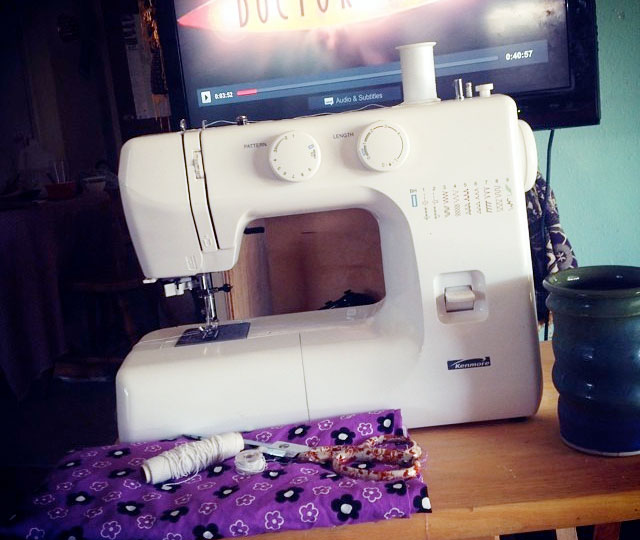
Here’s what you’ll need to make this dress for a girl from about size 6 – size 10:
* Cotton woven fabric cut to 28 inches long X 42 inches wide.
For smaller sizes, you can just shorten the length, the width should still work.
* another bit of the fabric – 3 inches wide x 42 inches long – you can also use ribbon for this part.
* elastic thread. You can get it here on a giant cone or at JoAnn’s in smaller spools. I recommend the giant cone. Once you start shirring, you’re going to love it so much, you’ll need a lot more than the little spool.
* an empty bobbin
* thread that matches the fabric
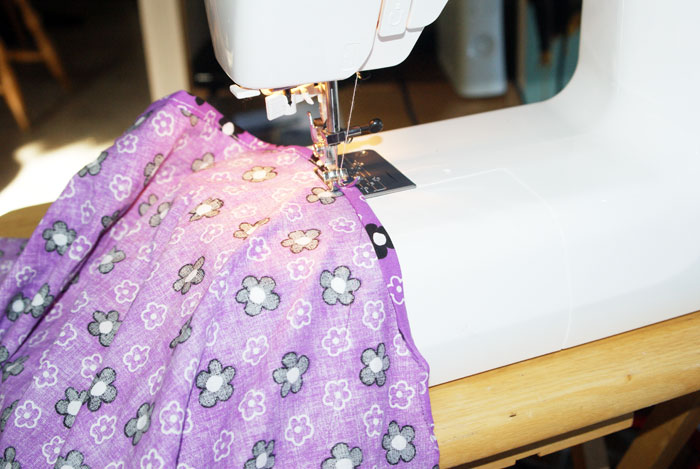
First, let’s sew a quick hem across one of the long lengths of the dress with regular thread. I folded the fabric over 1/4 inch and then folded it over 1/4 inch more and sewed it down. This will be the top of the dress.
Ok, now let’s get ready for shirring.
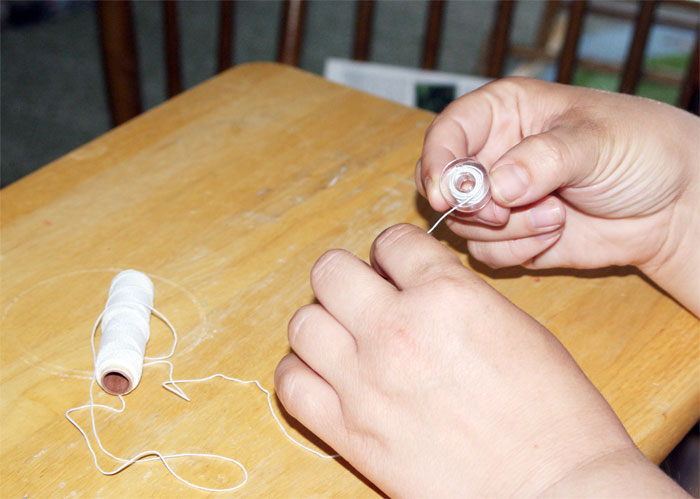
Wind the elastic thread around a bobbin. Try not to pull it, just wind it gently around until the bobbin is full.
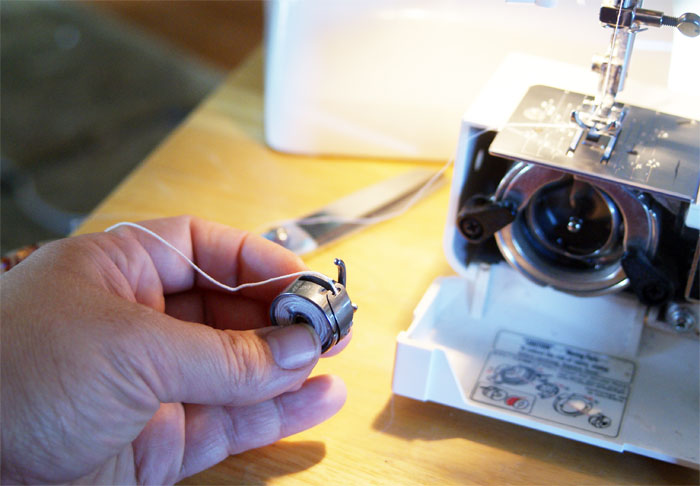
If you have a bobbin case, put the filled bobbin in just like normal and feed the thread through, just like normal. Put the bobbin case in the shuttle race and close it up, just like normal.
If you have a drop in bobbin, put it in just like normal and make sure that the elastic thread goes through just like it usually does.
Seriously. It’s that easy. Just do everything like normal.
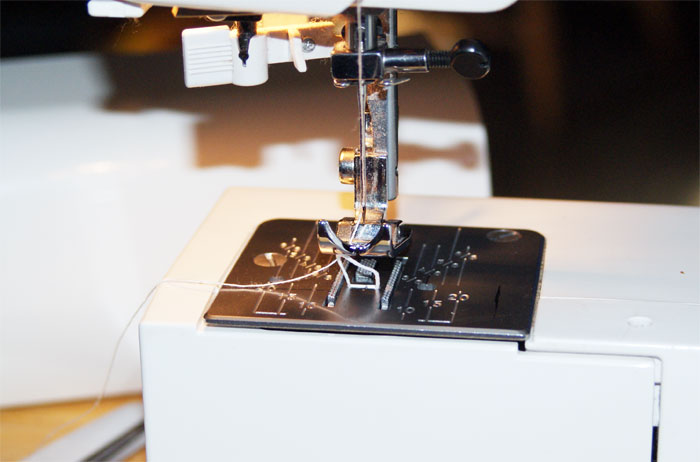
Thread your top thread and wind it down to catch the bottom thread. And you’re ready to go.
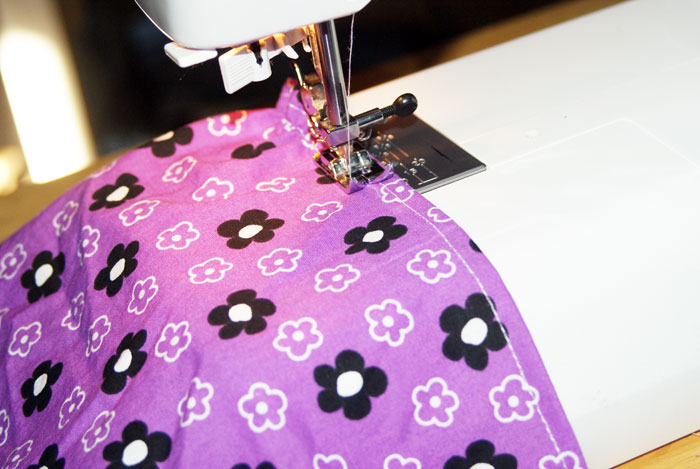
Now begin sewing. Start with your needle in the center and run the edge of the foot against the seam that you already sewed along the top. The one trick to remember is to sew with the right side of the fabric facing UP, so the elastic thread will be on the bottom.
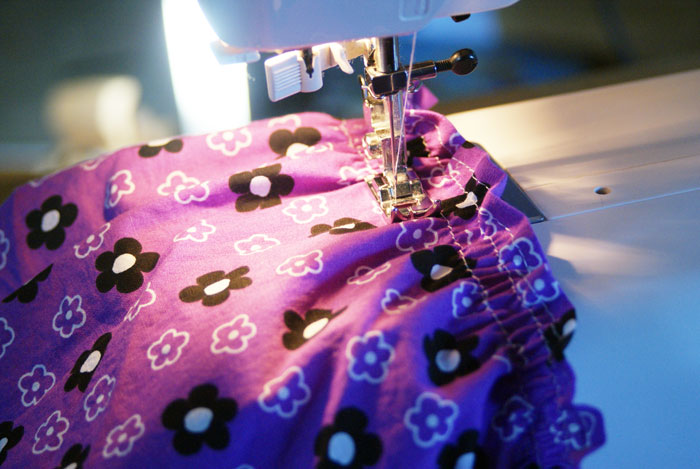
On the second row, begin again, this time putting your needle all the way to the left and with the foot against the previous line of shirring.
It’s going to start gathering right away, but you may not notice that typical shirred “look” until you’ve sewn a couple rows. Even then, you’ll notice that it won’t be fully gathered until after you wash the dress. You can also use the steam from an iron to make it gather, but I just toss it in the wash.
Continue sewing until you have the number of rows you’d like. I did 10 rows for my size 8 daughter.
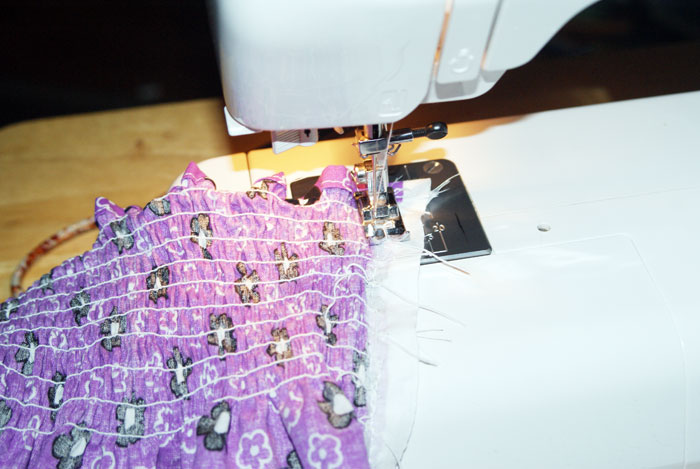
Now, fold the dress in half to stitch up the back. I’m sewing along the selvedge in this picture.
You’ll also want to mark the front center with a pin while you’ve got the dress folded.
Set it aside.
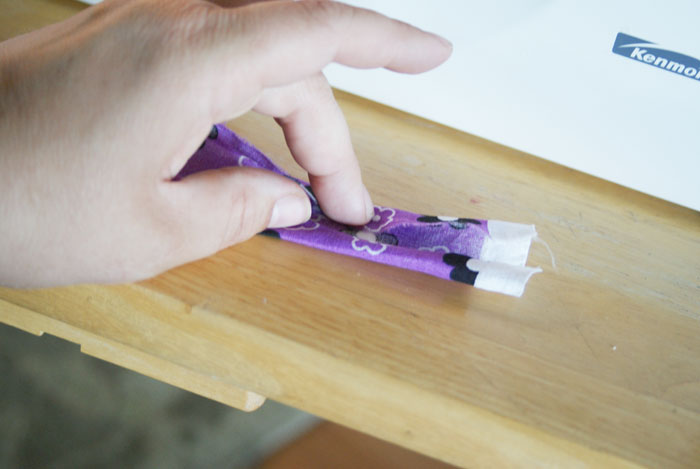
Here’s a quick way to make a tie.
Take that long strip of fabric from the list of materials – it’s 3 inches x 42 inches long.
Fold the long ends toward the center 1/2 an inch until they almost meet in the center.
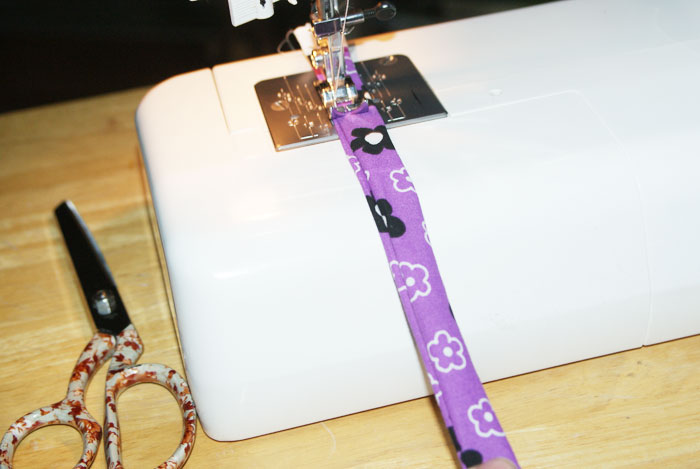
Then fold it lengthwise along the center, making sure those raw edges are tucked in. Sew along the open edge. Fold in the ends so they aren’t raw edges also.
It’s a bit like making bias tape- but quicker and dirtier.
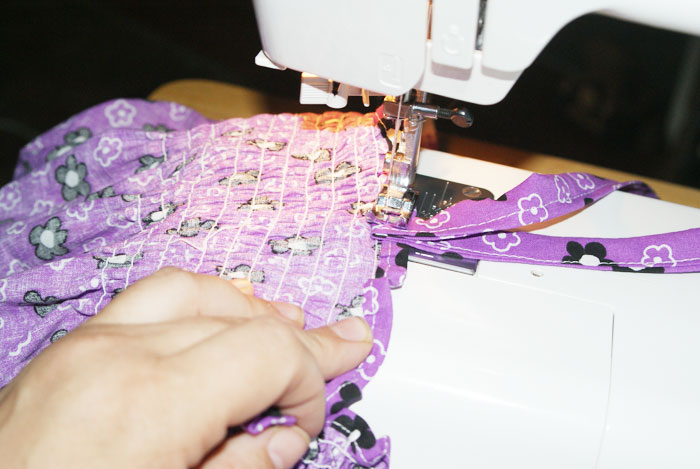
Fold the tie right in the middle. Match the fold up to the center of the dress that you marked earlier and stitch the tie to the wrong side of the fabric, right below the hem of the top.
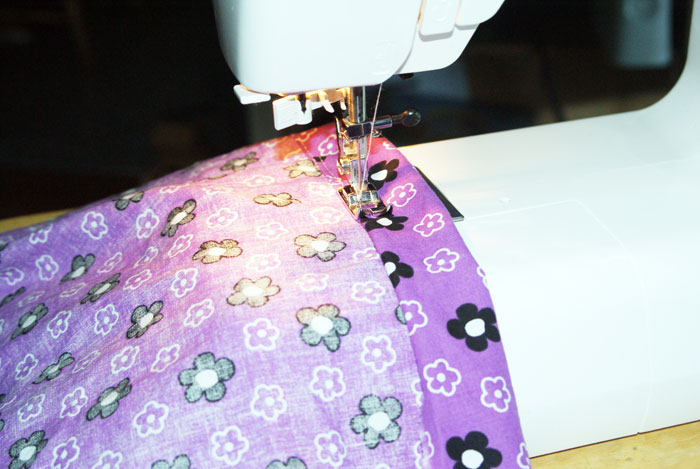
Now, on the bottom, sew a quick hem by folding the fabric up 2 inches, then fold the raw edge under 1/4 inch and sew along that edge all the way around.
It’s done!

Don’t worry if the shirring is a little loose- remember, it will tighten up a lot in the wash.
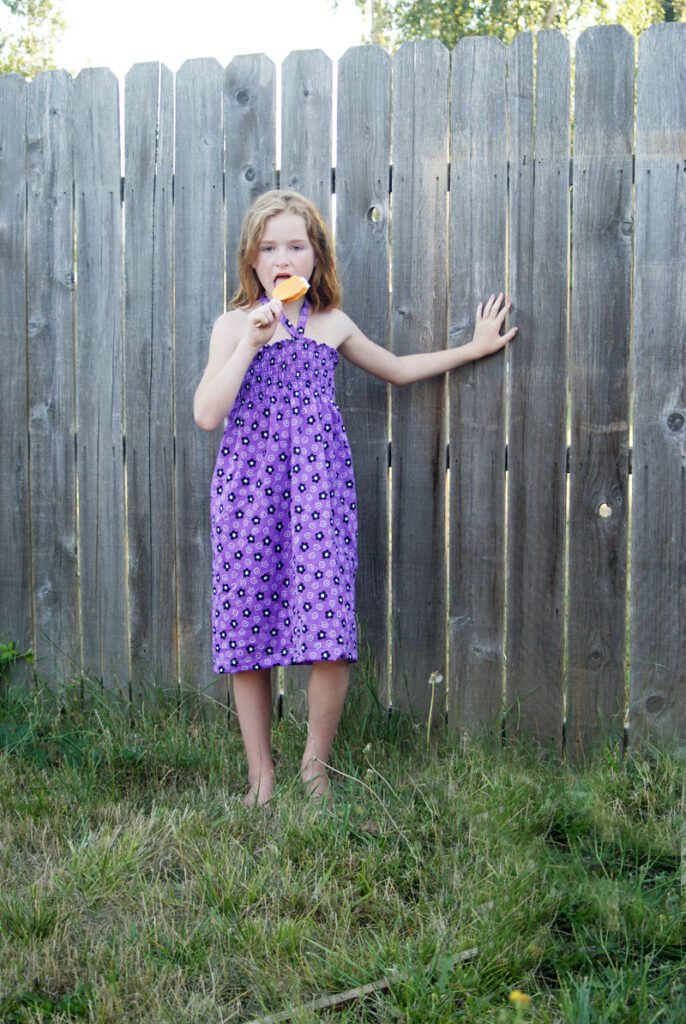
Now try it on your darlingest one. Give her an ice cream for having patience. And to bribe her to let you take photos.

And make her strike funny poses so you can show off her dress.
Now that’s a great dress for beating the summer heat!
