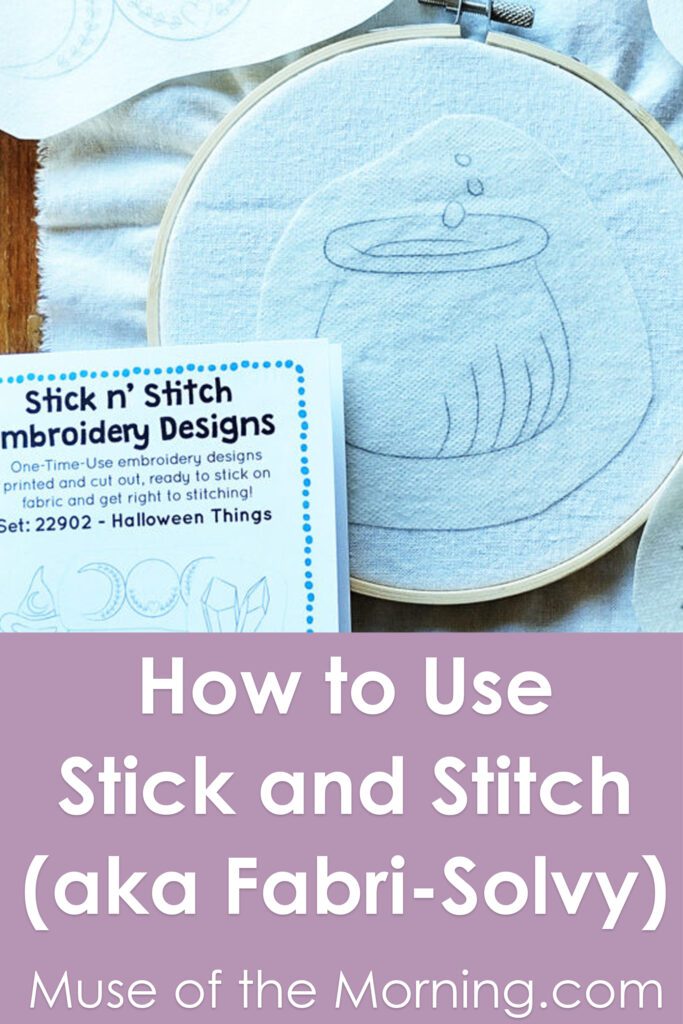
Have you seen this Stick and Stitch? It’s pretty cool stuff. The brand is Sulky, and they also sell it under the name Fabri-Solvy. I have no idea why they sell it under two names, but here we are.
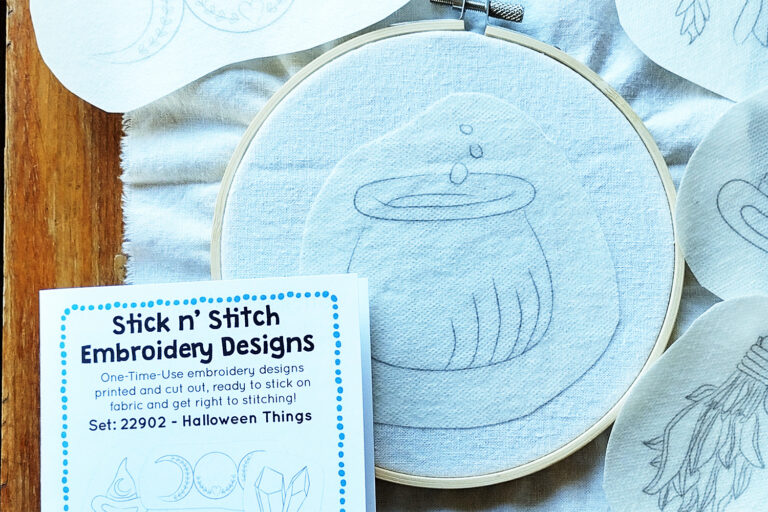
Stick and Stitch is an amazing product that allows you to print out your designs, then stick it to the fabric and stitch right through it! When your project is finished, simply wash the Stick and Stitch away and you’re left with your beautiful stitching!
I happen to think that Stick and Stitch is pretty fabulous stuff. I’ve never had any troubles washing it away, although sometimes it takes a bit longer to get it completely washed off. I absolutely hate tracing patterns, and I’ve never really found a tracing pen I like anyway. This is a revolutionary solution, and I’m so happy I discovered it!
How To Use Stick and Stitch
Stick and Stitch is pretty easy and straight forward to use. Here’s a step by step tutorial!
1. Wash and dry your fabric before embroidering. I know, this is just pretty much common practice, but I wanted to cover it. Washing the fabric removes any starches or other things that were used prior to you getting it.
2. Print the design onto the fuzzy or fabric-y side of the Stick and Stitch. I cover how to print on it and some other details in this post, which is from before I knew it was also called Stick and Stitch!
3. Peel the backing off your design. Stick the design to the RIGHT side of your embroidery fabric. Smooth the design in place.
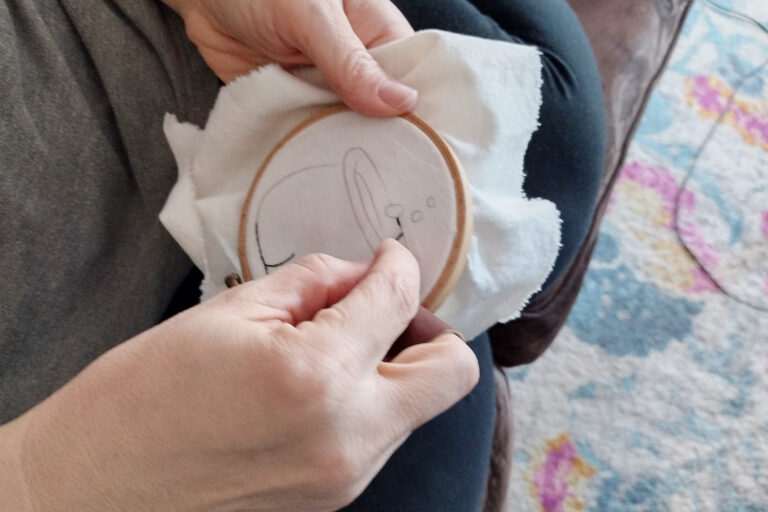
4. Embroider, using the lines on the Stick and Stitch as a guide. Try a variety of stitches.
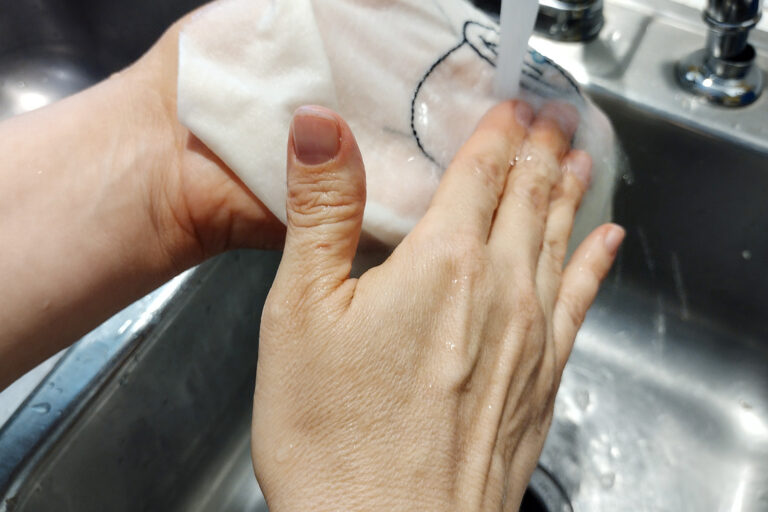
5. When finished, wash the Stick n’ Stitch design away under warm running water at an angle, so the ink flows away from the design. If it seems to have a hard time dissolving, soak the fabric over night and use a finger to rub the stabilizer away under warm running water.
6. Allow the fabric to air dry, or use a dryer depending on the fabric choice.
7. If there is any stiffness after the design is dry, repeat steps 5-6.
8. Iron your project from the backside so the stitches don’t get squished and then use as you wish! If you want to display the embroidery in a hoop, here’s a tutorial for creating a backing for it. You could also mount it on canvas, or create a wall hanging… or however else you want to display your embroidery!
Best Fabrics To Use
If using as a stand-alone design, I find Kona Cotton to be a really good choice. Other good fabrics are the really nice quilting cottons. I’m never a fan of the thin cottons or blends with synthetic fabrics.
I also really love the linen-cotton blend fabrics that you can get from Robert Kaufman or from fabrics-store.com (not an affiliate link- I just love them so much!). These are really high quality fabrics.
It’s also suitable to use the Stick & Stitch designs on cotton clothing, including stretchy or thin fabrics. The stabilizer will help the fabric keep it’s shape.
You can also use the designs on denim or other thick fabrics, though it may be tougher to stitch through.
Tips and Tricks
- When printing on Stick and Stitch, use light colored lines or print on “draft” mode. This will ensure that none of the lines will be left when you’re washing it away.
- If your needle gets gummed up while stitching, wipe it clean with a paper towel, or push it through a sharpening pin cushion (like the tiny strawberry on the classic tomato pincushions). Sometimes the Stick and Stitch will get gummy from the heat of your hands or a heater or the sun!
- If you’re using the Stick & Stitch design as a patch on a piece of clothing, consider placing a piece of scrap fabric on the backside of your project for stability.
- If the Stick and Stitch is having a hard time washing away, I recommend leaving it in a bowl or sink of warm water for a while, maybe even over night to soak. I’ve also heard of people having success with adding a bit of dish soap or vinegar in the soak.
- If your design will be washable – try throwing the embroidery with the Stick and Stitch on it, right into the washing machine to wash it away! When I’ve done that, I’ve never had any problems with it leaving any residue! Even if the embroidery will eventually be permanently hung up, I will wash and dry it first and then iron it smooth.
So now you’re ready to use Stick and Stitch to create some lovely embroidery masterpieces! What do you use Stick and Stitch to create? Let me know in the comments!
This post was published on Muse of the Morning.com

Is this good to draw free hand on with an orange or green Flair?
How do you print your design on this product if the design is larger than 8.5 x 11 inches? I have a design fora. Kitchen towel that is longer (or wider ) than 11 inches. Thank you.