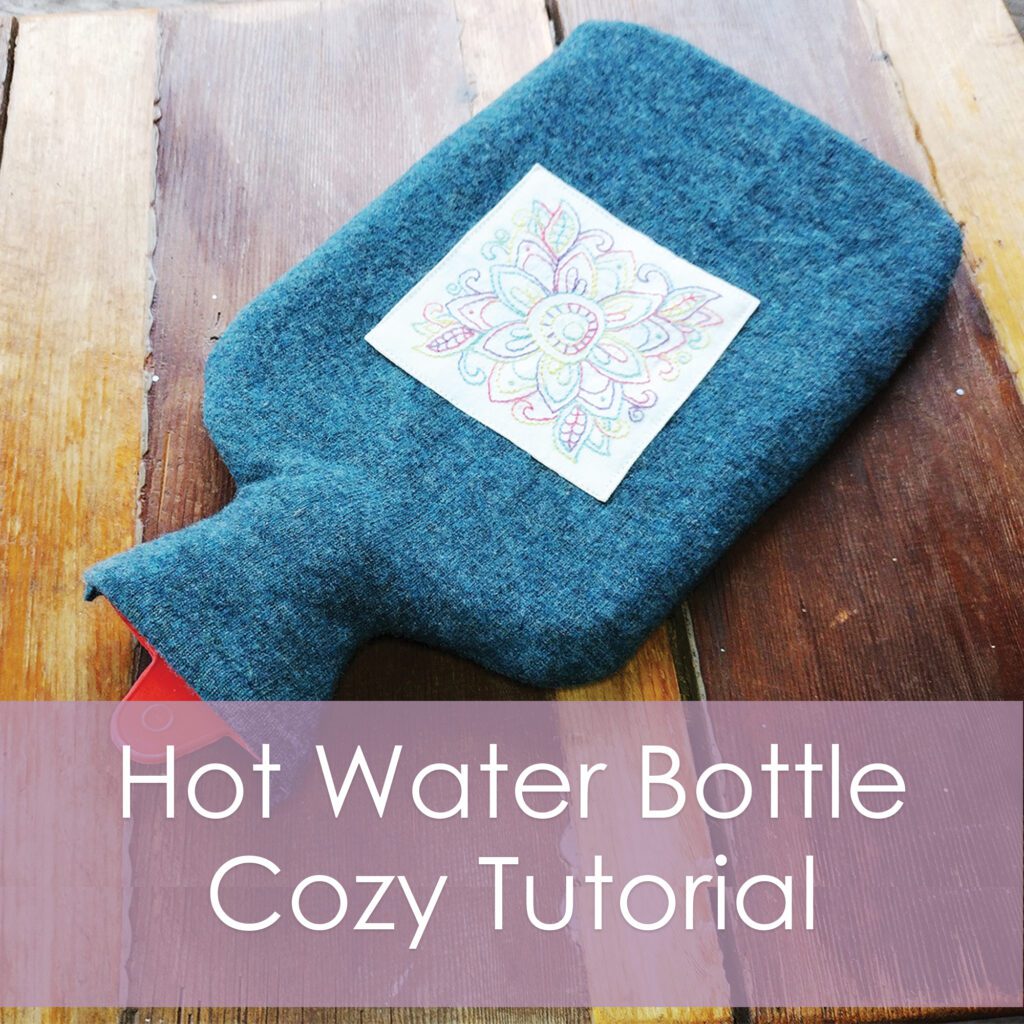
Do you love your hot water bottle as much as I love mine? I fill it with almost boiling water and slide it between the sheets on these cold winter nights and then my bed is toasty when I climb in. All night, I keep the water bottle near my feet so that they stay so warm all night long!
These rubber or silicone hot water bottles are wonderful, but they do need a cover. For one thing, they get too hot to stay near my feet if they don’t have one. Another issue is that the hot water bottles may sweat, and then you have damp sheets. So, it needs a cover that will soak up any liquid and help diffuse the heat.
Wool sweaters are the perfect fabric for this. A thick cotton or linen fabric might diffuse the heat, and will soak up any sweat, but it will wick the liquid right into your sheets. Acrylic sweaters or knit fabric would not diffuse the heat very well, and it wouldn’t soak up any sweat. Fleece would diffuse the heat as well as a wool sweater, and it would probably keep the liquid off your sheets, but you’d need to air it out every day to make sure it dried because it might keep the liquid on the inside of the cover.
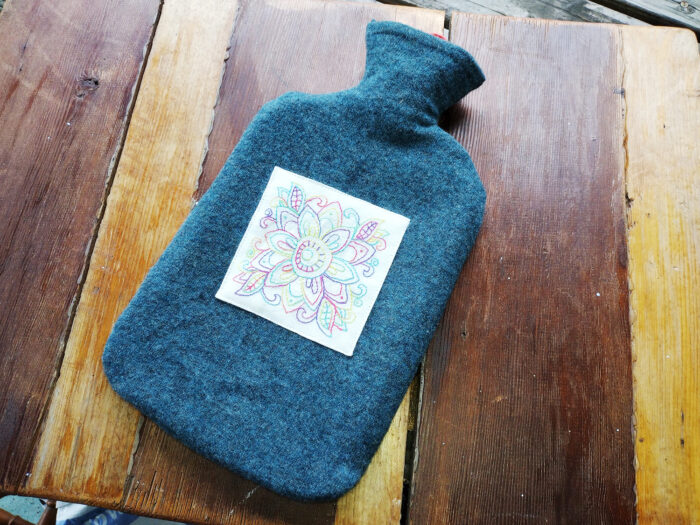
A wool sweater, on the other hand, would be nice and thick to diffuse the heat, plus it will soak up any sweat and hold onto it, not letting it get on your sheets. In addition, wool sweaters are so fun and creative to work with. Wool is a breathable fabric, so it easily dries when it gets wet as well. Ok, I think you all know I’m a big fan of wool by now!
You don’t have to use an upcycled sweater though, you could use a wool knit, or any thicker wool fabric. I once had one that was made of wool flannel, which was nice, but I do like the thickness that comes from a sweater.
Where to Get Wool Sweaters
Now I’ve convinced you that recycling an old sweater is the best choice- where do you find one? The answer is thrift stores. If you’re a big thrifter and upcycler like myself, you’re at the thrift stores often and can gather a sweater or two every time you’re there to fill out your stash. I can usually find at least one every time I go. Also, if you’re looking often, you get to know what wool looks and feels like, so eventually you can skim past the acrylic and cotton sweaters really quickly and hone in on the good ones. Also be on the lookout when family members or friends complain that they accidentally felted a wool sweater – see if you can grab that gem from them!
In my opinion, a wool sweater with about 20-30% of a different fiber still provides the benefits of 100% wool. When I get a wool sweater home, I wash it in hot water with some Dawn dish soap and run it through the dryer. That will help it felt up and really get that nice felted wool texture.
Ready to Get Started?
Alrighty – let’s get this party started! For this project, you’ll need:
1 wool sweater, prewashed and felted – or 1/2 yard of felted wool
A hot water bottle (or its dimensions)
Sewing machine, scissors, and thread
Lay out the wool sweater insides out on your work surface and smooth it out. Lay the empty hot water bottle on top of it, with the top matching up to the waistband of the sweater. If you’re already familiar with using upcycled sweaters, you might want to open up the sleeves to use them, or even use another part of the sweater!
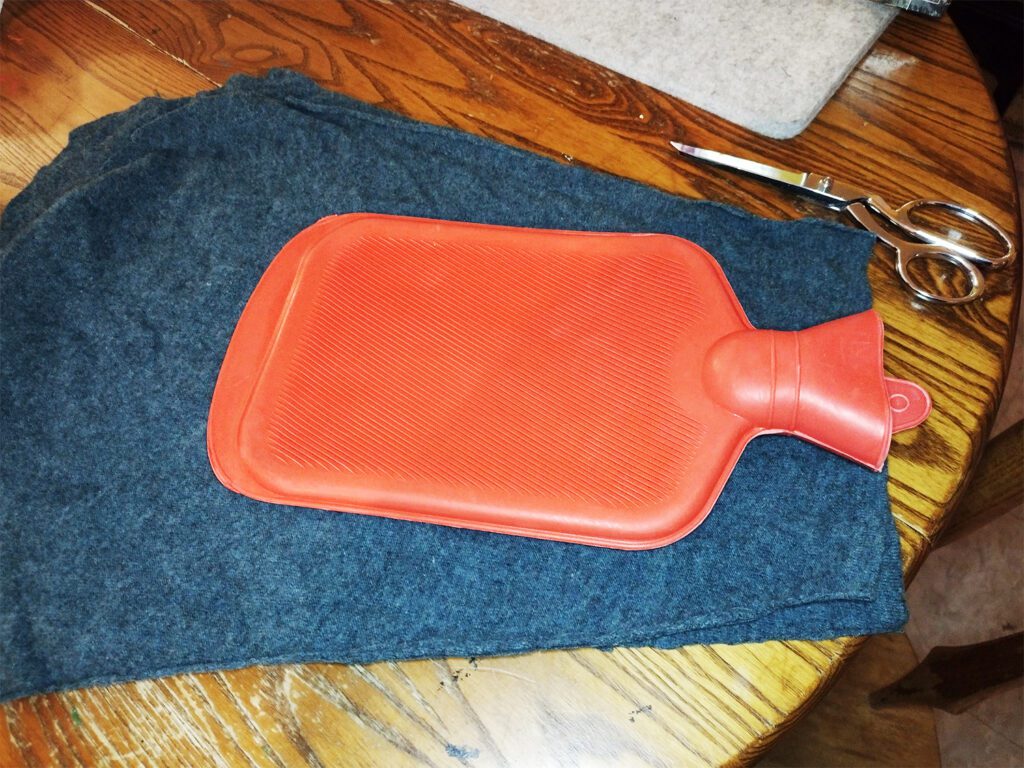
Cut around the hot water bottle, leaving about 1 inch of space on all sides. Make sure you’re cutting through both layers.
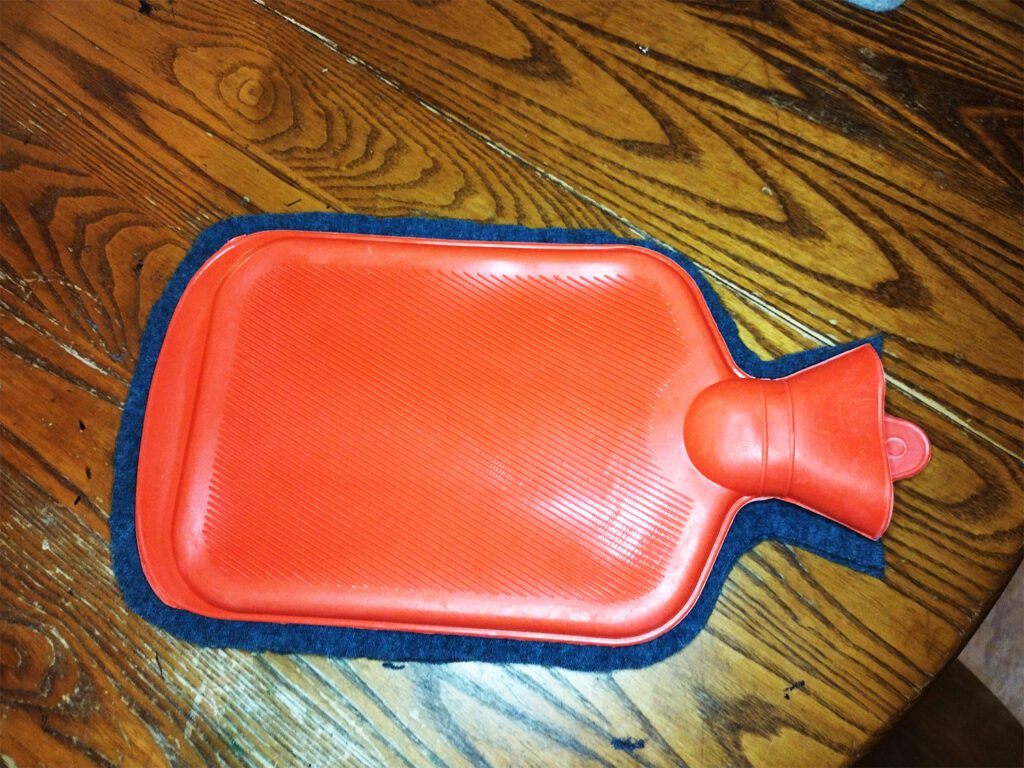
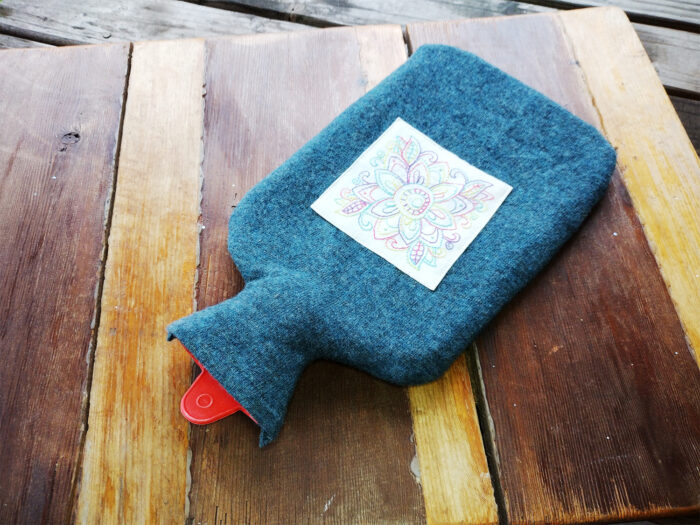
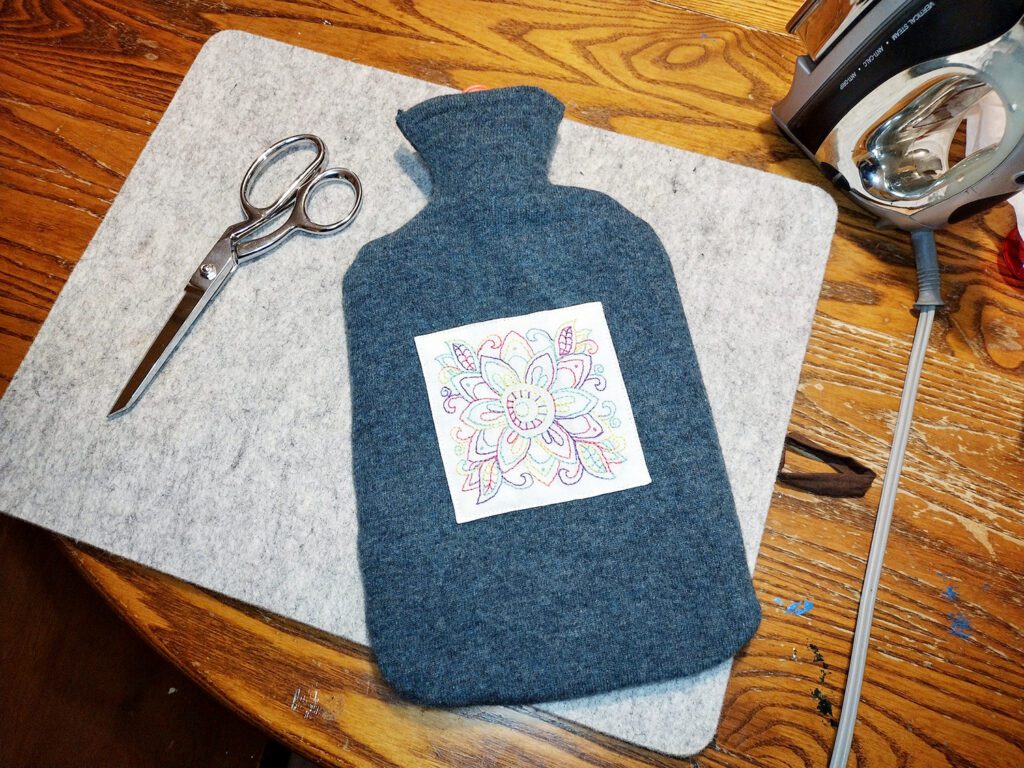
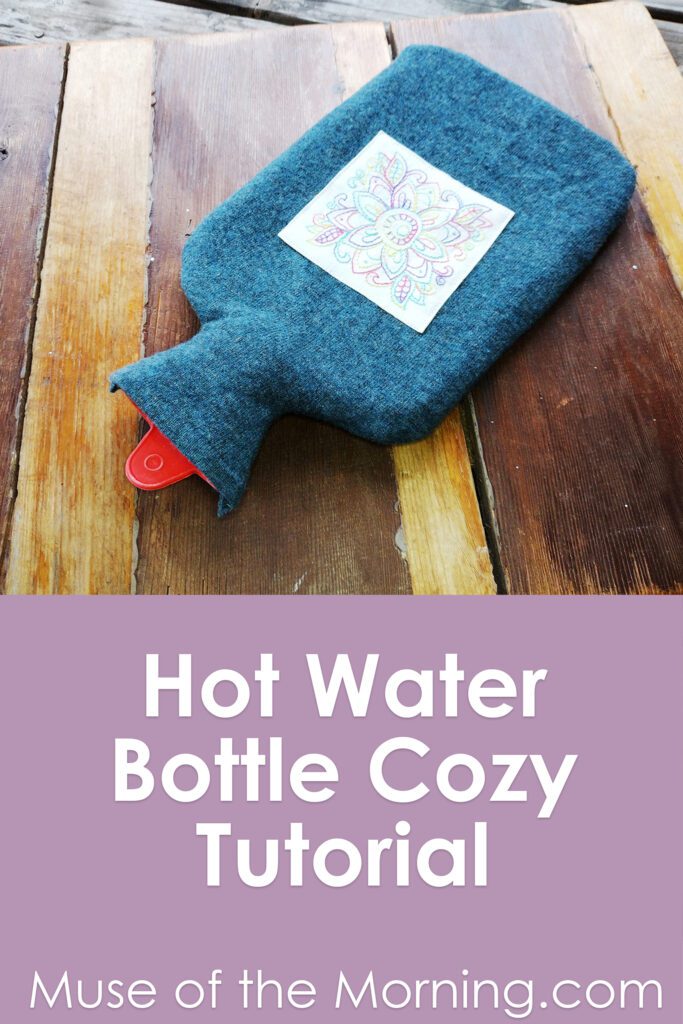
If you’re going to add any appliques or embroidery or anything like that, now is the time to add it. I had this embroidery laying around, so I folded the edges under and stitched it to one side of the cozy. Here’s a tutorial I wrote on how to stitch on an embroidered applique.
Now put it back together, with right sides together. Pin the edges.
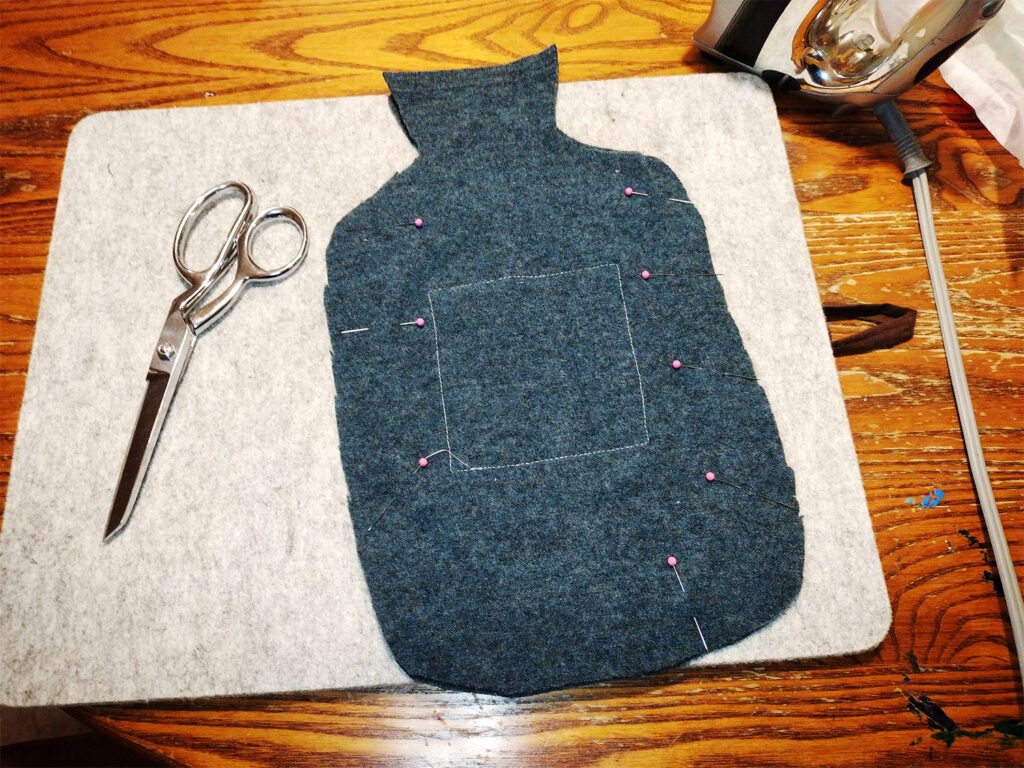
Start at one top edge and sew around the whole thing about 3/8″ from the edge. Stitch back and forth a couple times at the beginning and end to make sure that it’s secure.
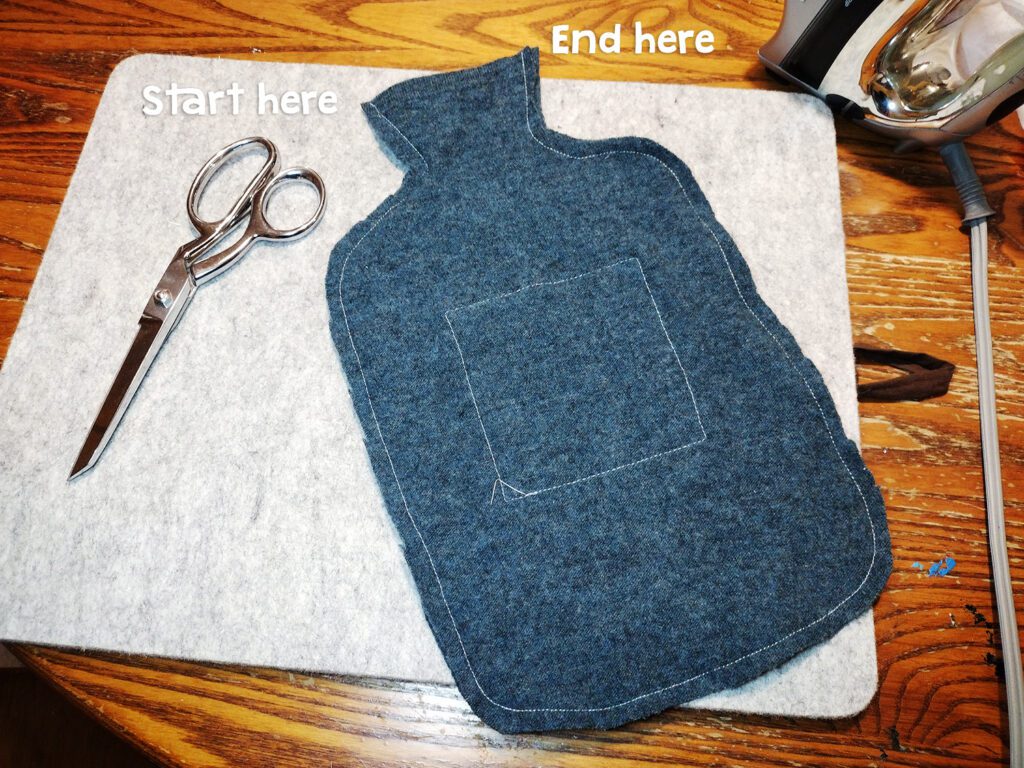
Turn the cozy right side out. You don’t have to clip seams if you’ve used a sweater because the fabric will stretch.
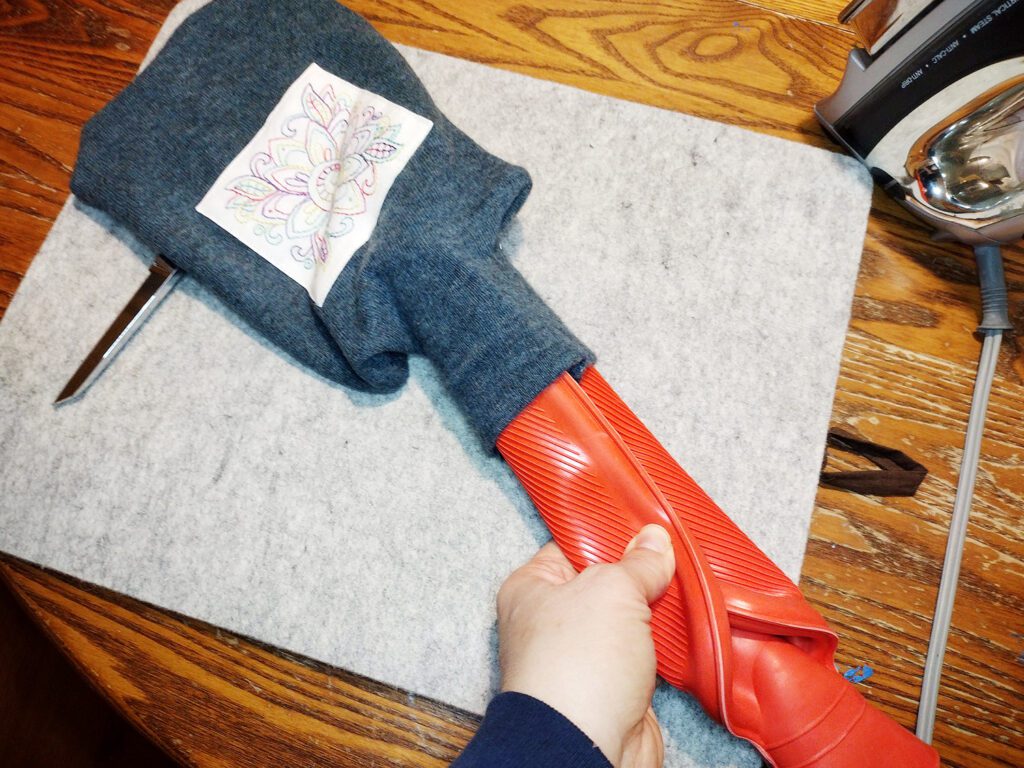
To get your hot water bottle into the cozy, fold it lengthwise in thirds and slide it in!
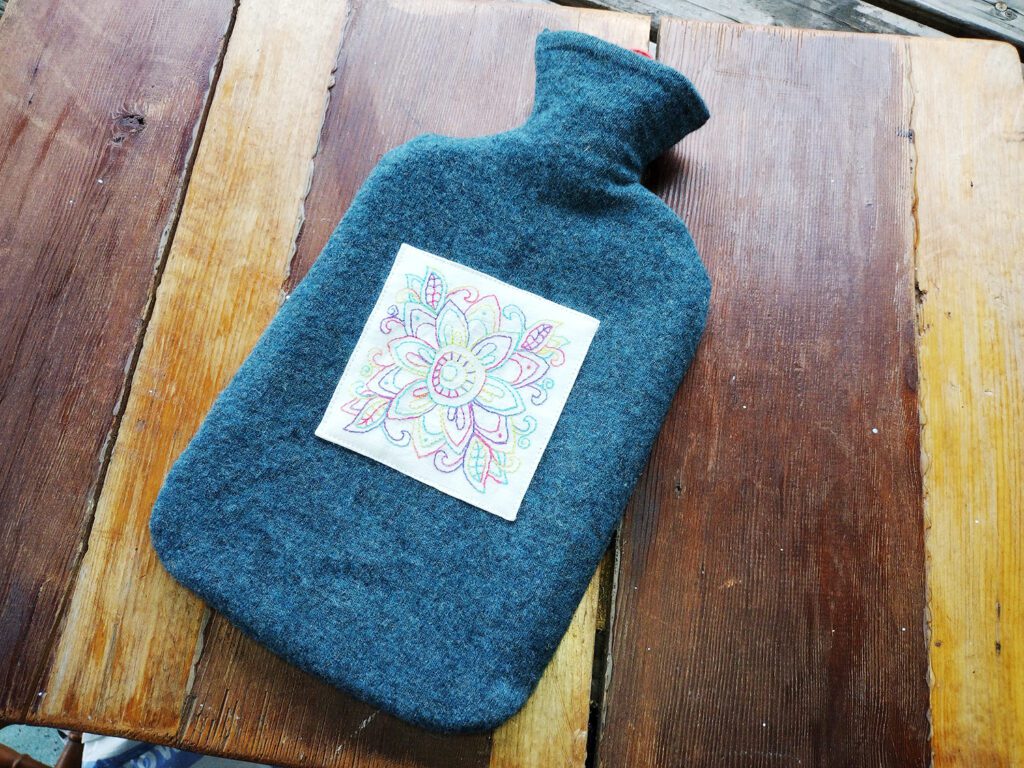
Voila! Now it’s ready to be filled with water and be used!

This post was published on Muse of the Morning.com
